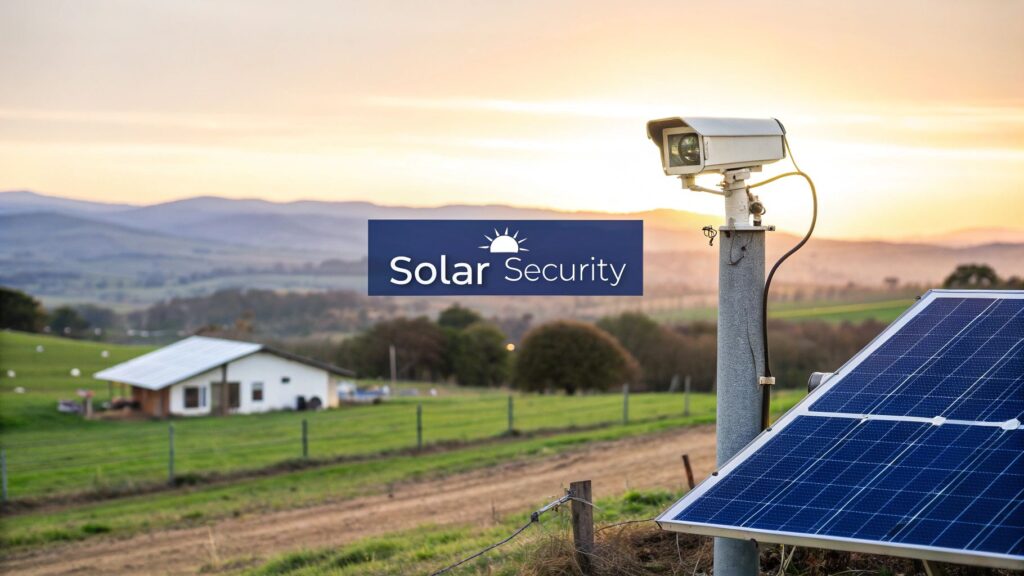
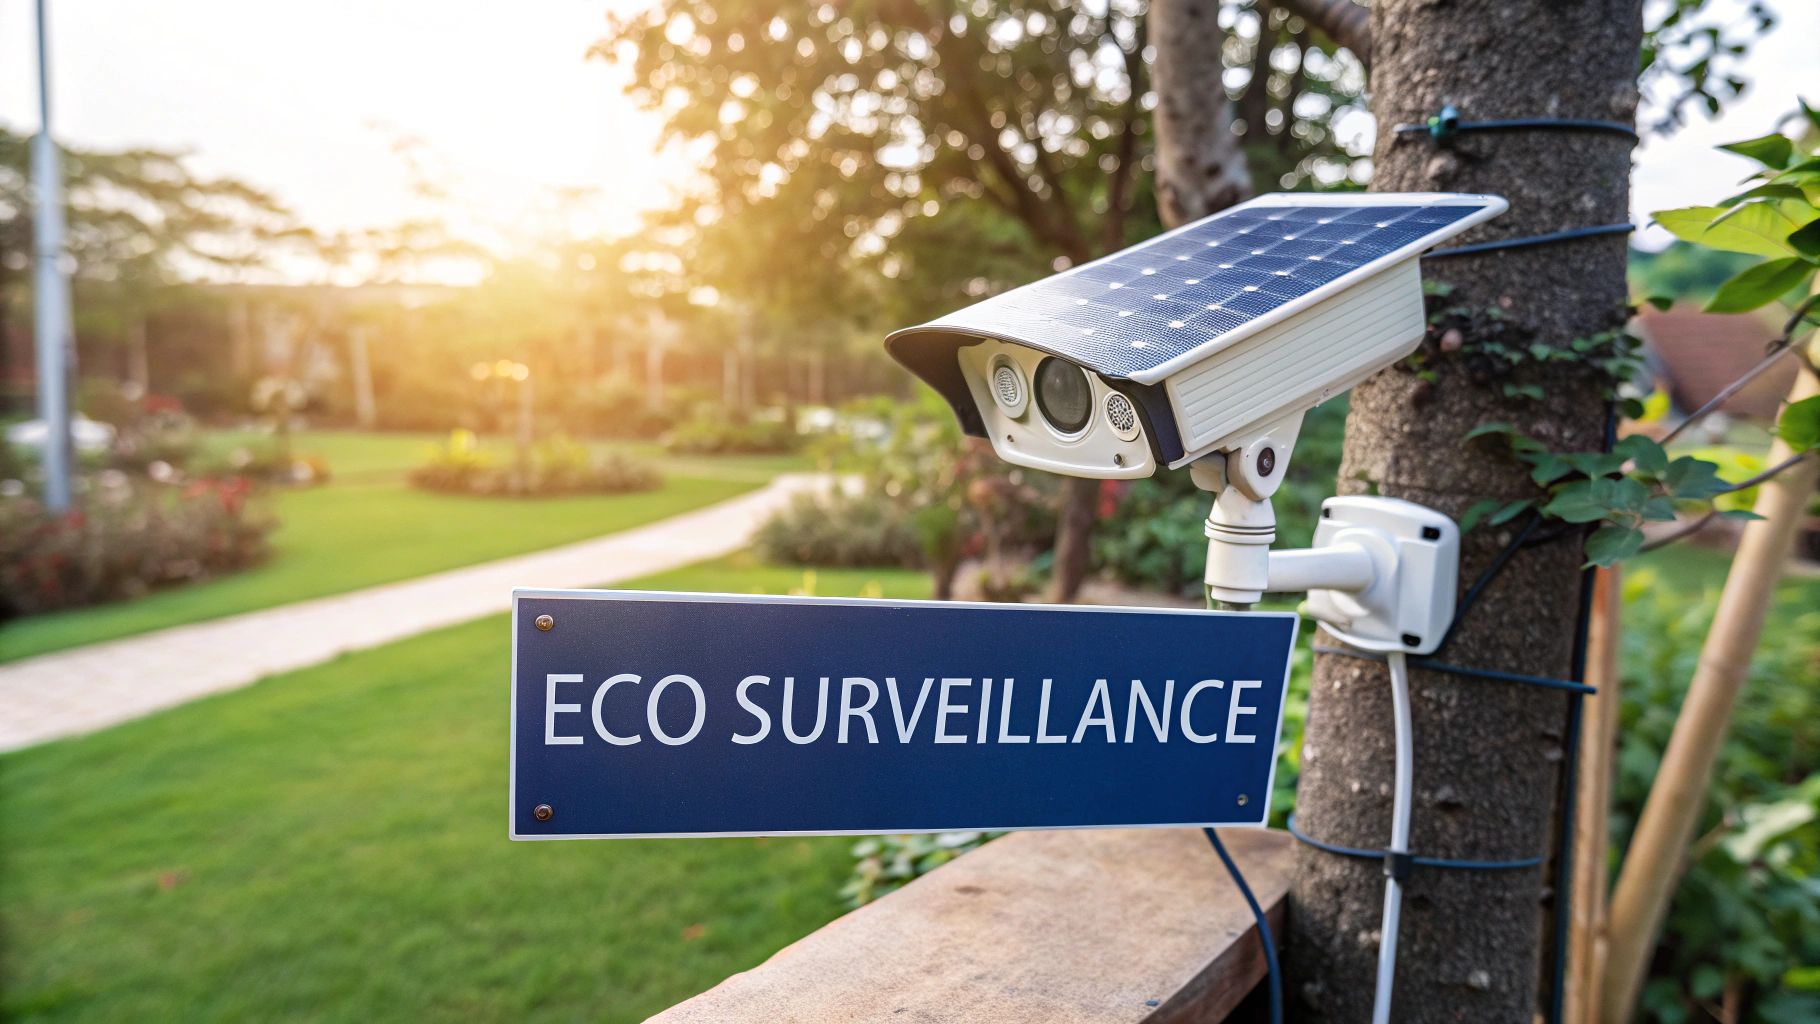
Solar-powered security camera systems are your best bet for keeping an eye on places where running power cables is either impossible or just a massive pain in the backside. They simply use a solar panel to charge up a battery, giving you reliable, off-grid power for a security camera 24/7. This makes them absolutely perfect for big properties, worksites, and any remote location you can think of.
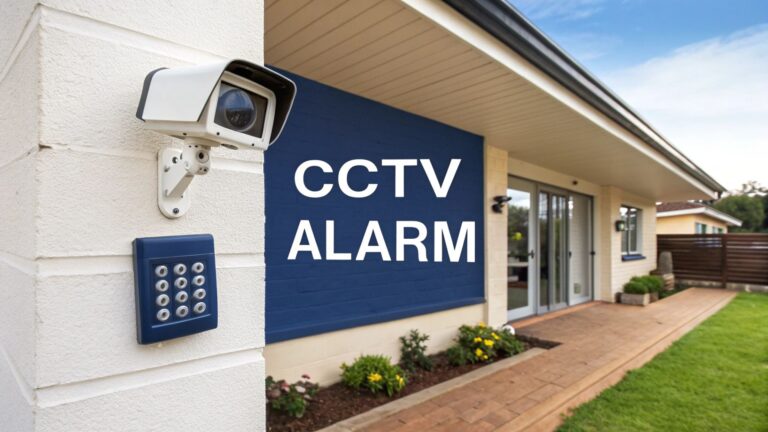
Why Off-Grid Security Is Your New Best Mate
Let’s be honest, trying to get power to the far corners of your property can be a real headache. Maybe you’re on a sprawling block on the Central Coast, managing a remote worksite near Newcastle, or just want to monitor the front gate of your Sydney home without digging up the garden. The old way of wiring everything up is often a huge hassle.
Take Dave, for example. He’s got a few acres out past Wyong and was getting fed up with people dumping rubbish near his back fence. Running a 200-metre power cable from the house was out of the question—the quote from the sparky was eye-watering, and the thought of trenching through his yard was even worse.
Dave’s problem is more common than you’d think. Traditional security cameras are fantastic, but they’re stuck on a leash to a power point. This is where solar-powered security camera systems completely change the game. They offer a simple, clever, and affordable way to put a set of eyes exactly where you need them.
Freedom From The Grid
The real beauty of a solar setup is its independence. It couldn’t care less about mains power, extension cords, or your electricity bill. All it needs is a bit of that classic Aussie sunshine to keep on running, day and night. This opens up a whole new world of possibilities for securing those tricky spots.
- Remote Gates and Driveways: See who’s coming and going without the drama of complex wiring.
- Large Rural Properties: Keep an eye on sheds, water tanks, or livestock way out in the back paddock.
- Construction and Work Sites: Protect your tools and materials on sites that don’t have permanent power sorted yet.
- Holiday Shacks and Boatsheds: Get peace of mind when you’re not around, even in isolated spots.
A well-placed solar camera system is more than just another security gadget; it’s a practical solution that saves you time, money, and a whole lot of fuss. You can forget about the limitations of the grid and start thinking about security that works for you, wherever you need it.
Ultimately, these systems put the power back in your hands. You’re no longer restricted by where your power outlets are. Instead, you can design a security layout based on what actually needs protecting. To get a better feel for how this fits into a bigger security plan, check out our detailed guides on modern security and CCTV solutions. It’s all about being smart, practical, and making the sun work for you.
How Solar Security Cameras Actually Work
So, what’s really going on inside these clever bits of kit? It’s easy to think solar powered security camera systems are some kind of futuristic tech, but the idea behind them is actually wonderfully simple and built tough. It’s less about baffling electronics and more about a smart, self-contained ecosystem.
Let’s break it down with a simple analogy. Think of the solar panel as the system’s “sun-catcher,” the battery as its “energy tank,” and the camera as the vigilant “watchdog” that never sleeps. These three core parts work in sync to give you 24/7 security without ever needing to touch your home’s power supply.
The Sun-Catcher: The Solar Panel
Everything kicks off with the solar panel. This isn’t just a slab of glass; it’s a seriously efficient photovoltaic (PV) panel, engineered to drink up as much Aussie sun as it can get. When sunlight strikes the panel’s silicon cells, it gets the electrons moving, which creates a direct current (DC) of electricity.
It’s basically a mini power plant bolted to your roof or a pole. Its one and only job is to generate a steady stream of power whenever the sun’s out—even on those gloomy, overcast Newcastle mornings. This power then travels down a cable to the next piece of the puzzle.
The Energy Tank: The Battery
The electricity from the panel flows straight into a long-life rechargeable battery, which is the absolute key to the camera’s off-grid freedom. This battery acts as an energy reservoir, storing all that power generated during the day. This ensures the camera has more than enough juice to run all night or get through a few cloudy days in a row.
Today’s systems use high-capacity lithium-ion batteries, a lot like the one in your phone, but way more powerful. They’re built to withstand thousands of charge-and-discharge cycles, keeping your camera powered up for years. It’s this stored energy that makes sure your “watchdog” stays on duty, even when a big Hunter Valley storm rolls in.
The real genius is how the system balances everything. It’s smart enough to charge the battery and power the camera at the same time during the day. Then, when the sun dips, it flips over to battery power seamlessly, so you never have a gap in your surveillance.
The Watchdog: The Camera and Its Smarts
Last but not least, we have the camera itself. This is the part doing all the heavy lifting for your security, drawing a steady, low-voltage current from the battery to run its lens, sensors, and internal tech.
And these aren’t just basic cameras. They come loaded with clever features:
- High-Definition Video: To capture crystal-clear footage, day or night.
- Motion Detection: This is a huge power-saver. The camera only records when it senses movement.
- Night Vision: Using infrared LEDs, it can see perfectly in total darkness.
- Wireless Connectivity: Most use Wi-Fi or a 4G SIM card to stream live video and send alerts straight to your phone.
Thanks to Australia being a world leader in solar tech, these systems are now incredibly good at what they do. New breakthroughs in photovoltaic cells mean modern panels can hit over 22% efficiency, allowing them to work reliably even when sunlight is scarce. This efficiency is what makes them so dependable, whether you’re just pointing one at your back gate or looking at a full CCTV system for your entire house.
Planning Your Perfect Surveillance Setup
Before you splash any cash on a new solar security setup, let’s talk strategy. A little bit of planning now will save you a world of headaches later. Just grabbing the best-looking camera and sticking it on a wall isn’t going to cut it; you need to think like a security pro and a sun-worshipper all at once.
The success of any solar-powered security camera system comes down to one thing: getting enough sunlight. This means you need to become a bit of a sun detective on your own property. It’s not just about finding a sunny spot; it’s about finding the best sunny spot.
Conducting Your Sun Audit
Let’s imagine a homeowner in a Sydney suburb. They want a camera watching their new boat parked in the driveway, which happens to be on the south side of the house. The obvious choice seems to be mounting the camera and panel right there on the garage wall, but that’s a classic mistake in the Southern Hemisphere.
For maximum sun exposure, solar panels in Australia need to face north. This angle allows them to track the sun as it travels across the sky for the longest part of the day, making sure the battery gets a full, deep charge. You’ll need to find a north-facing eave, a patch of roof, or even a pole that gets clear, direct sunlight from about 9 am to 3 pm.
Don’t just guess where the sun will be. Spend a full day watching your property. Take note of which spots are drenched in sunlight and which are covered by shade from trees, the house, or the neighbour’s new extension—especially during winter when the sun sits lower in the sky.
This whole process is what we call a ‘sun audit’, and it’s easily the most important step in planning your system. Get this right, and your camera will have all the power it needs, even during a week of classic La Niña gloom.
This simple checklist will help you nail down the perfect spot for your solar panel.
Solar Panel Placement Checklist
| Checklist Item | Why It Matters | Pro Tip |
|---|---|---|
| Faces North? | Maximises daily sun exposure in Australia, leading to better battery charging. | Use a compass app on your phone to find true north. Don’t just guess! |
| Unobstructed Sunlight? | Shade from trees, buildings, or even gutters will drastically reduce power generation. | Check for shadows at different times of the day (morning, noon, afternoon) to be sure. |
| Is it Secure? | The panel needs to be mounted firmly to withstand wind, rain, and potential tampering. | Use the correct mounting hardware for the surface (brick, wood, metal) and check it’s tight. |
| Cable Length? | The panel needs to be close enough for its cable to reach the camera without being stretched. | Before you drill, measure the distance from the ideal panel spot to the camera spot. |
Following these steps ensures your panel isn’t just an ornament; it’s a powerhouse for your security.
Pinpointing Your Security Needs
Once you’ve found your prime solar real estate, you need to think about what you’re actually trying to protect. Are you trying to capture a number plate at the front gate, or do you just need a general overview of your backyard? The answer changes everything.
Let’s go back to our boat owner. Their goal is clear: protect the boat. This means they need a camera with a direct line of sight to the driveway, but a few other practical details come into play:
- Camera Angle: Pointing a camera straight where the sun rises or sets will create blinding glare, making your footage useless. You’ll need to position it to look slightly down and away from the direct path of the sun.
- Coverage Area: Is it just the boat, or should the camera also see the footpath? A wider lens might be needed, or you might have to place the camera higher up for a better vantage point.
- Wi-Fi Strength: Before you even think about drilling holes, take your phone to the proposed camera spot and check the Wi-Fi signal. If you’ve only got one bar, the video stream will be choppy and unreliable. You might need a Wi-Fi extender to get a solid connection out there.
This simple diagram shows how all the pieces fit together to turn sunlight into security footage.
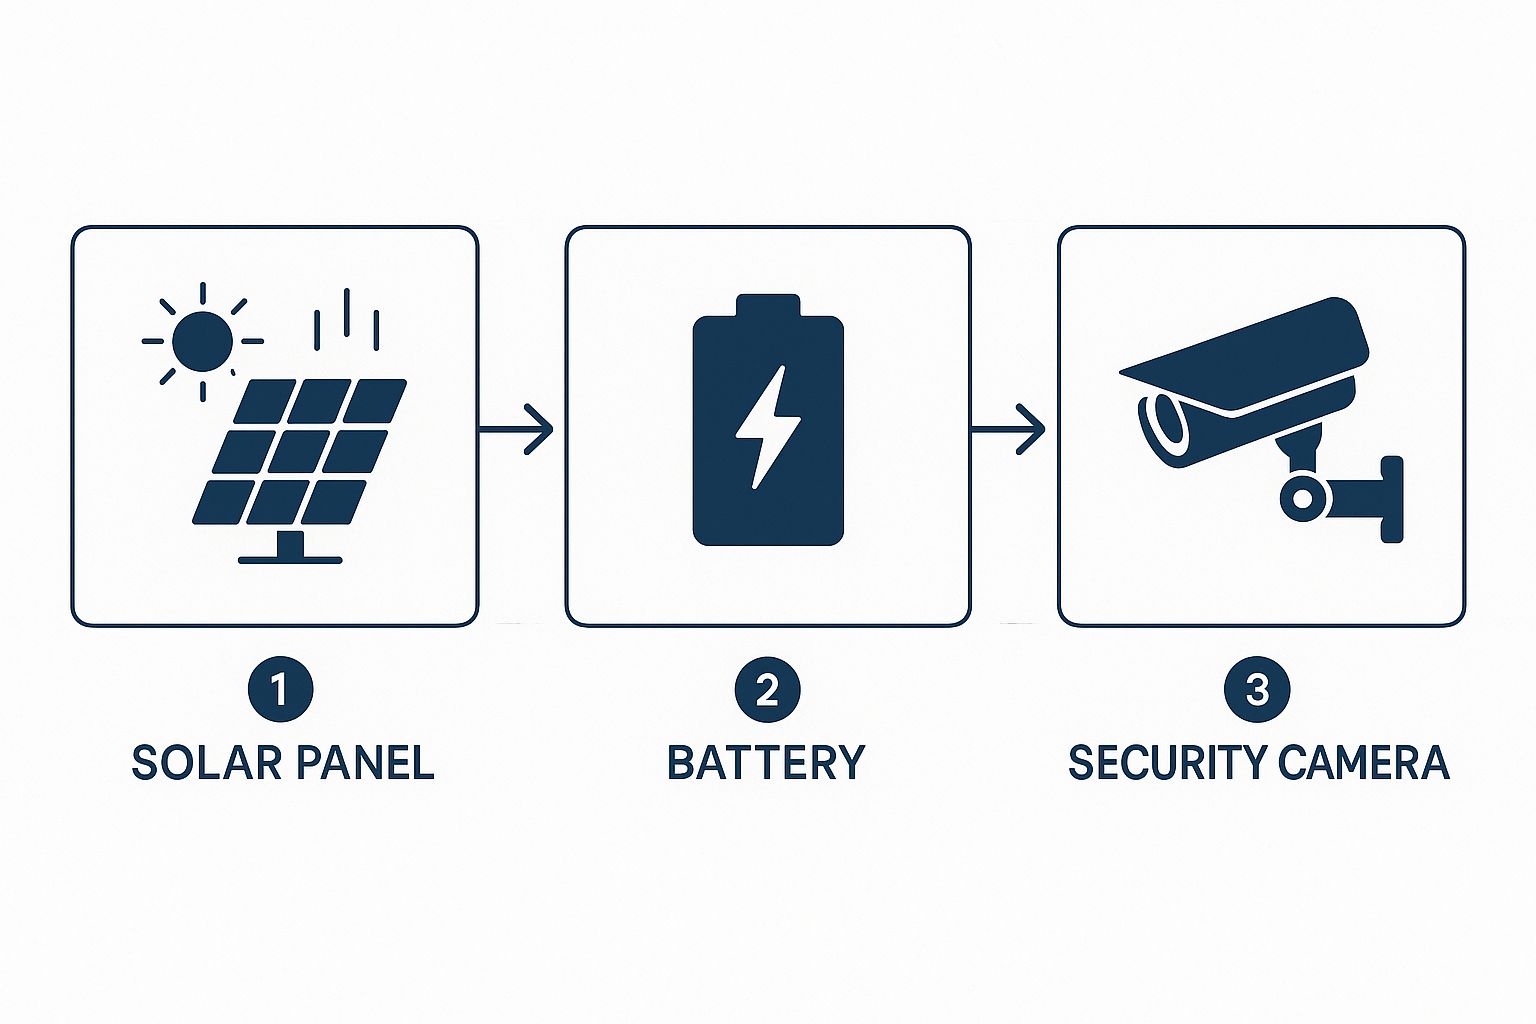
As you can see, the panel, the battery, and the camera are all critical links in an unbroken chain of energy and data. If one fails, the whole system fails.
Finally, think about the battery. Sydney can get some pretty miserable, rainy weeks. You’ll need a system with a battery big enough to store at least three to four days of power. This ensures your camera doesn’t go dark after just a couple of cloudy afternoons. It’s this kind of detailed planning that turns a good idea into a truly reliable security solution.
Choosing The Right Solar Security System
Diving into the world of solar powered security camera systems can feel a bit like wandering through the electronics aisle at JB Hi-Fi. The options seem endless, and every box claims it’s the best thing since sliced bread. But the reality is, not all cameras are built the same. Some are perfect for keeping an eye on your front porch, while others are tough enough for a rugged worksite.
To get our heads around this, let’s think about a classic Aussie neighbourhood story. Imagine two neighbours, Sharon and Mick, living on a quiet street on the Central Coast. They both want solar security, but their needs are worlds apart.
Sharon just wants to know when her online shopping arrives and to make sure no one nicks her parcels off the doorstep. All she needs is a simple, reliable camera that pings her phone when someone walks up to her door. She isn’t too fussed about cinematic quality; as long as the image is clear, she’s happy.
Mick, on the other hand, runs a small landscaping business from home. He’s got thousands of dollars of tools and equipment sitting in his yard, so he needs something far more robust. He’s after a system with crystal-clear 4K resolution to capture number plates, colour night vision to see exactly what’s happening after dark, and a powerful spotlight to scare off any would-be thieves.
Sharon can easily get away with a budget-friendly, all-in-one unit. Mick, however, needs to invest in a higher-spec system to properly protect his livelihood. Their story really highlights the first rule of choosing a camera: match the tech to the task.
Sorting The Must-Haves From The Nice-To-Haves
So, how do you figure out if you’re a ‘Sharon’ or a ‘Mick’? It all comes down to understanding which features actually make a difference for your situation. Let’s break down the key specs you’ll come across.
1. Camera Resolution (HD vs 4K)
- HD (1080p): This is pretty much the standard for most residential cameras. It’s perfectly fine for general monitoring, like watching the kids in the yard or seeing who’s at the front door. You’ll get a clear picture, but you might struggle to read a number plate from 20 metres away.
- 4K (Ultra HD): This is a massive step up, offering four times the detail of 1080p. It’s brilliant for covering large areas or when you need to zoom in on something far away without the image turning into a pixelated mess. If identifying faces or number plates is critical, 4K is worth the extra coin.
2. Night Vision (Infrared vs Colour)
- Infrared (IR): This is the classic black-and-white night vision we all know. It uses infrared LEDs to light up the area—invisible to our eyes but clear as day for the camera. It’s effective and doesn’t drain the battery.
- Colour Night Vision: Some cameras come with built-in spotlights that flick on when they detect motion, allowing them to record in full colour at night. This gives you way more useful detail, like the colour of a car or a person’s jacket, which can be absolutely vital.
For most homes, standard infrared is perfectly adequate. But for high-security spots like a business entrance or a driveway where you store valuable assets, the extra detail from colour night vision is a massive advantage.
Getting Smart With Motion Detection
This is where the real magic happens in modern cameras. Gone are the days of getting an alert every time a gum leaf blows past the lens. Today’s systems use much smarter technology.
- Basic PIR Motion Detection: This type detects heat and movement. It’s certainly better than nothing, but it can still be triggered by passing cars, pets, or even hot air blowing from a vent.
- AI Person/Vehicle Detection: Now this is a game-changer. The camera’s software is clever enough to tell the difference between a person, a car, and your neighbour’s cat. This means you only get alerts that actually matter, which saves you a lot of hassle.
This kind of smart technology is becoming more common and is a key reason the market is growing so quickly. The global solar-powered security camera market was valued at $2.1 billion AUD in 2023 and is projected to skyrocket to $8.9 billion AUD by 2033, driven by these smart features and the huge demand for flexible, off-grid security.
Ultimately, picking the right system is a simple cost-benefit analysis. Don’t pay for 4K if you’re just watching for the postie. But at the same time, don’t cheap out on a basic model if you’re trying to protect valuable assets. By understanding these core features, you can make a smart choice that delivers genuine peace of mind. To see how these cameras fit into a broader security plan, check out our guide to smart home security systems.
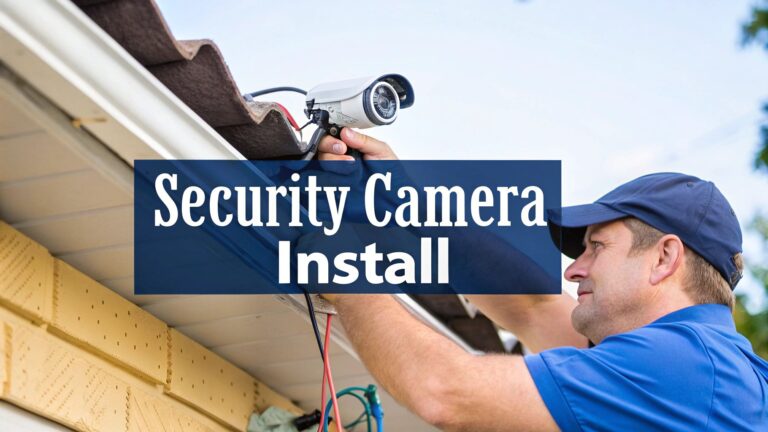
A Simple Guide to Installation and Maintenance
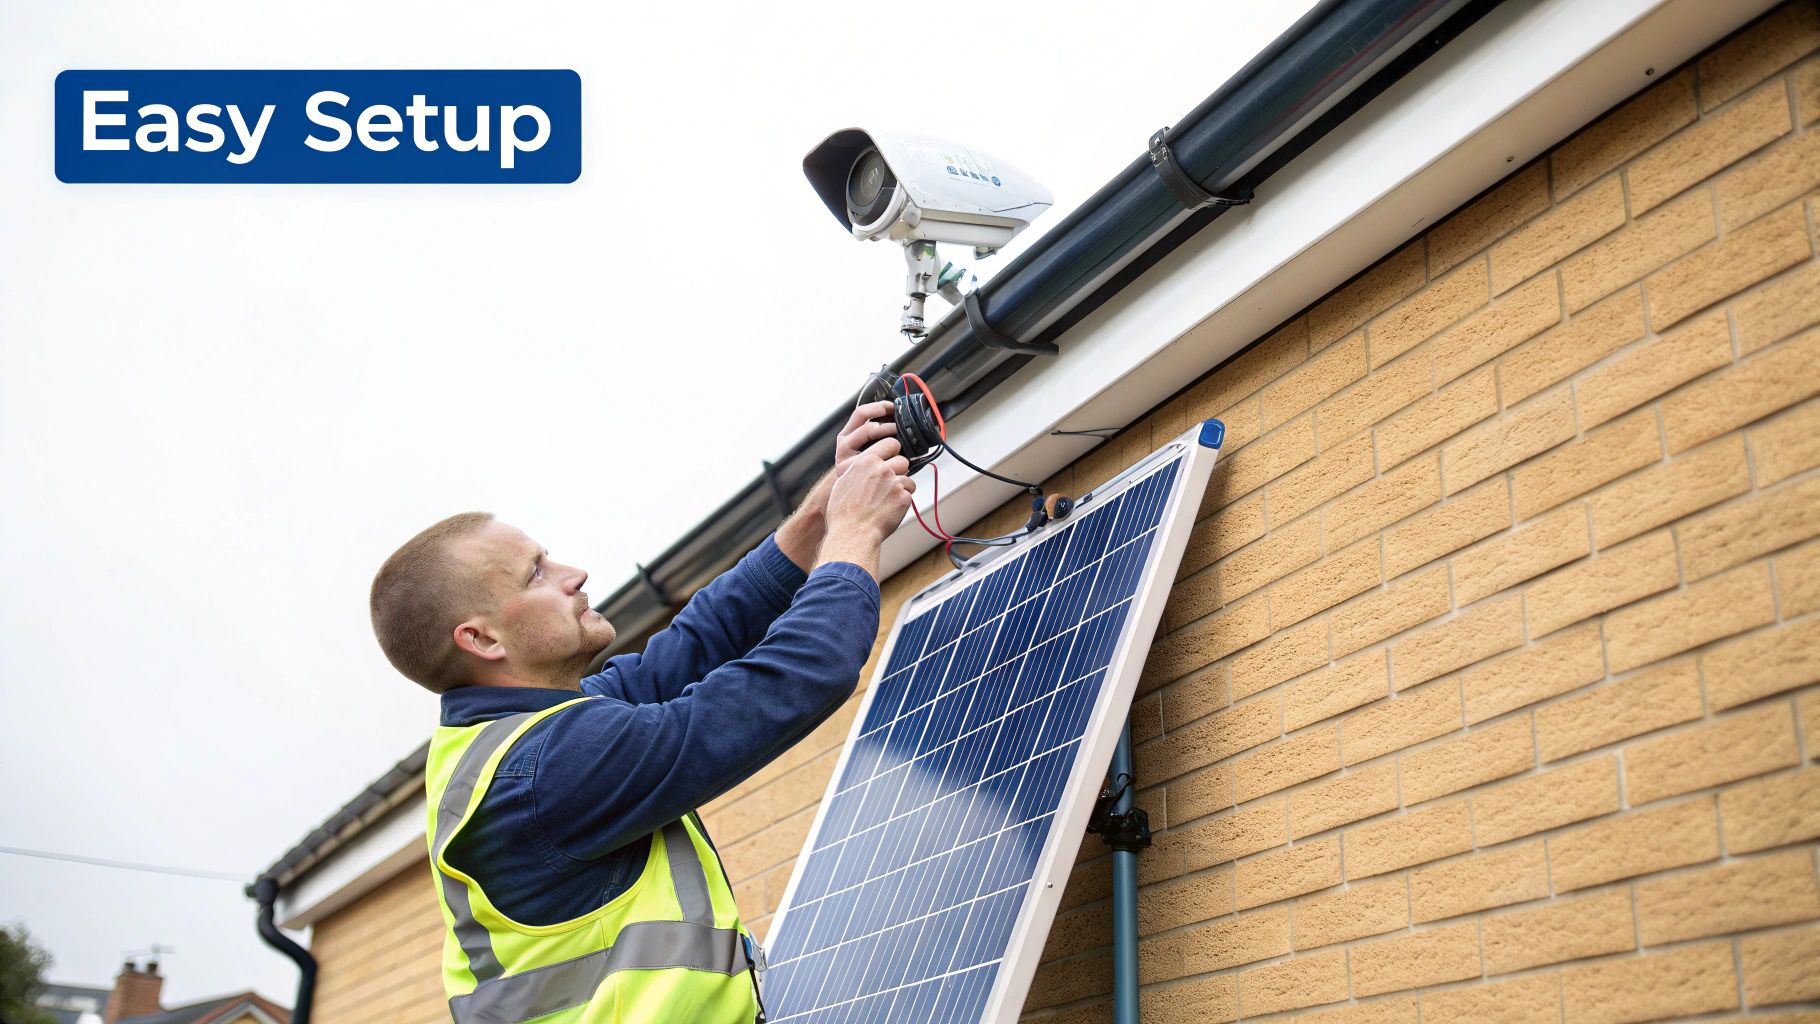
So, you’ve done the hard yards—you’ve planned your layout, picked the perfect gear, and now it’s time for the fun part. Installing your new solar powered security camera system isn’t some complex task reserved for tech wizards. Think of it as a satisfying weekend project that gives you a real sense of accomplishment.
Let’s walk through a typical DIY setup, from unboxing the gear to seeing that crisp, live feed pop up on your phone. It’s like adult LEGOs, but a whole lot more useful.
Kicking Off Your DIY Installation
First thing’s first: find a good spot. Remember all that sun-auditing work you did earlier? This is where it pays off. You’ll be mounting two key pieces of hardware: the camera itself and its trusty solar panel. While they don’t have to be in the exact same spot, the panel’s cable needs to comfortably reach the camera.
Here’s a quick rundown of the usual steps:
- Mount the Camera: Pick your ideal vantage point and securely fix the camera mount to a wall, eave, or pole. Most kits come with a handy drilling template to make this bit foolproof. Just make sure it’s high enough to get a great view and stay out of easy reach.
- Mount the Solar Panel: This is the most critical step. Using your phone’s compass, find a solid, north-facing spot that gets heaps of sun. Secure the panel’s bracket, attach the panel, and angle it to catch the most rays throughout the day.
- Connect and Tidy Up: Now, run the cable from the panel to the camera and plug it in. Use a few cable clips to tack the wire neatly along the wall—nothing looks worse than a droopy, dangling cable. It’s a small detail that makes the whole job look pro.
- Power Up and Connect to Wi-Fi: Once everything is physically installed, just follow the app’s instructions to link the camera to your home Wi-Fi network. This usually just involves scanning a QR code and punching in your password. Within minutes, you should have a live video feed right there on your phone.
For a more detailed walkthrough on camera placement and wiring techniques, our guide on how to install security cameras provides some excellent tips that apply here too.
Keeping Your System in Top Nick
With your camera up and running, a little bit of upkeep will ensure it performs flawlessly for years to come. The good news is that solar powered security camera systems are incredibly low-maintenance. There are no finicky electronics to mess with, but a few simple checks every now and then will make all the difference.
Think of it like cleaning your sunnies—a quick wipe guarantees a clear view.
The biggest enemy of any solar panel isn’t clouds; it’s dirt. A layer of dust, bird droppings, or grime from a recent downpour can seriously reduce its ability to generate power, leaving your camera’s battery struggling to charge.
Your Simple Maintenance Checklist
Here’s an easy schedule to keep things humming along. You won’t need to do this often—maybe just once a season or after a big storm.
- Clean the Solar Panel: Grab a soft cloth and some water (a bit of gentle soap is fine, too) and give the panel a good wipe-down. Make sure it’s free from dust, pollen, and any unwanted gifts from the local birdlife.
- Check the Camera Lens: While you’re at it, give the camera lens a gentle clean with a microfibre cloth. Cobwebs and dust bunnies love to build homes in front of lenses, which can block the view and trigger false motion alerts.
- Inspect the Connections: Give the cable running from the panel to the camera a quick once-over. Check that it’s still securely plugged in at both ends and hasn’t been chewed on by a possum or damaged by the weather.
- Trim Back Trees and Bushes: That small shrub near your panel can grow surprisingly fast. Keep any nearby foliage trimmed back so it doesn’t cast a shadow over the panel later in the day.
And that’s pretty much it. A few minutes of simple care every few months is all it takes to ensure your solar watchdog stays powered up and ready to protect your property, come rain, hail, or scorching Sydney shine.
The Big Benefits Of Going Solar For Security
So, after all that tech talk and planning, what’s the real payoff? Why are so many Aussies, from suburban Sydney to the rural Central Coast, jumping on the solar-powered security camera bandwagon? It really boils down to a mix of common sense, long-term savings, and a genuine desire to be a bit greener. It’s one of those practical choices that just clicks.
Let’s get straight to the point: saving money on your power bills. A standard wired security camera might not seem like a massive energy drain, but remember, it’s running 24/7, 365 days a year. That constant trickle of power definitely adds up over time.
A single solar camera can trim anywhere from $50 to $100 off your annual electricity costs. Now, imagine you’ve got a few of these set up around your property. Suddenly, you’re looking at a pretty decent saving that goes straight back into your wallet.
Freedom To Secure Absolutely Anywhere
The real game-changer here, though, is the sheer flexibility. You’re completely untethered from the nearest power point.
Got a big shed at the back of your property? A long, dark driveway? Maybe a new granny flat that’s just too far from the main house to easily run new wiring? No problem. If a spot gets a reasonable amount of sun, you can stick a camera there.
This freedom completely changes what’s possible for home security. You can forget about the hassle and cost of hiring a sparky to run new cables or the nightmare of digging up your lawn. You just mount the camera and its solar panel, and you’re set. This kind of versatility is a huge advantage, much like the freedom you get with modern wireless home alarm systems.
A Smarter, Greener Choice For Your Home
Beyond the purely practical benefits, there’s a good feeling that comes from running your security on clean, renewable energy. It might seem like a small step, but it’s a smart one. By choosing a solar security system, you’re actively cutting down your carbon footprint and making use of the most powerful resource we have in Australia: the sun.
This decision fits right in with the growing Aussie trend towards more sustainable living. It’s not just about saving money; it’s about making a forward-thinking choice that’s better for your security and for the planet.
Here in Australia, we’re lucky to have incredibly high solar irradiance, averaging between 4 to 7 kWh/m²/day. This makes our country one of the best places on Earth for this technology to really shine. The move towards renewables isn’t just a government initiative; it’s a practical choice for off-grid power, making solar security a natural fit for our sun-drenched lifestyle. You can read the full research about the Australian CCTV market here.
Got Questions? We’ve Got Answers
It’s natural to have a few questions before you dive in. We get asked about solar security cameras all the time by people across Sydney, the Central Coast, and Newcastle. Here are the most common ones, with some straight-to-the-point answers to help clear things up.
But Do They Actually Work on Cloudy Days or at Night?
Yep, they sure do. This is probably the number one concern we hear, but modern systems are designed precisely for this scenario. During the day, the solar panel is busy charging a powerful onboard battery.
Think of it like a dedicated power bank just for your camera. When the sun dips or the clouds roll in over the Hunter, the camera just switches over to its battery reserve without missing a beat. That battery usually holds enough juice to last for several days without any sun at all, so you’re always covered.
How Much Sun Do They Really Need to Work?
Not as much as you might think. You don’t need blistering, non-stop sunshine to keep your cameras powered up. Thanks to how efficient they are these days, just a few hours of decent, direct sunlight is typically enough to give the battery a full charge for 24 hours of operation.
Here in NSW, that’s rarely a problem. The trick isn’t about finding a heatwave; it’s about smart placement. You just need to position the panel where it can soak up the sun without being stuck in the shade for most of the day. Facing it north is always the best bet.
Is This a Complicated DIY Job or Do I Need a Pro?
For most home setups, it’s a piece of cake to do it yourself. If you’re comfortable with a drill and can follow some simple instructions, you’re good to go.
The best part is there’s no complicated electrical wiring. You’re not running cables through walls or calling in an electrician. You just mount the camera and the solar panel, plug the panel into the camera, and then set everything up on your phone through an app. Most people are up and running in under an hour.
Honestly, this simplicity is a huge selling point. You get to skip the cost and headache of hiring a sparky, which can turn an expensive project into a quick weekend win.
What if My Wi-Fi Doesn’t Reach the Back Shed?
Great question. This is a super common problem on larger properties where the home Wi-Fi signal gets a bit weak at the edges. If you want to put a camera on a back gate or down by the boatshed where the signal drops out, you’ll want to look at a 4G solar security camera.
These cameras work just like your mobile phone. They have their own SIM card inside and connect directly to the 4G mobile network. This means you can install a camera pretty much anywhere you can get a mobile signal, completely independent of your home Wi-Fi.
Ready to find a smart, reliable, and seriously cost-effective way to keep an eye on your property? Advanced Comtech has the local expertise to set you up with the perfect solar-powered security camera system.