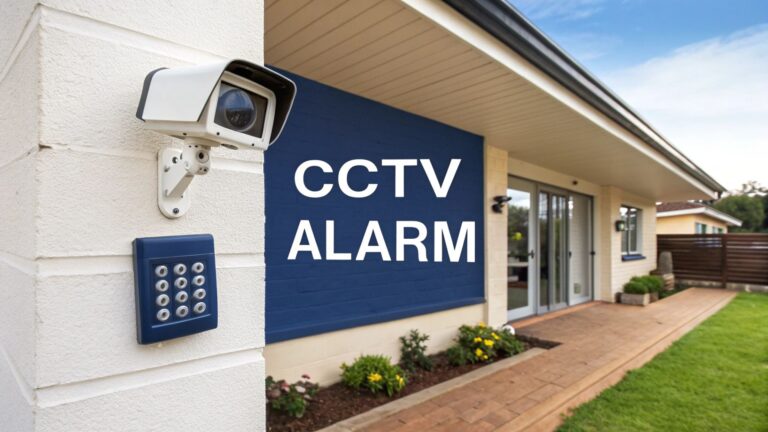
Installing your own security camera system might sound like a massive job, but it really just boils down to a few manageable stages: planning where everything goes, picking the right gear, mounting the cameras, and then getting the system configured. It’s the kind of project you can knock over on a weekend, giving you complete control over your home security without the hefty bill from a professional installer.
Why Bother with a DIY Install?
Let’s be honest, the idea of climbing a ladder with a drill in one hand and a mess of cables in the other can feel a bit daunting. But right across the Central Coast, Sydney, and Newcastle, plenty of Aussies are doing just that—taking their security into their own hands and saving a bundle. This isn’t about being paranoid; it’s about getting some peace of mind on your own terms.
I’ve got a mate, Dave, up in Newcastle who’s a classic example. He was getting really fed up with packages disappearing from his front porch. One Saturday arvo, he grabbed a simple two-camera kit online and set it up. A week later, he had perfect, clear footage of some gutsy thief pinching his brand-new fishing reel. He shot the video over to the local coppers, and let’s just say the porch pirate wasn’t feeling so confident after that.
You’re Not Alone in This
And Dave’s hardly the only one. More and more homeowners are going the DIY route, and for some pretty solid reasons. You get to call the shots on where every camera goes, you decide which features are actually important, and you skip paying someone else’s labour costs. It’s a trend that’s picking up steam all over the country.
The security camera market here in Australia is absolutely booming, valued at nearly USD $555.51 million in 2024. Projections show it climbing to almost USD $969.16 million by 2034, mostly because everyday people want security solutions that are both effective and affordable. If you’re interested, you can explore more about these market trends and see just how common these systems are getting.
The Real Perks of Doing It Yourself
So, what are the actual advantages of rolling up your sleeves and tackling this yourself? It really comes down to a few key benefits that put you in control.
- Serious Cost Savings: The most obvious win is dodging installation fees. These can easily double the cost of the equipment itself.
- Complete Customisation: Nobody knows the blind spots and vulnerable areas of your property better than you do. A DIY job means you can put cameras exactly where they’re needed most, not just where it’s easiest for an installer to run a cable.
- Knowing Your System: When you’re the one who sets it all up, you learn how every part of it works. That knowledge makes troubleshooting down the line or adding another camera an absolute breeze.
Honestly, the best thing about a DIY security camera install is the confidence you get from it. You haven’t just bought a product; you’ve built a security solution tailored perfectly to your home and lifestyle. It’s a practical skill that keeps paying off.
Choosing the Right Camera System for Your Home
Walking into a tech shop to look at security cameras can be overwhelming. You’re hit with a wall of jargon like PoE, NVR, DVR, and IP ratings, and it’s enough to make anyone’s head spin. Don’t worry, let’s cut through the noise together.
Picking the right gear isn’t about grabbing the most expensive box off the shelf. It’s about finding the right fit for your home, whether that’s a small apartment in Glebe or a bigger family place up in the Hunter Valley. A single Wi-Fi camera might be all you need to watch the front door, but for a larger property, a hardwired system is going to give you that bulletproof reliability you’re after.
This image gives you a great visual of the key tools and materials you’ll be working with. It helps to see it all laid out.
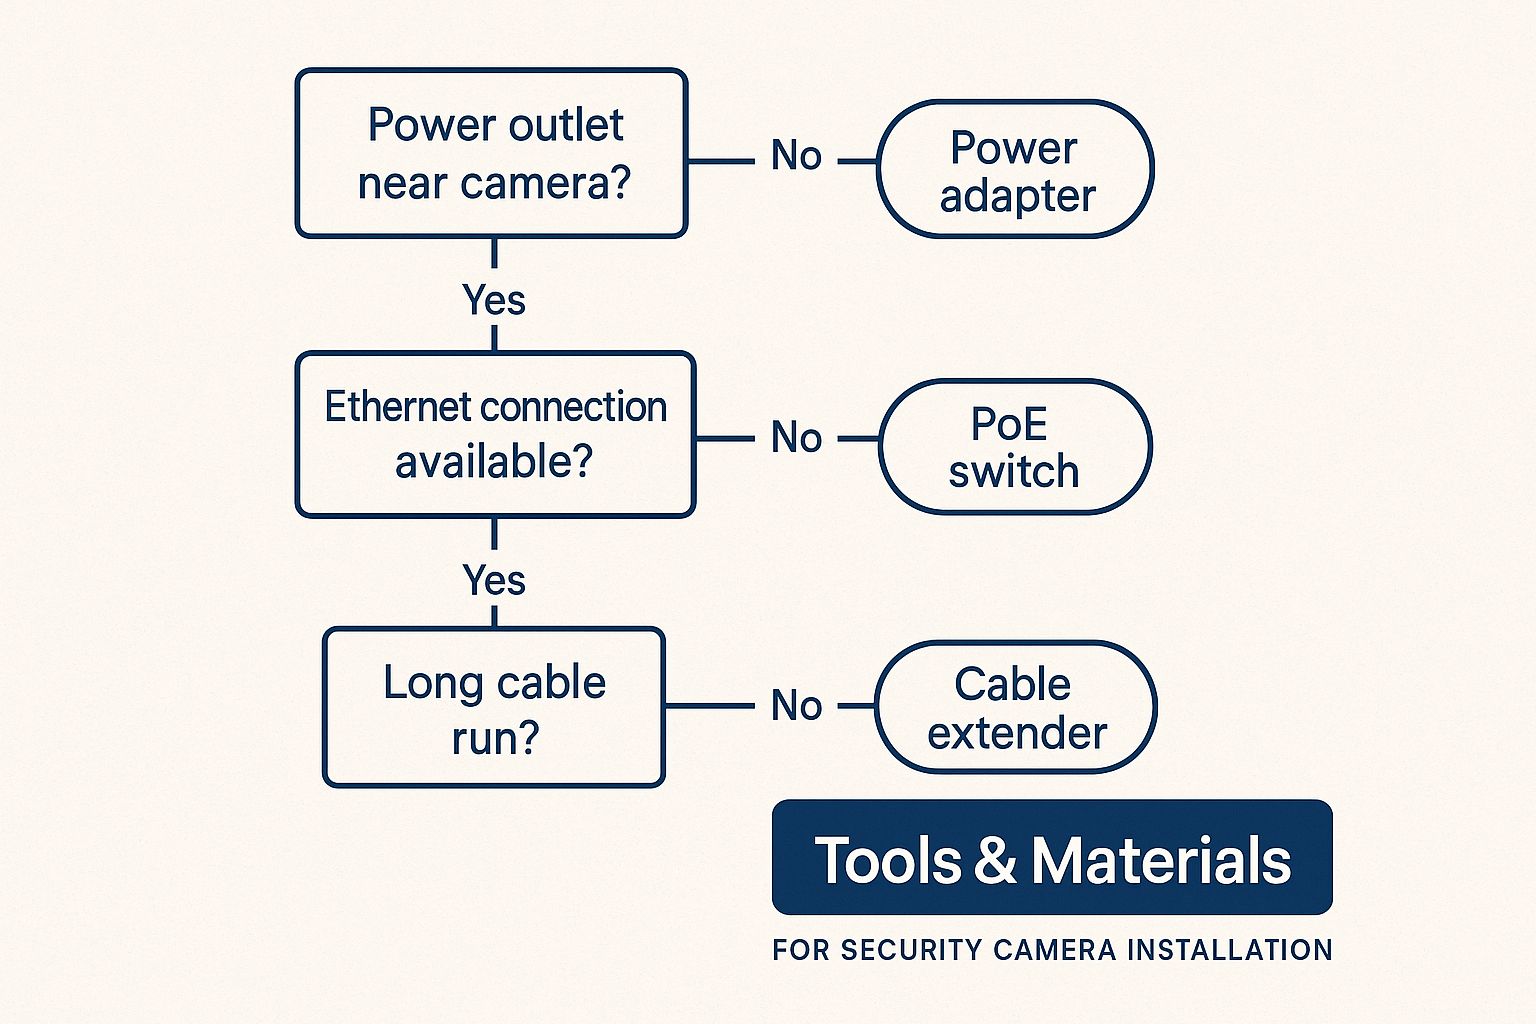
Seeing it all like this makes the whole process feel much more achievable, doesn’t it? With a bit of prep, a DIY install is definitely on the cards.
Wired vs Wireless: What’s the Real Difference?
The first big decision you’ll face is whether to go with a wired or a wireless system. It’s a common misconception that “wireless” means no cables at all, which isn’t quite true. While these cameras send their video signal over your Wi-Fi network, they almost always need to be plugged into a nearby power point.
A wired system, on the other hand, typically uses Power over Ethernet (PoE). This clever setup runs a single ethernet cable to each camera, which handles both power and the data connection. Yes, it’s more of a hassle to install, but you get a rock-solid connection that isn’t at the mercy of a dodgy Wi-Fi signal.
To make it easier, here’s a no-nonsense comparison to help you decide which type of camera system is right for your home.
| Feature | Wired (IP/PoE) System | Wireless (Wi-Fi) System |
|---|---|---|
| Reliability | Extremely reliable and stable connection. Not affected by Wi-Fi dropouts. | Depends on the strength and stability of your Wi-Fi signal. Can be prone to interference. |
| Installation | More complex, involves running cables through walls and ceilings. | Much simpler to install. Can be set up in minutes with just a power drill. |
| Video Quality | Consistently high-quality video without compression issues. | Quality can fluctuate depending on Wi-Fi bandwidth and signal strength. |
| Power Source | Power and data are supplied through a single ethernet cable (PoE). | Requires a separate power cable plugged into a nearby power point. |
| Flexibility | Less flexible. Camera placement is limited by your ability to run cables. | Highly flexible. Can be moved and repositioned easily as long as it’s within Wi-Fi range. |
Ultimately, there’s no single “best” answer. A wired system is a fantastic long-term investment for a larger home, while a wireless setup offers incredible convenience for smaller spaces or renters.
Decoding Resolution and Night Vision
Okay, let’s talk video quality. You’ll see terms like 1080p, 2K, and 4K being thrown around. Here’s the simple version: 4K gives you incredibly sharp detail, which is exactly what you need to read a number plate on a car parked down the street. For most homes, 2K is the sweet spot, delivering excellent clarity without creating huge video files that eat up your storage space.
And what happens when the sun goes down? Not all night vision is created equal. Many cameras use infrared (IR) LEDs, which produce that classic black-and-white footage. The newer tech, however, is “Colour Night Vision,” which uses highly sensitive sensors and any available ambient light to capture a full-colour picture. It’s a total game-changer for identifying things like the colour of a car or a person’s clothing.
The push for better home security tech is growing fast. In fact, the Australian surveillance market is expected to expand by 8.7% annually between 2025 and 2030, with a huge swing towards these smarter, high-definition IP cameras. It just goes to show that Aussies are investing in systems that offer real peace of mind. These advanced cameras are also becoming a core part of integrated smart home security systems that tie all your devices together.
Mapping Out Your Camera Placement Strategy
So, you’ve got a box of new cameras sitting on the kitchen bench. The big question now is, where on earth do you put them? Getting this right is less about being a tech wizard and more about thinking like a thief for a few minutes. It’s the difference between getting a crystal-clear shot of a would-be burglar and a lovely, but useless, recording of your prize-winning petunias.
Let’s walk through a typical Aussie home layout. It could be a terrace in Newtown with a tight laneway, a family home in a quiet Central Coast suburb, or a bigger place overlooking Lake Macquarie. The principles are always the same. Your mission is to create overlapping fields of view that cover every likely—and even the unlikely—way someone might try to get in.
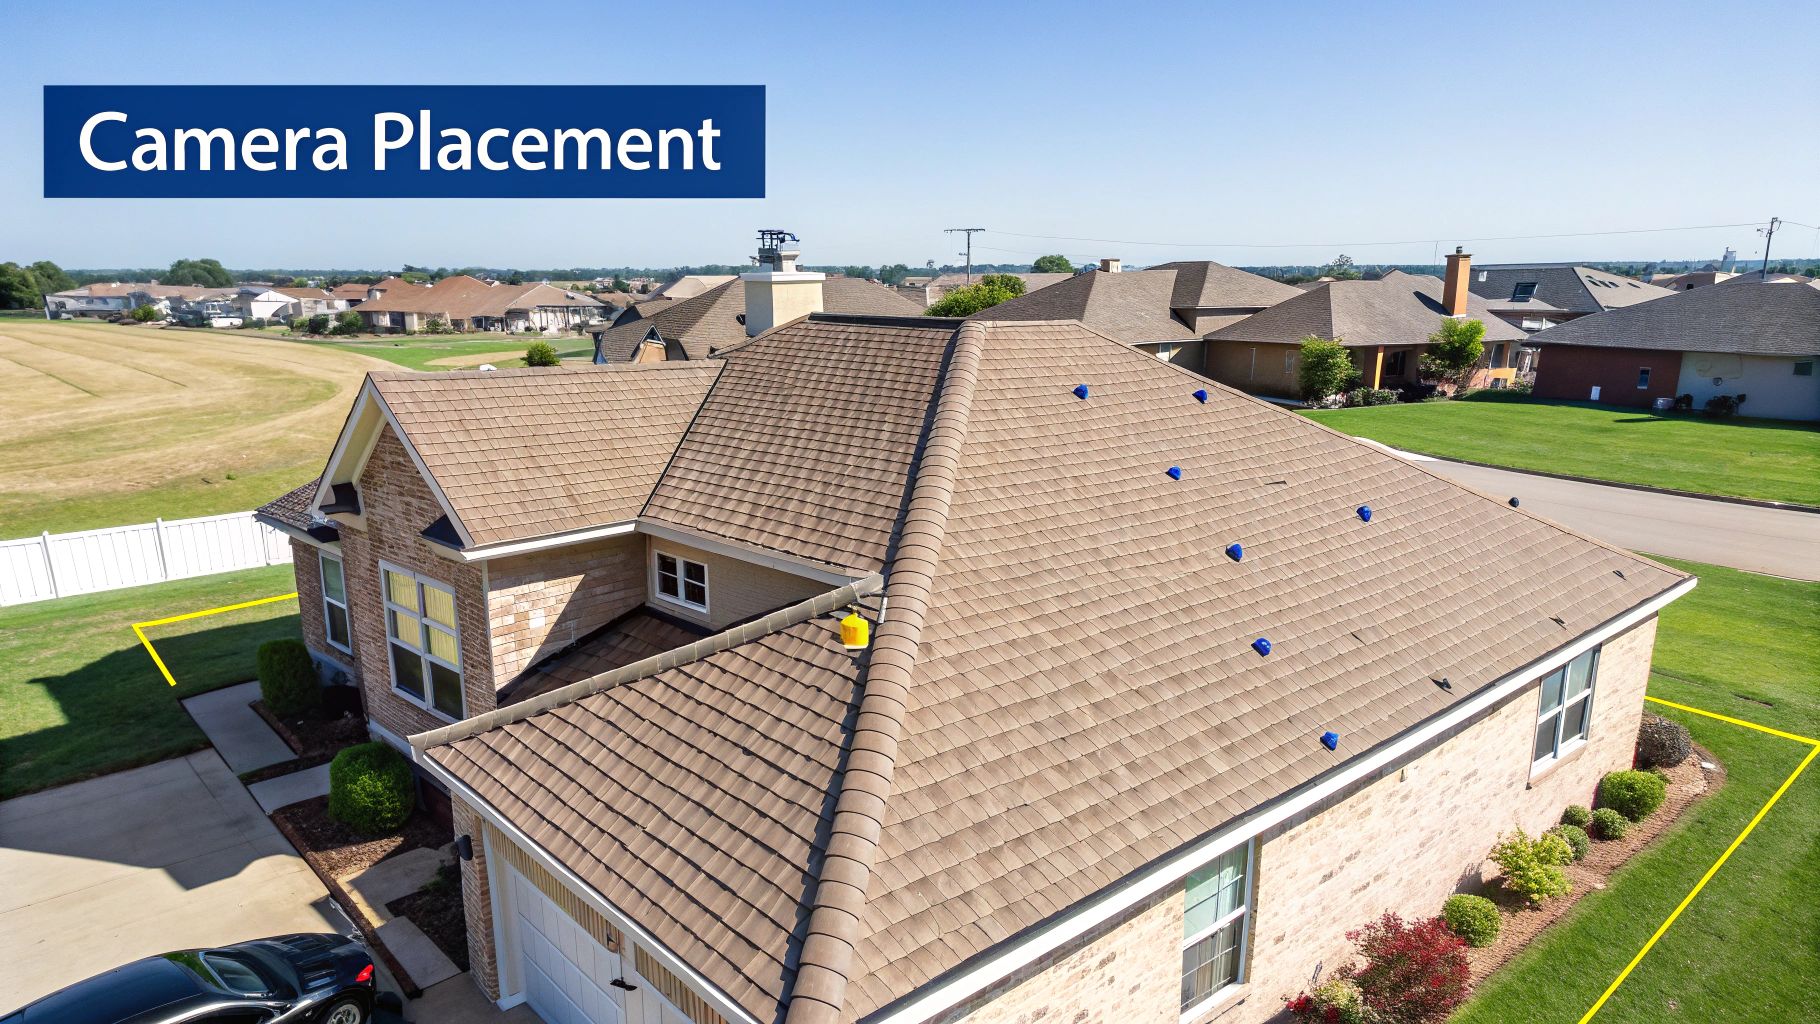
Before you even think about picking up a drill, grab a pen and paper (or your tablet) and sketch out a rough plan of your property. It doesn’t have to be a masterpiece from The Block; a simple mud map will do the trick just fine.
Pinpointing Your High-Priority Zones
First things first, let’s nail down the non-negotiables. These are the spots that over 90% of intruders will use to approach or enter a home. You want these covered, no exceptions.
- The Front Door: This is your number one priority. A camera positioned above the door, looking down and out, is perfect for capturing faces as people walk up.
- Back and Side Doors: Don’t neglect the other ways in. A camera watching over the back patio or a side door leading to the laundry is an absolute must.
- The Driveway: Pointing a camera down the driveway gives you an early warning of any person or car approaching. It’s also brilliant for settling those “who scraped the wheelie bin?” arguments.
- Off-Street Windows: Any ground-floor windows, especially those tucked away at the back or side of the house, are prime targets for break-ins.
Thinking Like a Burglar
Now for the clever bit. Crooks almost always look for the path of least resistance, and that isn’t always the front door. It’s time to think about the sneaky spots around your place.
A common mistake I see is people only focusing on the obvious entry points. The real gold is covering that secluded side path, the low-set bathroom window, or the back gate. These are the spots where intruders feel hidden and take their time.
I remember a client in Gosford who had his front and back doors covered but kept losing tools from his shed. We added one small camera pointed down the narrow, unlit path between his house and the fence. A week later, he caught someone bold as brass strolling down that path with his whipper-snipper. Problem solved.
Nailing the Technical Details
Once you’ve got your spots mapped out, there are a few practical things to think about for each camera location. Getting these details right from the start will make a massive difference to the quality of your footage.
- Mounting Height: The sweet spot is about three metres off the ground. This is high enough to be out of easy reach but low enough to get a clear, identifiable shot of a face, not just the top of a baseball cap.
- Sunlight and Glare: Whatever you do, don’t point a camera directly into the sunrise or sunset. That intense glare will white out the image, making it completely useless. Take a moment to think about the sun’s path and angle your cameras to avoid it.
- Covering Blind Spots: Try to have the view of one camera slightly overlap with the next. This creates a seamless web of surveillance, leaving nowhere for someone to hide. Think of it as drawing intersecting circles of vision all around your home.
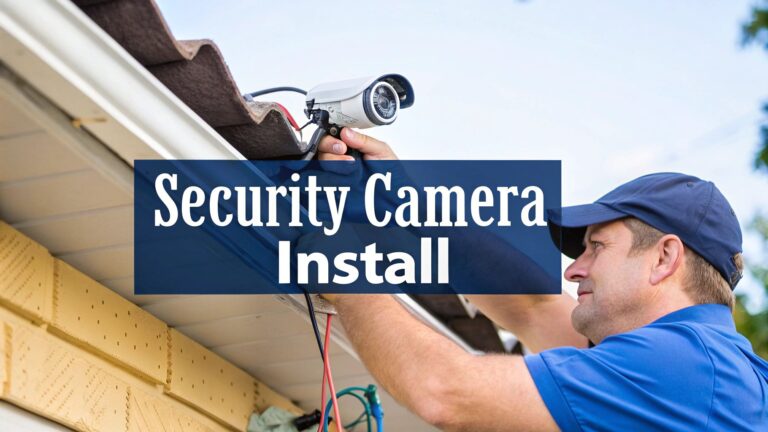
The Hands-On Guide to Mounting and Cabling
Right, you’ve planned your layout and you’ve got your gear. Now for the fun bit—time to grab your tools and get these cameras on the wall. This is where the real work begins, but don’t stress. Think of this less like a dry instruction manual and more like a chat with a mate who’s done it a dozen times before.
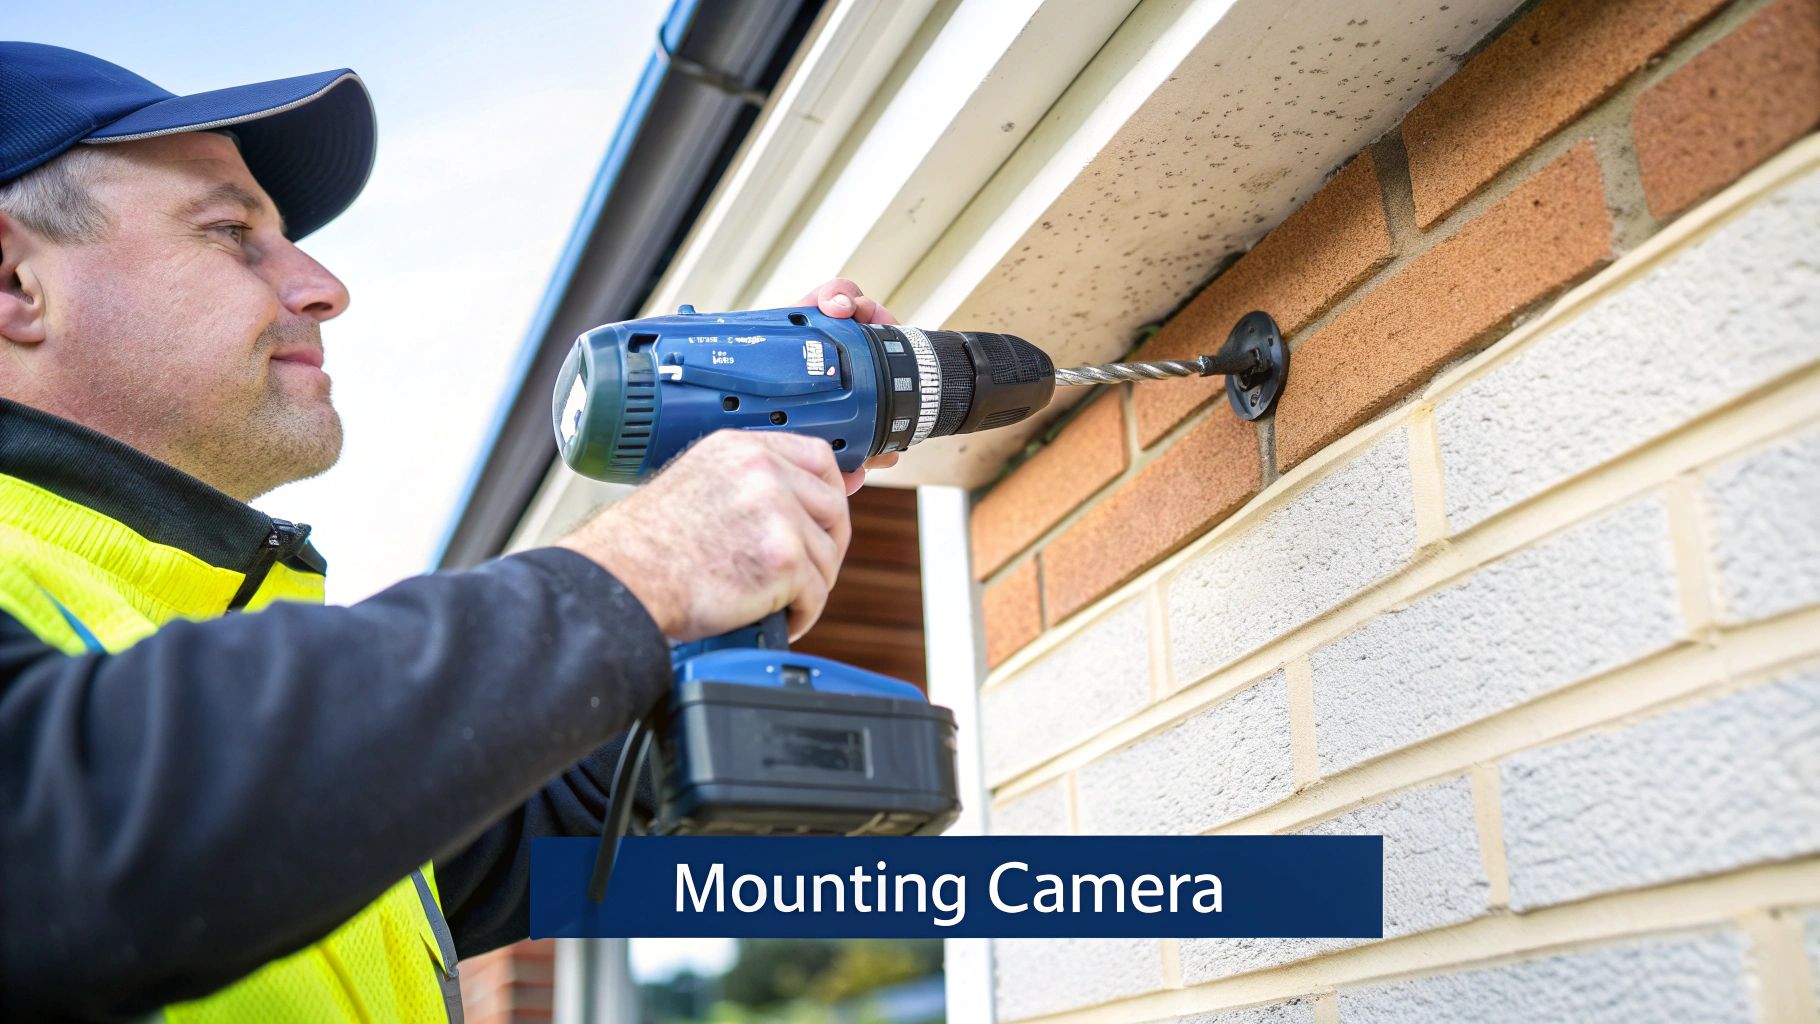
Whether you’re drilling into brick, weatherboard, or attaching a camera to the eaves, the basics are the same. The goal is to get it secure, point it in the right direction, and keep the cables neat and protected. Let’s get stuck in.
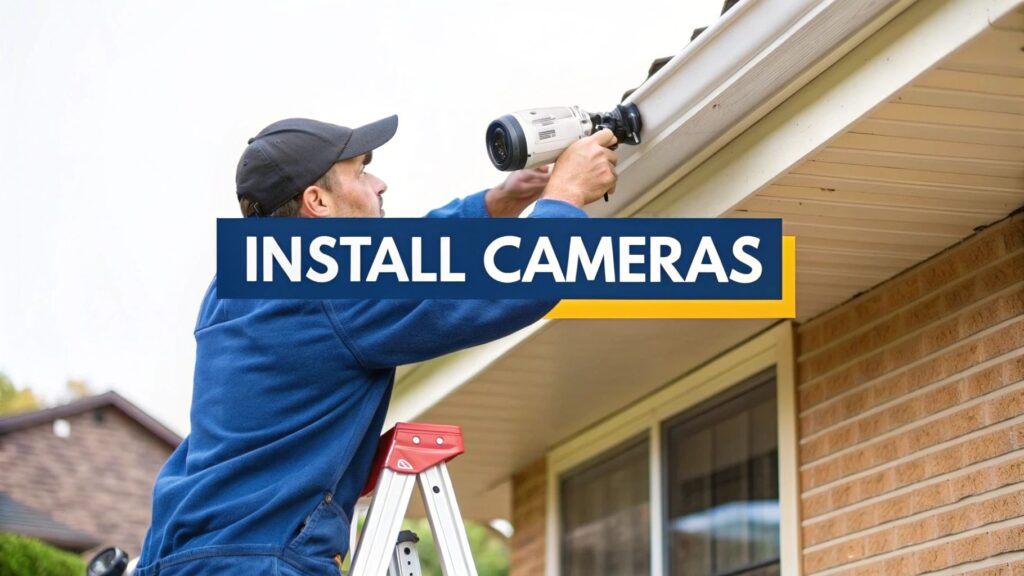
Mounting on Different Surfaces
Mounting cameras isn’t a one-size-fits-all job. The surface you’re drilling into dictates the tools and techniques you’ll need. Getting it wrong can mean a wobbly camera or, even worse, one that takes a tumble during the next southerly buster.
Here’s a quick rundown for common Aussie homes:
- Brick Walls: This is a classic for most homes around Sydney and Newcastle. You’ll need a hammer drill with a masonry bit. A top tip is to stick a piece of folded tape just below where you’re drilling to catch the brick dust—it saves a messy cleanup later.
- Weatherboard or Cladding: This is a bit easier than brick. You’ll want to find the wooden stud behind the cladding for a really solid fixing point. A simple stud finder will be your best friend here.
- Eaves and Fascia: Mounting under the eaves is perfect for protecting the camera from the worst of the weather. Just make sure the timber is solid and not rotting before you start drilling.
When you’re drilling holes for cables, especially through brick, start with a smaller pilot hole. It makes drilling the final, larger hole much easier and gives you more control. It’s a simple tradie trick that saves a lot of frustration.
The Great Cable Caper
If you’ve opted for a wired system, this is probably the part you’ve been dreading most. But honestly, running ethernet cables through your ceiling or wall cavities isn’t as scary as it sounds. It just requires a bit of patience and a few handy tools.
Your best bet is to use the ceiling space. It’s usually the most direct route from your cameras back to the NVR. You’ll need a good ladder, a torch, and some “cable pulling rods” (also known as “fish tape”) to guide the cable through the dark. Just be careful where you step up there—nobody wants an unexpected new skylight in the living room.
Running cable can be tricky, and if you’re not confident crawling around in the roof space, it might be worth looking into professional data cabling services to get the job done cleanly and safely. They have all the right gear to make it a quick and painless process.
Tips for a Clean and Weatherproof Job
A tidy installation doesn’t just look better; it lasts longer. A few extra minutes spent on the details will save you headaches down the track.
- Waterproofing is a Must: For any outdoor connections, use a weatherproof junction box. Water and electricity are not mates, and a classic Sydney downpour will find any weakness in your setup.
- Use Drip Loops: Before a cable enters a wall or a junction box, let it hang down in a small loop. This “drip loop” ensures that rainwater drips off the bottom of the loop instead of running straight into your connection point.
- Tidy Up Your Cables: Use cable clips to secure any exposed wiring neatly along the wall or under the eaves. A messy tangle of cables is not only an eyesore but also an invitation for someone to tamper with your system.
Configuring Your System: The Final Frontier
Right, the hard yakka is done. The cameras are up, the cables are neatly tucked away, and you’re probably ready for a cold one. But hold on—right now, those cameras are just expensive wall art. Let’s get this system fired up and working for you.
This is where all your planning and physical work pays off. It’s time to connect the dots and turn a bunch of hardware into a smart security shield for your property. If you’ve gone with a wired system, this just means plugging the ethernet cables from each camera into the back of your Network Video Recorder (NVR). For wireless cameras, you’ll be connecting each one to your home Wi-Fi using the manufacturer’s app.
Getting the System Fired Up
First up, grab your phone or tablet and download the app that goes with your camera system. This little piece of software is your command centre. The initial setup is usually dead simple—you’ll create an account, then scan a QR code on the NVR or on the individual cameras to get everything talking to each other.
You should see a live feed from your cameras pop up on the screen within a few minutes. Seeing that first image come through is a genuinely great feeling. It’s the moment all that effort becomes real, and you can finally see your front porch from the comfort of your couch.
With the basics online, it’s time to dive into the settings. This is the crucial part where you fine-tune the system so it’s actually helpful, rather than just pinging your phone every time a car drives down the street.
Honestly, the default settings on most camera systems are almost useless—they’re way too sensitive. Spending 20 minutes now to properly configure your motion zones and alerts will be the best investment you make. It’s the difference between a system you trust and one you just ignore.
Dialling in the Smarter Features
Today’s cameras are impressively clever, but they need a bit of direction from you. AI-driven features like person and vehicle detection are becoming common, moving from high-end commercial gear right into our homes. It’s a trend you can see happening across Australia, as even our cities are getting smarter. If you’re interested in the tech, you can read more about how AI is shaping the Australian CCTV market to see what’s coming next.
Here are the key settings you’ll want to adjust right away:
- Set Up Motion Detection Zones: Jump into the app and you’ll find a tool that lets you draw boxes or grids over the camera’s view. Use this to highlight specific areas, like your driveway or front path, while telling the camera to completely ignore the busy street or your neighbour’s yard.
- Turn On Smart Detection: This is a big one. Look for settings like “Person Detection” or “Vehicle Detection” and switch them on. This is how you stop getting alerts for swaying trees and start getting them for things that actually matter.
- Balance Video Quality and Storage: You can usually choose the recording resolution. A higher setting looks crisp and clear, but it will eat up your storage space much faster. Find a happy medium that gives you good detail without filling the hard drive in a week.
- Create Recording Schedules: You don’t always need your cameras recording 24/7. A common setup is to have them record continuously overnight for maximum security, but only switch to motion-activated recording during the day to save space.
Taking the time to get these settings right is what transforms a simple camera setup into one of the proper security systems that genuinely gives you peace of mind.
Still Got Questions? Let’s Tackle Some Common DIY Install Head-Scratchers
Alright, so the cameras are up and running, but you might still have a few questions rattling around. You’re definitely not alone. We get asked the same things all the time by folks from Sydney to the Central Coast who are right in the middle of their own DIY security camera install.
Let’s clear up a few of the most common queries with some straight-up, no-fluff answers to get you over the finish line with confidence.
Can My Neighbour Point Their Camera at My House?
This is a big one, and the rules can be a bit of a grey area. Generally, your neighbour is perfectly entitled to film their own property. Where it gets tricky is if their camera is capturing a big chunk of your private space – think your backyard where the kids play, or a direct view into a bedroom window. That could be seen as a breach of privacy.
Before anything else, the best first step is always to have a friendly chat over the fence. More often than not, they probably don’t even realise the camera’s angle. A simple adjustment can usually solve the problem without any drama.
Just How Secure Is My Wireless Camera System?
Wireless cameras are incredibly convenient, but that convenience comes with a catch: they send their data through the air. A poorly secured Wi-Fi network is basically like leaving your digital front door wide open for anyone to peek inside. Locking down your home network isn’t just a good idea; it’s absolutely critical.
And this isn’t just a theoretical risk. A recent bit of research found over 40,000 security cameras were openly accessible on the internet, all because of simple security slip-ups. Don’t let yours be one of them. For some practical tips, you can learn more about how to secure your Wi-Fi network in our detailed guide.
The single biggest mistake people make is keeping the default password on their camera or Wi-Fi router. It takes five minutes to change it to something strong and unique, and it’s the most important step you can take to protect your privacy.
Do I Need to Register My Security Cameras?
Here’s some good news for you. In most residential situations across NSW, you don’t need to register your security cameras with any council or government body. Phew.
The main thing is just to use them responsibly and be a good neighbour by respecting their privacy. The rules can be different for businesses, but for a standard home setup, you’re good to go.
Feeling like some of these questions hit a bit too close to home, or just want the peace of mind that comes with a professional touch? The team at Advanced Comtech has been helping homeowners across the Central Coast, Sydney, and Newcastle get their security sorted for years. Give us a call, and we’ll make sure your system is installed perfectly, from the cabling right through to the final app configuration.