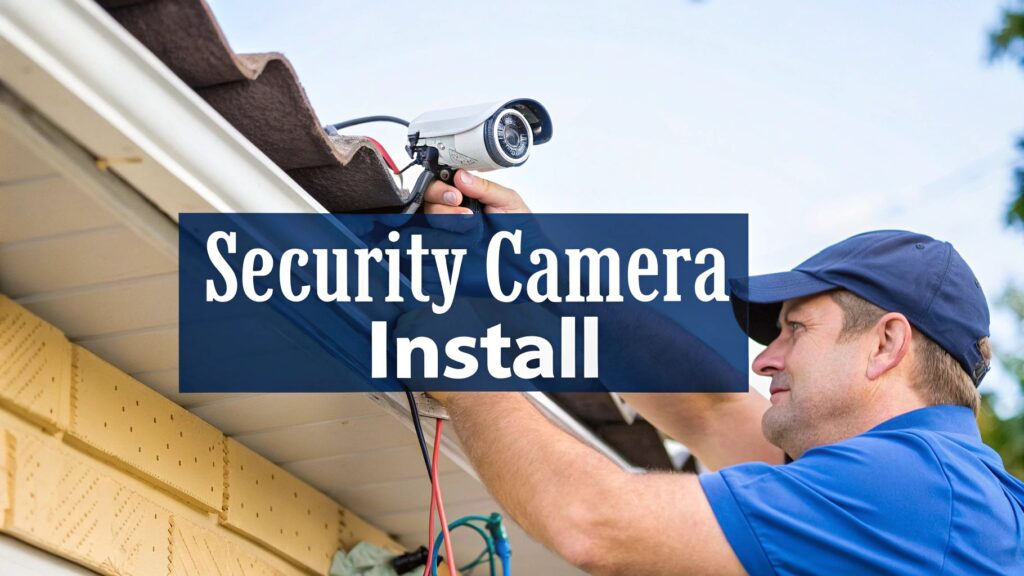
Thinking about a security camera instal? Good on ya. It's one of the smartest moves you can make for your home, whether you're in a Sydney suburb or out on the Central Coast. A proper install is more than just sticking a camera on a wall; it involves strategic planning to ensure you capture what matters, when it matters.
Your Guide to a Smarter Security Camera Instal
Let's be honest, the thought of a security camera instal can feel a bit daunting. A mate of mine in Newcastle learned that the hard way—his new camera got a brilliant shot of his prize-winning roses but completely missed the bloke pinching his lawnmower from the side gate. It’s a classic yarn, but it highlights a common mistake: focusing on the gear instead of the goal.
This guide cuts through the confusion. We'll show you how a bit of prep saves you a world of pain later.
Why Planning Is 90% of the Job
Before you even think about drilling a single hole, the real work begins. A successful installation is all about understanding your property's unique quirks and vulnerabilities. It's the difference between an expensive decoration and a truly effective security tool.
Here’s what a bit of forethought helps you achieve:
- Maximum Coverage: You’ll identify the blind spots and high-traffic areas that thieves love, ensuring your cameras are looking where they need to.
- Fewer False Alarms: Proper placement and configuration mean you won't get a phone notification every time the neighbour's cat wanders past.
- A Clean Finish: Planning your cable runs (for wired systems) or checking Wi-Fi signal strength (for wireless) avoids ugly, exposed wires or unreliable connections.
A well-placed camera acts as a powerful deterrent. It’s not just about recording a break-in; it’s about preventing one from happening in the first place.
DIY vs Calling in the Pros
The next big question is whether to tackle the job yourself or bring in a professional. A DIY install can save you a few hundred dollars on labour, but a pro brings experience that's hard to replicate. They know the best angles for a tricky corner block in Hornsby or how to weatherproof a camera against the salty air on the Central Coast.
To truly maximise the effectiveness of your installed cameras, you can also explore advanced remote video monitoring solutions that offer proactive surveillance. For a deeper dive into creating a connected and secure home, our guide on smart home security systems is a great next step. Think of this guide as the ultimate pre-game chat to ensure your security setup is a total win.
Strategic Camera Placement for Your Home
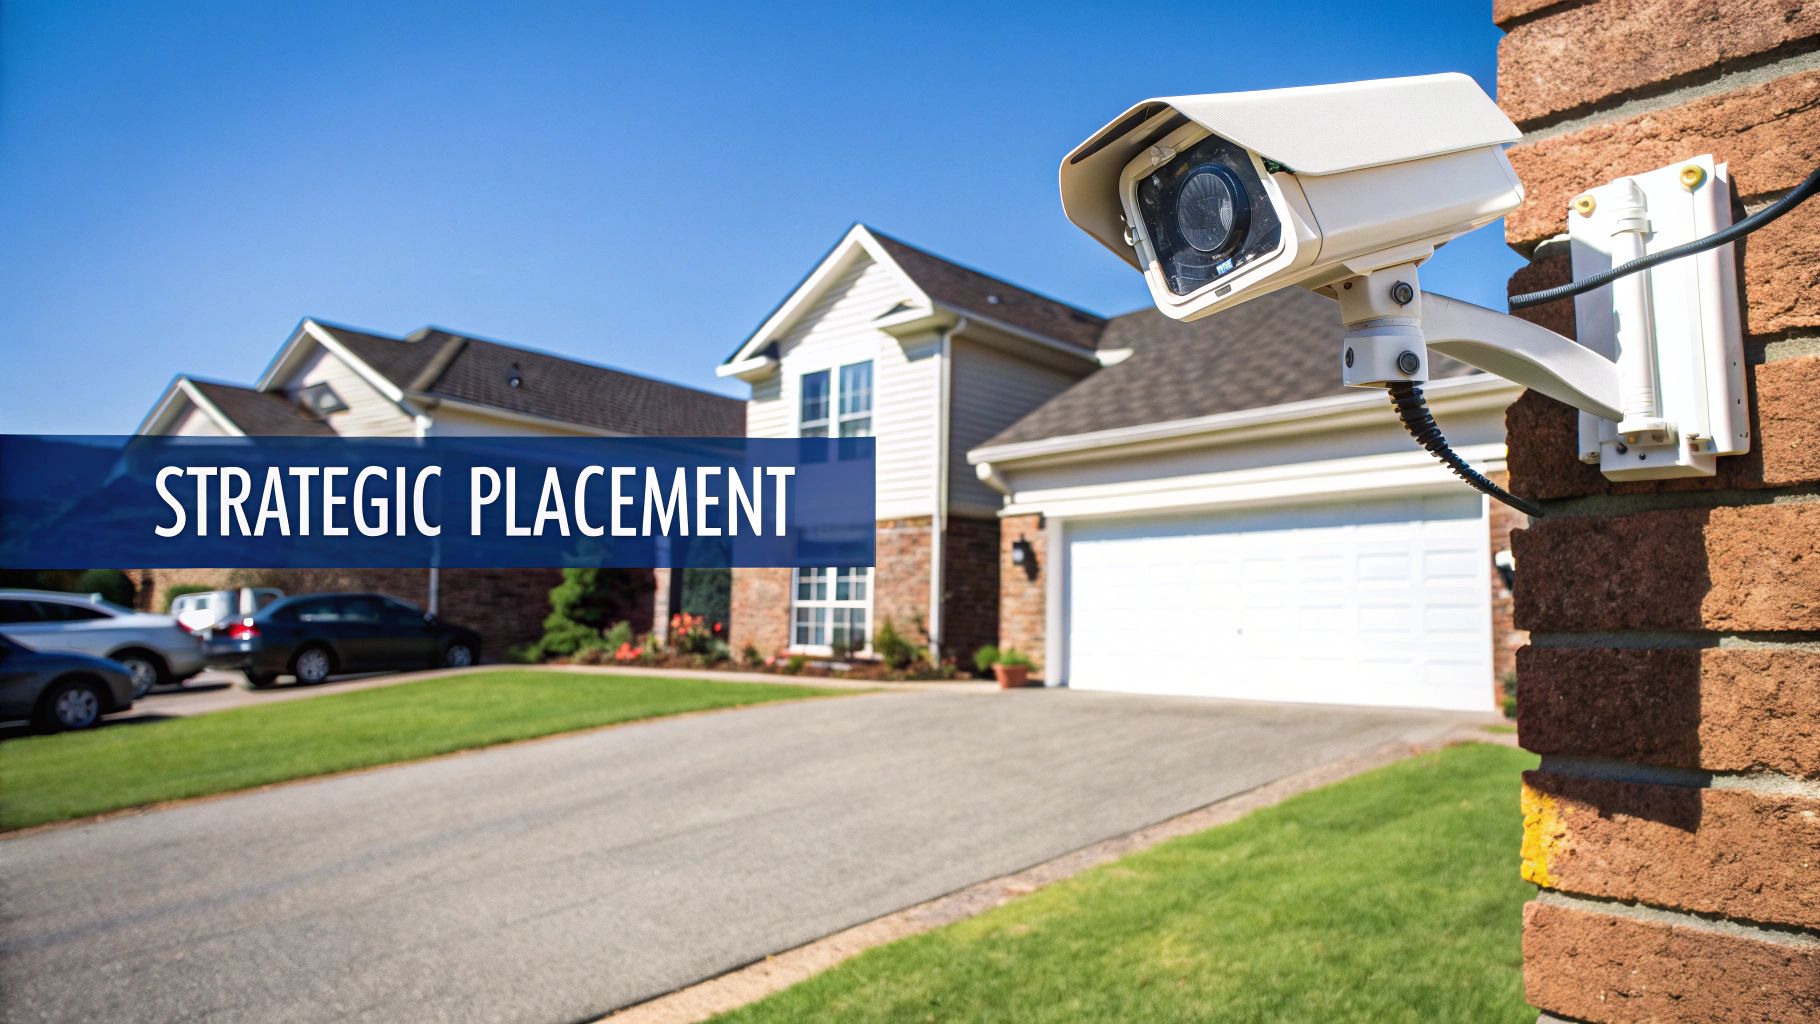
You could have the most expensive 4K camera money can buy, but if it’s pointing at the sky or a brick wall, it's nothing more than a pricey decoration. A successful security camera instal isn't about fancy tech; it's about smart strategy. And that starts with thinking like a thief.
Picture this: you're casing a house on a quiet street on the Central Coast. Are you strolling up the front path in broad daylight? Not likely. You're looking for the path of least resistance—the side gate left unlocked, a back window hidden by a big bottlebrush, or a dark driveway offering plenty of cover.
These are your home’s weak spots, and they're exactly where your cameras need to be looking.
Think Like a Thief to Find Your Blind Spots
Before you even touch a drill, do me a favour: grab a notepad and walk around your property. Start from the street and work your way in, looking for all the ways someone could sneak up to your house unseen. You need to pay close attention to the entry points that aren't immediately obvious.
It’s not just about the front door anymore. Intruders know that’s the first place you’ll stick a camera. They're far more likely to try their luck somewhere else.
Here’s what I’ve seen them target time and time again:
- The Forgotten Side Gate: This is the big one. It's often the most overlooked yet most critical entry point, providing hidden access to your backyard, sheds, and rear windows. A single camera here is often more valuable than two on the front of your house.
- Ground-Floor Windows: Any window that’s easy to get to from the ground—especially one shielded by trees or fencing—is a prime target.
- The Back Shed or Garage: These spots are often full of expensive tools and equipment, making them tempting prizes for opportunistic thieves.
The goal isn't to turn your home into a fortress. It's about taking away the easy opportunities and making your place a less attractive target than the one next door. Often, a visible, well-placed camera is all the discouragement a would-be thief needs.
Getting the Height and Angle Just Right
Once you’ve mapped out your hotspots, it’s time to think about mounting. This part is a bit of a balancing act. If you mount a camera too low, it's easy for someone to tamper with or knock down. But mount it too high, and you'll get a great view of the top of their head while completely missing their face.
From my experience, the sweet spot is generally between 2.5 to 3 metres off the ground. This is high enough to be out of easy reach but still low enough to capture clear, identifiable details like faces and what someone is wearing.
The angle is just as critical. You want to cover the entry point itself, but also the approach to it. A camera watching your driveway, for example, should be angled to see who is walking or driving up to your house, not just what's happening at the front door. This simple trick can help you capture number plates, which can be invaluable evidence.
To help you out, here’s a quick-reference guide to the most critical areas to cover for maximum security.
Top 5 Camera Placement Hotspots for Your Home
| Location | Why It's Important | Pro Tip |
|---|---|---|
| Front Door | The most common entry point, capturing visitors, deliveries, and anyone scoping out the property. | Position the camera to see faces clearly as they approach, not just the top of their head. |
| Back/Side Doors | These are often less visible from the street, making them a preferred entry point for intruders. | Ensure the camera has good night vision, as these areas are typically poorly lit. |
| Off-Street Windows | Ground-floor windows, especially those hidden from view by fences or plants, are vulnerable. | Place cameras to cover multiple windows at once if possible. |
| Driveway/Garage | This area secures your vehicles and provides a clear view of anyone approaching the property by car. | Angle the camera to capture number plates as vehicles enter and exit. |
| Side Gates/Yards | A classic blind spot that gives intruders hidden access to the back of your property. | A single, well-placed camera here can eliminate a massive vulnerability. |
Choosing the right spots is half the battle, but getting these key areas covered will give you a solid foundation for your home security.
Protecting Privacy While Protecting Your Property
A common worry I hear from clients is about accidentally filming their neighbours. Let’s be clear: your security system is for your property. Pointing cameras directly into a neighbour’s backyard, living room, or windows is a massive breach of privacy and a surefire way to start a neighbourhood feud.
Thankfully, most modern camera software includes a feature called privacy masking. This allows you to digitally "black out" sections of the camera’s view. So you can cover your entire driveway without recording the kids playing in the pool next door. It’s a simple but essential feature that keeps everyone happy. For a deeper dive into balancing surveillance and privacy, check out our comprehensive breakdown of CCTV and security systems.
The Growing Demand for Smart Placement
It’s no surprise that security is on everyone’s mind these days. The Australian CCTV camera market hit around $555 million in 2024 and is only expected to grow. We're seeing councils and businesses beefing up surveillance in public areas like car parks (27%) and recreational spots (48%), and homeowners are following suit to protect their own patch.
This trend really highlights how important a well-planned security camera instal has become. A thoughtful setup doesn't just protect your home; it contributes to a safer community for everyone.
Choosing the Right Camera for the Job
Walking into the tech aisle to pick a security camera can feel a bit like trying to order a coffee in a trendy Sydney cafe—suddenly you’re drowning in jargon. Wired, wireless, 4K, 1080p, PoE, AI detection… it’s enough to make you want to give up and just get a really loud dog instead.
But don't stress. Choosing the right gear for your security camera instal is actually pretty simple once you translate the tech-speak into plain English. It all comes down to your house, your needs, and your budget.
Think of it this way: you wouldn't use a surfboard designed for massive waves at Bells Beach to paddle around in the calm waters at Terrigal, would you? The same logic applies here. The right camera for a renter in a modern Newcastle apartment is going to be completely different from what’s needed for a sprawling family home on the Central Coast.
Wired vs Wireless: The Great Debate
The first big decision you'll face is whether to go with a wired or a wireless system. There’s no single "best" answer; it's all about what works for your place.
I once helped a mate in Hornsby who bought a fancy wireless system for his double-brick house. He spent a fortune, only to find the Wi-Fi signal dropped out more often than a dodgy phone call in the Kangaroo Valley. His thick walls were like a fortress against the signal, rendering his expensive cameras pretty useless.
This story highlights the core difference:
- Wired Cameras: These are the old faithfuls. They connect directly to your recorder with a physical cable, which also powers them (a system called Power over Ethernet, or PoE). They offer a rock-solid, reliable connection that isn't affected by Wi-Fi dead spots. The downside? The installation is more involved, as you need to run cables through walls and ceilings.
- Wireless Cameras: These are super convenient and perfect for renters or anyone who shudders at the thought of drilling holes. They connect to your network via Wi-Fi and are usually battery-powered. The catch is that you need a strong and stable Wi-Fi signal, and you'll have to recharge or replace the batteries every few months.
For a permanent, set-and-forget solution in a home you own, wired is almost always the more reliable choice. But for ease of setup and flexibility, especially in rentals, wireless cameras are a fantastic option.
This infographic breaks down the key decision-making steps to simplify your choices.
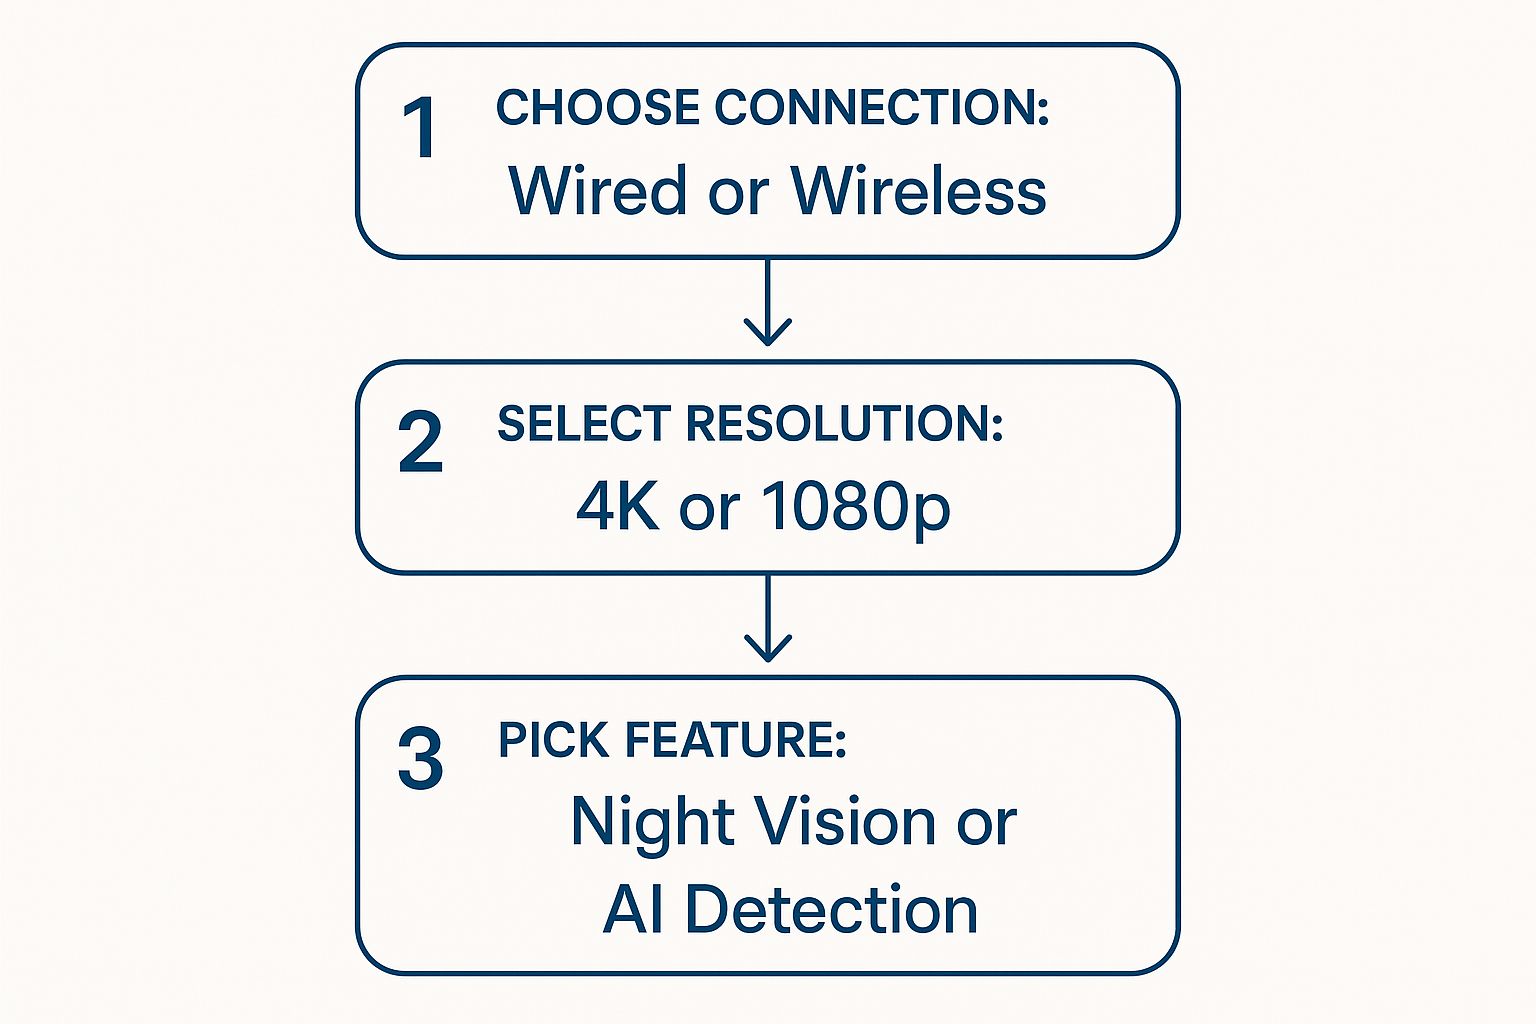
Starting with your connection type helps narrow down the field before you get bogged down in features like resolution or AI.
Is 4K Really Worth the Extra Coin?
Next up is resolution. You’ll mainly see two options: 1080p (Full HD) and 4K (Ultra HD). Honestly, 1080p is perfectly fine for general monitoring—you’ll be able to see people and cars clearly.
But if you need to capture fine details, like a number plate from 15 metres away or a clear facial image for evidence, 4K is a game-changer. The jump in clarity is massive. Of course, this higher quality comes at a cost. 4K cameras are more expensive and the video files are much larger, meaning you'll need more storage space.
The Australian surveillance camera market is booming and expected to hit around $1.1 billion by 2030. A huge driver of this growth is the demand for better quality footage, with IP-based cameras (like most modern 4K models) leading the pack because of their superior resolution.
Essential Features vs Flashy Gimmicks
Once you’ve sorted out the connection and resolution, you can think about the fun stuff—the features. It's easy to get swayed by a long list of tech specs, but here are the ones that actually make a difference day-to-day.
- Night Vision: This is non-negotiable for outdoor cameras. Standard infrared (IR) night vision shows you black-and-white footage in the dark. Newer "colour night vision" cameras use ambient light or a small built-in spotlight to provide a full-colour image, which is incredibly useful for identifying clothing colours or car details.
- Field of View: This is how wide an angle the camera can see. A wider field of view (e.g., 140 degrees) means you can cover a larger area, like an entire backyard, with a single camera.
- AI Detection: This is where things get clever. Instead of getting an alert every time a tree branch sways in the wind, cameras with AI can tell the difference between a person, a vehicle, and a pet. It dramatically cuts down on annoying false alarms and is, in my opinion, absolutely worth the extra money.
To ensure you choose the best equipment for your needs, consider reading this expert review of top security cameras. By focusing on these core elements, you’ll walk away with a system that’s genuinely useful, not just a gadget that looked good on the box.
The Nuts and Bolts of the Installation
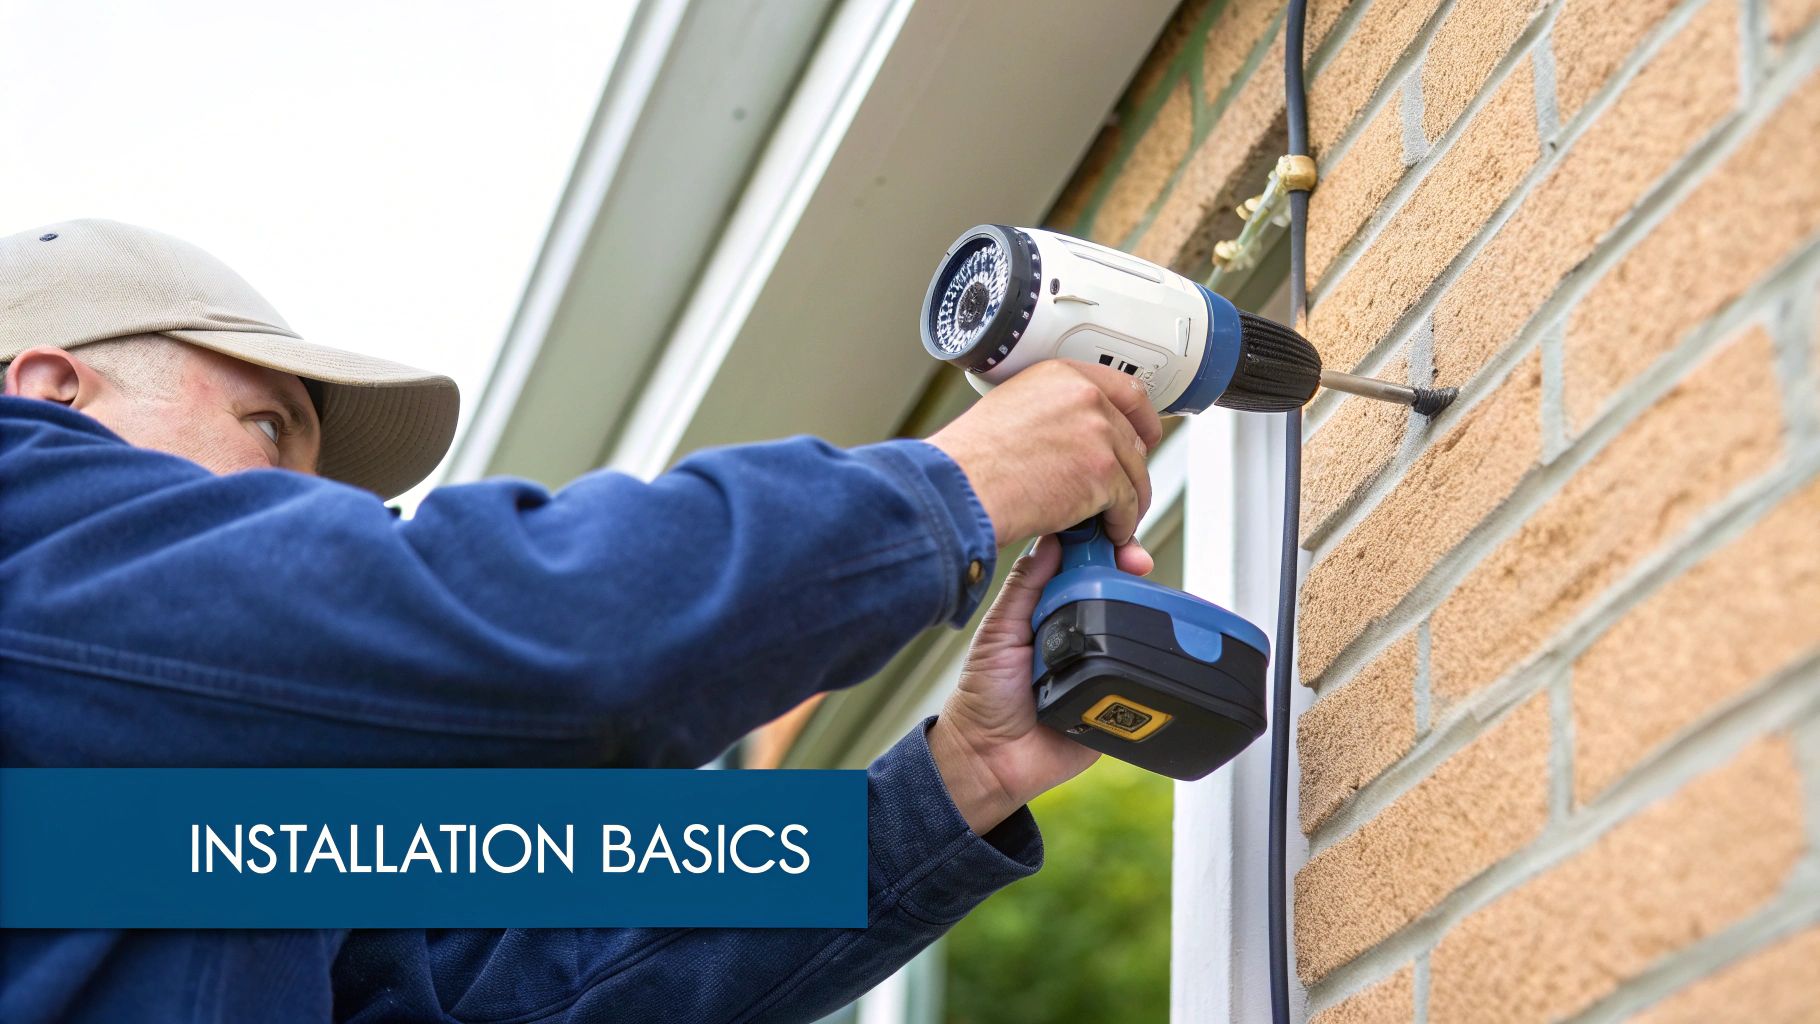
Alright, you’ve done the hard yakka of planning and picked your gear. Now it’s time to get on the tools and bring your security camera instal to life. This is where the rubber meets the road—or more accurately, where the drill bit meets the wall.
Let’s follow a mate, Dave from Gosford, as he tackles his first install. He’s got his shiny new cameras, a six-pack of cold ones in the esky for later, and a healthy dose of Aussie optimism. What could possibly go wrong?
Well, a few things, actually. But don't worry, we'll help you sidestep Dave's stuff-ups and get a professional-looking result.
The Golden Rule Before You Drill
Before you even think about making a permanent hole, you need to do the one thing that separates a smooth install from a day of frustration: test the view. Most modern cameras let you see a live feed on your phone, so take advantage of it.
Hold the camera in its intended spot and check the view on your app. Is it covering the driveway like you planned? Is that pesky gum tree blocking half the shot? This simple five-minute check saves you from drilling holes, filling them, and drilling again. It's the most important tip I can give you.
Pro Tip: Use a good quality painter's tape or even Blu-Tack to temporarily stick the camera in place. This lets you step back and check the angle and coverage on your phone without having to hold it up the whole time.
Once you’re happy with the position, mark your drill holes with a pencil. Now you’re ready for the main event.
Mounting Your Cameras Securely
The surface you’re drilling into dictates the tools and techniques you’ll need. This is where Dave’s first mistake happened. He tried to use the standard screws that came in the box to mount his camera on his brick garage. Unsurprisingly, the screw just spun uselessly in the crumbly mortar.
Don't be like Dave. Match your tools to the job.
Mounting on Brick or Masonry
This is a classic for many Sydney and Central Coast homes. You'll absolutely need a hammer drill and a masonry bit.
- Drill the Holes: Use a masonry bit that matches the size of your wall plugs (often called anchors). Make sure you aim for the solid part of the brick, not the mortar, for the strongest possible hold.
- Insert Wall Plugs: Gently tap the plastic wall plugs into the holes until they are flush with the wall.
- Screw in the Mount: Now you can securely screw the camera's mounting bracket into the plugs. It’ll be rock-solid.
Mounting Under Eaves or on Timber
This is usually the easiest option. Your camera gets a bit of protection from the rain, and timber is a breeze to drill into.
All you need is a standard drill bit that's slightly smaller than your screw's diameter. You can screw the mount directly into the timber without any plugs, just make sure the wood is solid and not rotten.
Mounting on a Colorbond Fence
This one’s a bit trickier but totally doable. You can't just screw into the thin metal sheet.
The best method is to use a nut and bolt. You'll need to drill a hole straight through the Colorbond and secure the camera mount with a bolt from the front and a washer and nut on the back. It’s fiddly but provides a very secure fixing.
Taming the Cable Monster
For a wired system, managing the cables is key to a clean, professional finish. No one wants to see ugly black cables stapled all over their beautiful weatherboard house. The goal is to make them disappear.
Dave's first attempt involved running the cable along the outside of his wall, which looked messy and made the cable an easy target for vandals. A much better approach is to run cables through your roof cavity or under the floor.
This often involves drilling a small hole through the eave or wall directly behind where the camera is mounted. You can then feed the cable into the ceiling space and run it back to your recorder (NVR). For those tackling a bigger job, understanding the best practices for installing data cable can make a huge difference to the reliability and neatness of your setup.
Getting a Rock-Solid Wireless Connection
If you’ve opted for a wireless system, your biggest challenge isn’t cables, but Wi-Fi signal. That fancy camera is useless if it can't talk to your router.
Before you permanently mount a wireless camera, take your phone to the exact spot and run a Wi-Fi speed test. You need a stable and reasonably strong signal for reliable video streaming. If the signal is weak, you might need to:
- Move your Wi-Fi router to a more central location in your house.
- Install a Wi-Fi mesh system or an extender to boost the signal to those hard-to-reach corners of your property.
The Finishing Touch: Weatherproofing
The last step is often overlooked but is crucial for cameras exposed to the wild weather we get on the coast. Most outdoor cameras are weather-resistant, but the cable connections often aren't.
Water getting into the Ethernet or power connection will kill your camera faster than you can say "summer thunderstorm." Most good camera kits come with a small waterproof enclosure or gasket for the connection point. Use it! It’s a simple screw-on cap that creates a watertight seal, protecting your investment and ensuring your system works when you need it most.
Powering Up and Configuring Your System
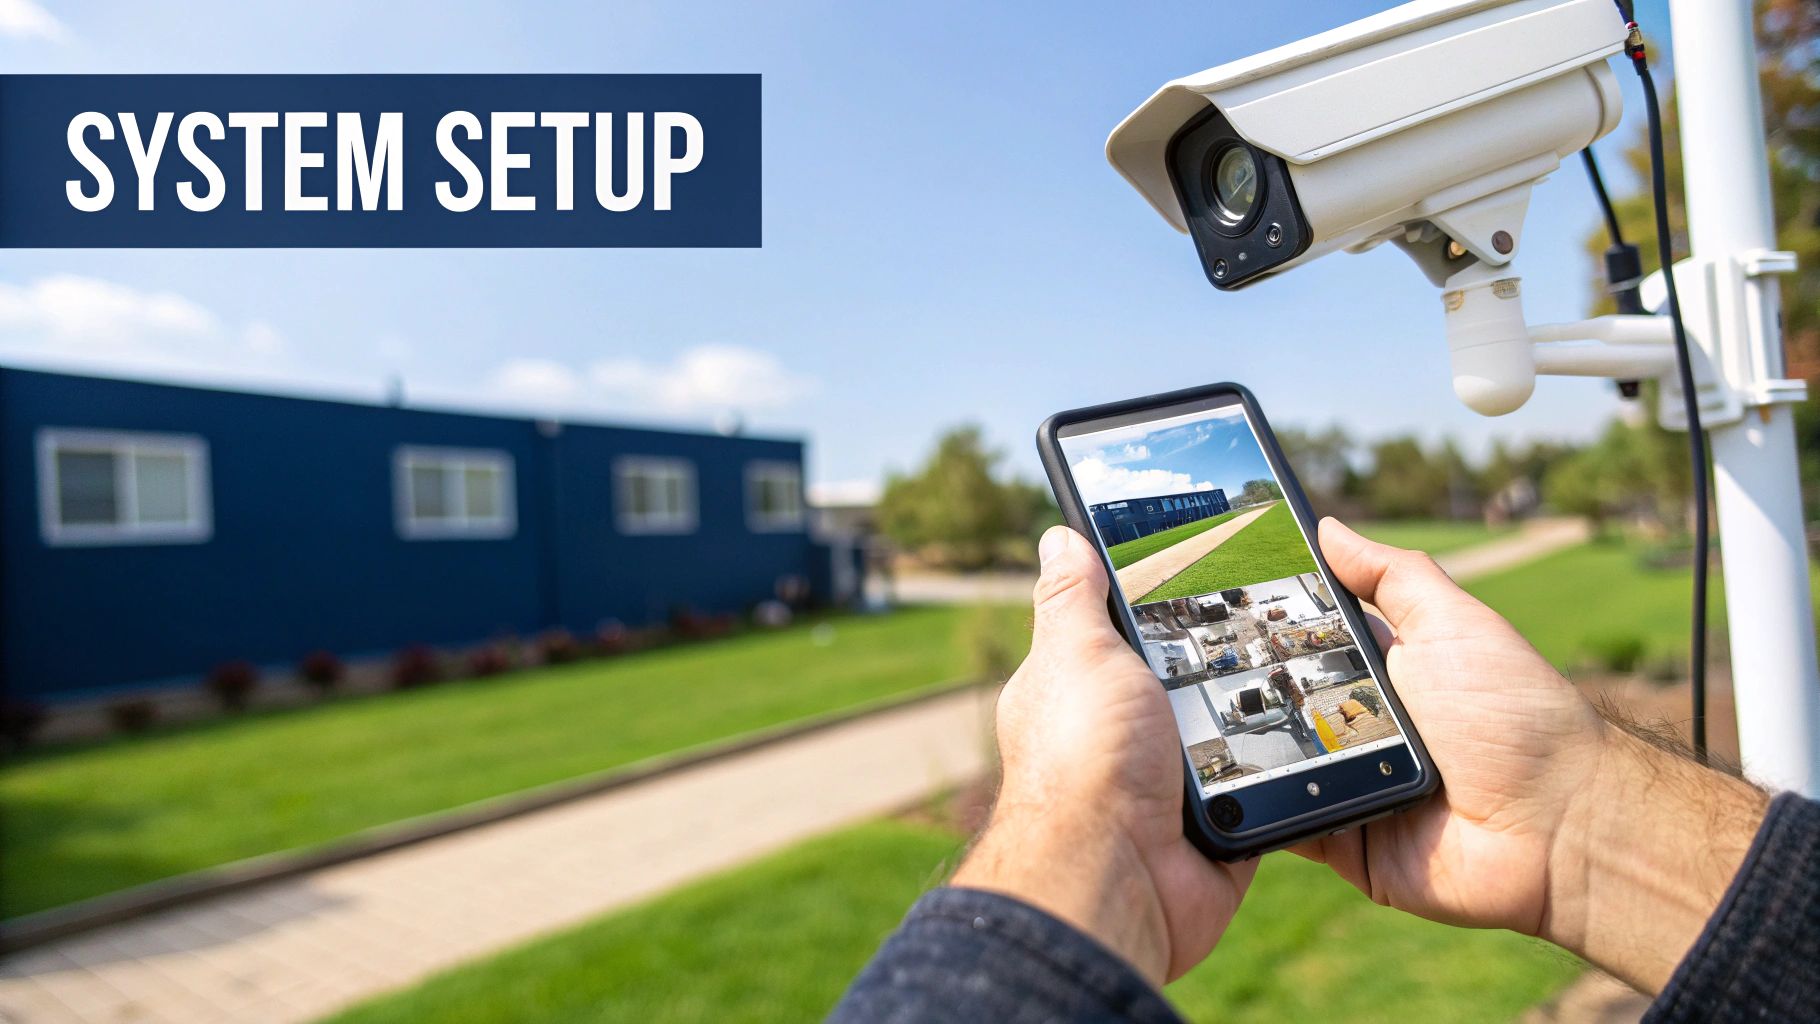
Alright, the cameras are up, the cables are neatly tucked away, and the ladder is back in the shed. Go on, grab a cold one – you've earned it! But the physical part of your security camera instal is only half the battle. Now for the fun bit: bringing your new system to life and telling it what to look for.
This is where all that hardware transforms into a truly smart security solution. It’s the final, crucial step where you’ll get everything talking to your network, tweak the settings to perfection, and make sure it’s all working just the way you want. This is what separates a simple recording device from a proactive security guard for your home.
Getting Connected to the Network
First things first, let's get your cameras communicating with the network video recorder (NVR) and the internet. If you've run cables, this is as easy as it gets—just plug the Ethernet cables from each camera into the ports on the back of the NVR. For wireless setups, you'll need to fire up the system's mobile app to connect each camera to your Wi-Fi network.
I remember a client in Sydney who spent hours getting more and more frustrated trying to connect his wireless cameras. Turns out, his NVR was tucked away inside a metal cabinet in the garage, which is basically a perfect signal-blocking box. We simply moved it to a central spot in his study, and everything connected in seconds.
Your NVR or hub is the brain of the operation. Give it a good home in a central, well-ventilated spot, away from thick walls or metal obstructions. This will ensure a strong, reliable connection to all your cameras.
Fine-Tuning Your Motion Detection Settings
Straight out of the box, most cameras are set to "tell me everything" mode. You'll get an alert for a car driving past, a leaf blowing across the lawn, or a magpie swooping your dog. This gets old, and it gets old fast. The secret is to set up motion detection zones.
This clever feature lets you literally draw boxes on the screen to tell the camera which specific areas you care about.
For instance, you could:
- Draw a zone around your driveway and front path, but make sure to exclude the public footpath and the road.
- Highlight the area directly around your back door and windows, but ignore the neighbour's fence line.
- Cover your side gate, but leave out the swaying bottlebrush right next to it.
Taking a few minutes to do this will drastically cut down on false alarms, so you’re only notified when something actually happens.
Setting Up Your Recording Schedules
Next up, you need to decide when your cameras will actually record. You’ve generally got a few choices, and the best one really depends on your security needs and how much storage you have.
- Continuous Recording (24/7): This is exactly what it sounds like – it records everything, all the time. It’s the most comprehensive option but it will chew through your storage space.
- Motion-Activated Recording: The camera only hits 'record' when it detects movement. This saves a massive amount of storage and makes finding important clips an absolute breeze.
- Scheduled Recording: You can program the cameras to record only during set times, like overnight or while everyone's out at work.
For most homes, motion-activated recording is the sweet spot. It gives you fantastic security coverage without drowning your hard drive in hours of footage of an empty backyard. This is even more true now that AI features are common, with modern systems smart enough to tell the difference between people, vehicles, and pets. If you're looking at off-grid solutions where every bit of power and storage matters, our guide on solar-powered security camera systems has some great tips.
The Final System Test
Before you officially clock off, you need to give the whole system a proper shakedown. Don't just assume everything is working perfectly.
- Check the Live View: Open up your app or monitor and confirm you have a clear, live feed from every single camera.
- Test Motion Alerts: Do the rounds and walk in front of each camera. Did your phone buzz with a notification? How quickly did it arrive?
- Verify Recordings: After you've triggered a few alerts, jump into the playback feature. Is the footage crisp and clear? Is the audio working (if your cameras have it)?
This last check ensures there are no nasty surprises down the line when you actually need the footage. You’ll have the priceless peace of mind that comes from knowing every angle is covered and every feature is ready to go.
Common Questions About Security Camera Instals
Still got a few questions rattling around your head? No worries at all. Even after a full install, it's pretty normal to have a few "what ifs" pop up. Here are the most common things people ask us across Sydney, Newcastle, and the Central Coast after tackling a security camera setup.
Do I Need to Tell My Neighbours I Have Cameras?
Legally, you don't have to tell your neighbours you've got cameras on your own property. But honestly, it's just bloody good etiquette, mate!
In NSW, the law is mostly focused on privacy. The big no-nos are recording private conversations you aren't part of or pointing your cameras into private areas like inside their home, their backyard pool, or bathroom windows.
Having a friendly yarn over the fence about your new setup can head off a lot of potential drama. Just let them know you're boosting your security and make it clear the cameras only cover your patch. It's a simple way to keep the peace and show you're a considerate neighbour.
How Much Does a Professional Instal Cost?
The cost for a professional security camera instal can vary wildly. For a basic setup of 2-4 cameras, you could be looking at anywhere from $900 to over $2,500, which usually includes the gear and labour.
The final price tag really boils down to a few key things:
- Camera Type: High-end 4K cameras will naturally set you back more than standard 1080p ones.
- Wired vs Wireless: A wired job takes more labour to run cables neatly through walls and ceilings, which definitely adds to the cost.
- House Complexity: A simple single-storey brick veneer is a completely different beast to a two-storey house with tricky access points.
Your best bet is always to get a few quotes from local installers on the Central Coast or in Sydney. This will give you a realistic feel for the current market rates and what's included in the price.
Can I Just Use a Cheap Camera From a Department Store?
You absolutely can, but it's a classic case of "you get what you pay for." Those cheaper, off-the-shelf cameras are often fine for simple tasks, like checking in on your dog while you’re out.
The problem is, they usually fall short where it matters most for actual security. Their night vision can be grainy, they might not survive a harsh coastal storm, and you can't always count on them to be recording when you need it most.
If you need footage that's clear enough for the police to identify a face or a number plate, investing in a proper system from a reputable brand is a much smarter move. Think of it as an investment in genuine peace of mind, not just a gadget.
Ready to skip the guesswork and get your security camera instal done right the first time? The team at Advanced Comtech has the local knowledge and technical expertise to design a system that perfectly fits your home and budget. Get in touch with us today for a stress-free quote.