Getting a TV wall mount installation right can completely transform your living room. It’s not just about getting the TV off the cabinet; it's about creating a clean, modern look that maximises your space. A proper job means the telly is securely fastened with the right bracket, perfectly level, and set at the ideal viewing height. When it’s done right, it's an absolute game-changer for your home entertainment setup.
The Weekend Warrior vs The Wall
You can probably picture the scene. It’s a glorious Saturday arvo, the sun's out, and you’ve just unboxed a magnificent new TV. Armed with a drill from Bunnings and a healthy dose of optimism, you eye that blank wall in your living room. "She'll be right," you reckon. How hard could it possibly be?
This is usually where the classic weekend warrior tale begins. It often starts with that nerve-wracking search for a wall stud. You find yourself tapping the wall like a safecracker, listening for that subtle change in sound that tells you you've found solid timber. The stud finder beeps, you mark the spot, and drill—only to hit nothing but hollow gyprock.
And the drama just unfolds from there.
Maybe you decide to push on, hoping for the best, and end up with a TV that’s just a smidge crooked. It might be barely noticeable to anyone else, but for you, it’s a glaring imperfection that will haunt you during every movie night and footy final for years to come.
Why a Proper Install Matters
A proper TV wall mount installation is about more than just getting the screen off the cabinet; it’s about creating that perfect home theatre vibe without the lingering anxiety of a job half-done.
Here’s what a truly secure installation really achieves:
- Safety First: It protects your expensive new gear and, more importantly, your family. A securely mounted TV isn't going anywhere, which gives you total peace of mind.
- A Professional Finish: This is the difference between a DIY project that looks DIY, and a clean, sleek setup that looks like it belongs in a magazine.
- Optimal Viewing: Getting the height and angle just right means no more neck strain from looking up or down at the screen. It makes all the difference.
A great installation is invisible. You don’t notice the mount, the cables, or the effort—you just enjoy the flawless result. It’s all those small details that elevate the entire experience.
Then there's the wiring. Getting all those cables neat is another classic hurdle. Managing the tangle of HDMI, power, and audio cables is often an afterthought, but it's crucial for achieving that clean, professional look. When you’re also trying to hook up a new soundbar and a gaming console, the back of your TV can quickly start to look like a rat's nest.
This is where knowing a bit about structured cabling can be a huge help. A professional https://advancedcomtech.com.au/blog/data-cable-installer/ often has the skills to hide everything perfectly inside the wall cavity.
Consider this guide your new best mate, designed to help you avoid the common pitfalls of a DIY install. We’re here to get you ready to be the hero of your living room, not the star of a DIY fail video. If you're a true weekend warrior ready to tackle this project, a comprehensive resource can guide you from start to finish. Check out this complete guide to mounting a TV to the wall for an in-depth look at the process.
Let's get it done right.
Choosing the Right Gear for the Job
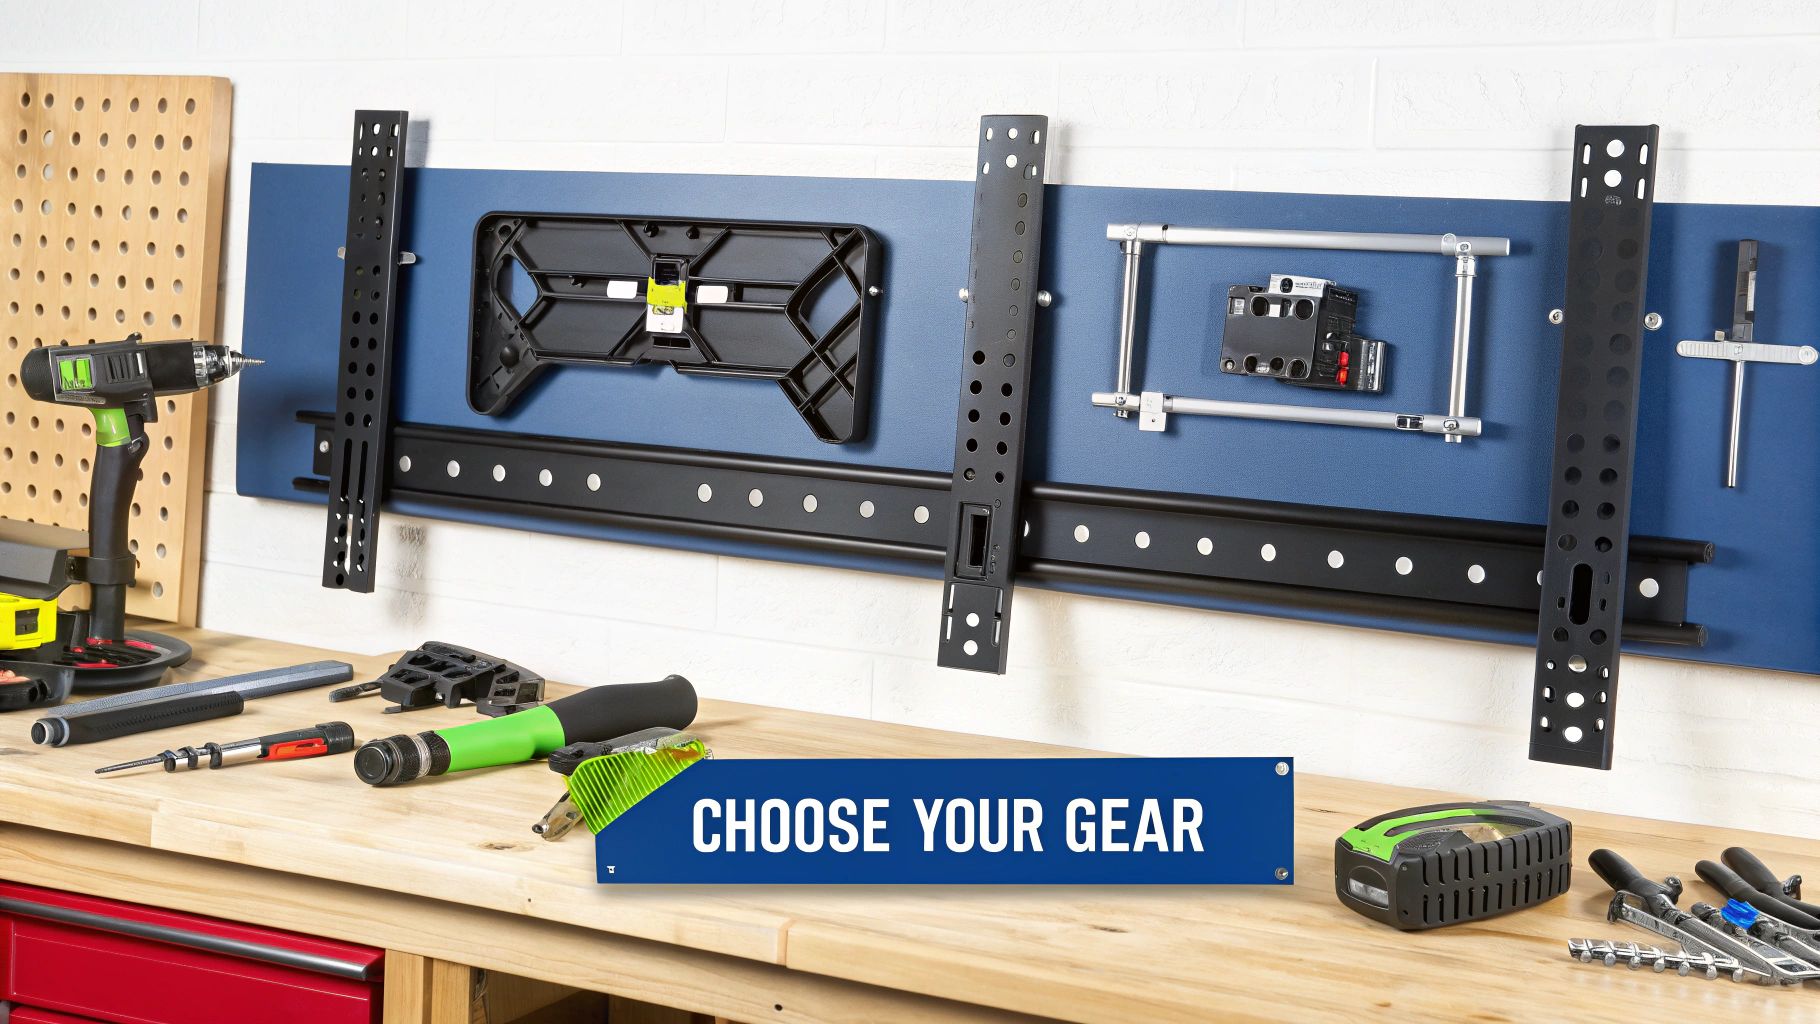
Before you even think about drilling that first hole, we need to talk gear. Honestly, getting this part right is half the battle won, and it all starts with the unsung hero of the whole setup: the wall mount itself. This isn't a one-size-fits-all deal; the right mount truly depends on your space and how you actually watch telly.
Say you've got a cosy little apartment in Newcastle where the couch never moves. A fixed mount is going to be your best mate. It sits flush against the wall, giving you that super clean, almost-a-picture-frame look. It’s simple, it's sturdy, and it does the job without any fuss.
But what if your Sydney living room gets absolutely hammered by the afternoon sun? That's where a tilting mount becomes a lifesaver. It lets you angle the screen down just enough to kill the glare. It's also perfect if you need to mount the TV a bit higher than usual, like over a fireplace or cabinet.
Getting the Right Mount for Your Space
Now, for those with a big, open-plan family room out on the Central Coast, a full-motion mount (some call it an articulating mount) is the undeniable champion. This beast lets you pull the TV right out from the wall, swivel it left or right, and tilt it up or down.
You could point the screen towards the kitchen while you’re cooking dinner or angle it towards the dining table. They offer incredible flexibility, especially when you need to get behind the TV to plug in a new HDMI cable.
Here's a quick cheat sheet to help you decide:
- Fixed Mounts: Your go-to for a clean, minimalist look where your viewing spot is set in stone.
- Tilting Mounts: The solution for beating glare or for TVs mounted slightly above eye level.
- Full-Motion Mounts: Perfect for large, multi-use rooms or for tackling a tricky corner installation.
It's really worth pointing out that getting the mount choice right is a huge deal for both safety and your own satisfaction. A recent study found that around 27% of users weren't happy with their TV wall mount installations, often because of poor compatibility or unsafe practices. This has led to a big swing towards professional installers and a growing love for motorised mounts, which are now preferred by over 41% of consumers who value that extra bit of convenience. You can read more about these TV mount market trends to see just how popular these flexible options are becoming.
Think of your wall mount as the foundation of your viewing experience. A wobbly or poorly chosen one will ruin the whole show, no matter how good your TV is.
The Non-Negotiable Toolkit
Okay, once you’ve picked your mount, you need the right tools. Don’t even try to wing it with whatever’s rattling around in the shed; you’ll just give yourself a massive headache.
Your stud finder is your most trusted advisor here. It’s the difference between a rock-solid mount and a TV-shaped hole in your plasterboard. A good quality spirit level is just as crucial—it's the secret to a professional, perfectly straight finish that won't slowly drive you mad every time you look at it.
Toss in a reliable drill, the right drill bits, and a socket set for properly tightening the bolts, and you’re in business. These items aren't just suggestions; they're the essentials for a TV wall mount installation that looks great and, more importantly, stays put.
Of course, this is just for the TV itself. If you're thinking bigger and want to integrate things like soundbars and speakers, that requires a bit more planning. For anyone looking at a complete entertainment overhaul, exploring integrated audio-visual and smart home systems can give you some brilliant ideas for a truly seamless setup.
Finding Studs and Prepping Your Wall
Alright, let's get down to the most important part of this whole job. Honestly, everything hinges on what’s behind your plasterboard. This isn’t just about getting the TV level; it's about making sure your expensive new screen doesn't end up on the floor. Get this bit right, and the rest is a cakewalk.
Nailing the Stud Finding Process
So, how do you find those elusive timber studs? This is where your stud finder becomes your best friend. Start by gliding it horizontally across the wall. When it beeps or lights up, you've found one edge of a stud. Don't stop there.
Mark that spot with a pencil, then keep sliding the finder until the beeping stops. That's the other edge. The true centre of the stud is right in the middle of those two marks. I always do this a couple of times above and below to make sure I’ve found a solid stud, not just a random pipe or nail plate.
Know Your Wall Type
Not all walls are created equal, especially in Aussie homes. The type of wall you're dealing with completely changes the game.
Most newer homes around the Central Coast and Newcastle will have gyprock (plasterboard) walls fixed to a timber or sometimes a steel frame. For these, finding the studs is absolutely non-negotiable.
But if you’re in an older brick place, say a classic Sydney terrace, you’re likely looking at double brick or masonry. Forget about studs here. You'll need a proper hammer drill and some heavy-duty masonry anchors to get a secure fixing. Whatever you do, don't use the plasterboard fittings that came with the mount on a brick wall—they’ll pull straight out.
This little infographic gives you a great visual of the prep process.
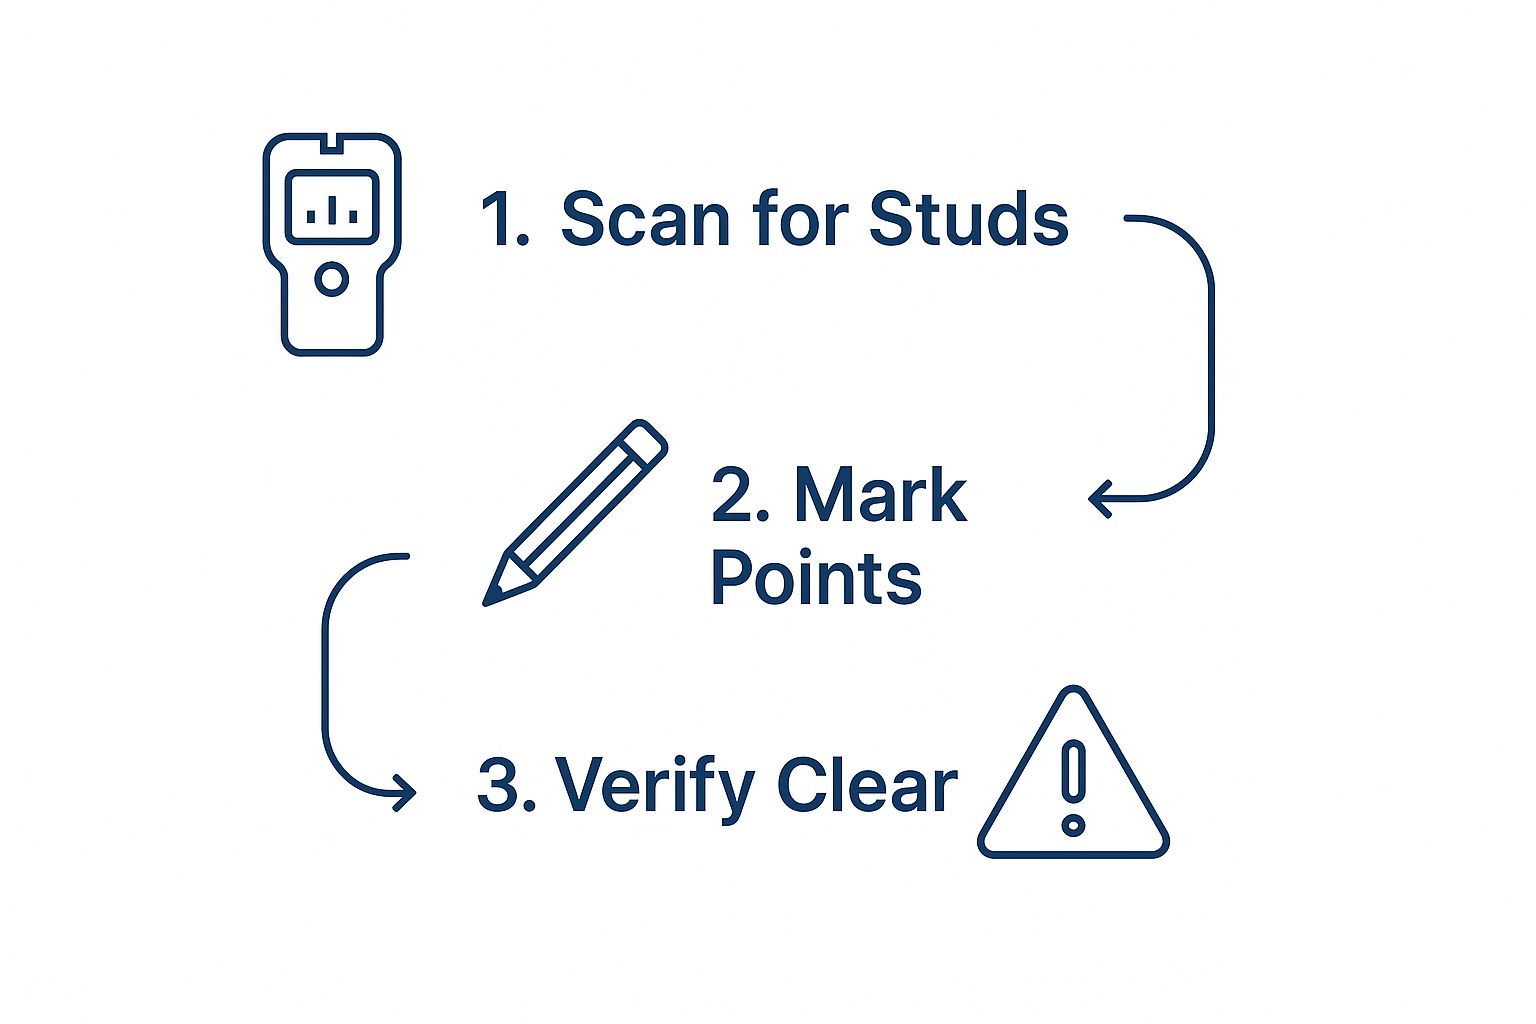
Following that scan, mark, and verify flow is your ticket to an installation that’s built to last.
The Final Pre-Drill Check
Okay, you've found your studs and marked your drill points perfectly with a level. Before you go anywhere near that drill, there's one last sanity check. You need to be reasonably sure you’re not about to drill into electrical wiring or a water pipe.
A lot of modern stud finders have an AC wire detection feature, which is great, but they’re not foolproof.
As a rule of thumb, always be extra cautious when drilling near power points, light switches, or anywhere else services are likely to run. Hitting a live wire is a very, very bad way to spend your afternoon.
If you have even the slightest doubt, pause. Sometimes drilling a tiny pilot hole can give you a clue about what's behind, but nothing beats the experience of knowing where services are typically run in a wall. It’s the same kind of expertise needed for a clean data points installation, where knowing what’s in the wall cavity is half the battle.
Taking those extra five minutes to be absolutely sure will save you a world of pain. It’s what separates a job you’ll be proud of from a repair job you’ll be paying for.
Mounting the Bracket and Hanging the TV
Right, this is where the magic happens. You’ve done the hard yakka—found the studs, marked your spots, and made sure you’re not about to drill into anything important. It's time to get that bracket on the wall and hang your new telly. No pressure.
First up, you need to drill your pilot holes. Don't even think about skipping this, especially if you're going into timber studs. A pilot hole clears a path for the hefty lag bolt, which is crucial for preventing the timber from splitting when you drive it in. The trick is to use a drill bit that’s just a fraction smaller in diameter than the bolt itself.
Once your pilot holes are ready, you can start driving in the lag bolts. My advice? Use a socket wrench, not your drill. It’s way too easy to overtighten with a drill, which can strip the thread you’ve just made in the wood and seriously weaken the hold. You want the bracket firm against the wall, but don't go berserk. Snug is the goal, not crushed.
Keeping It on the Level
Your spirit level is your best mate for this entire job. Seriously. Check the level as you place the bracket on the wall, check it again after you've got the first bolt snug, and then give it one last check after all the bolts are tightened. Trust me, no one wants to watch the State of Origin on a wonky screen.
The secret to a pro-looking TV installation isn’t just about brute strength; it’s about precision. A perfectly level bracket makes the TV look like it was always meant to be there.
It’s no surprise that the TV wall mount market is growing in Australia. More and more of us are opting for this clean, space-saving look. In fact, Australia's slice of the Asia Pacific market is tipped to hit around $23.2 million AUD by 2025. This just goes to show how popular these setups are becoming, and getting the installation spot-on is everything. You can discover more insights about the fixed TV wall mount market to see the full trend.
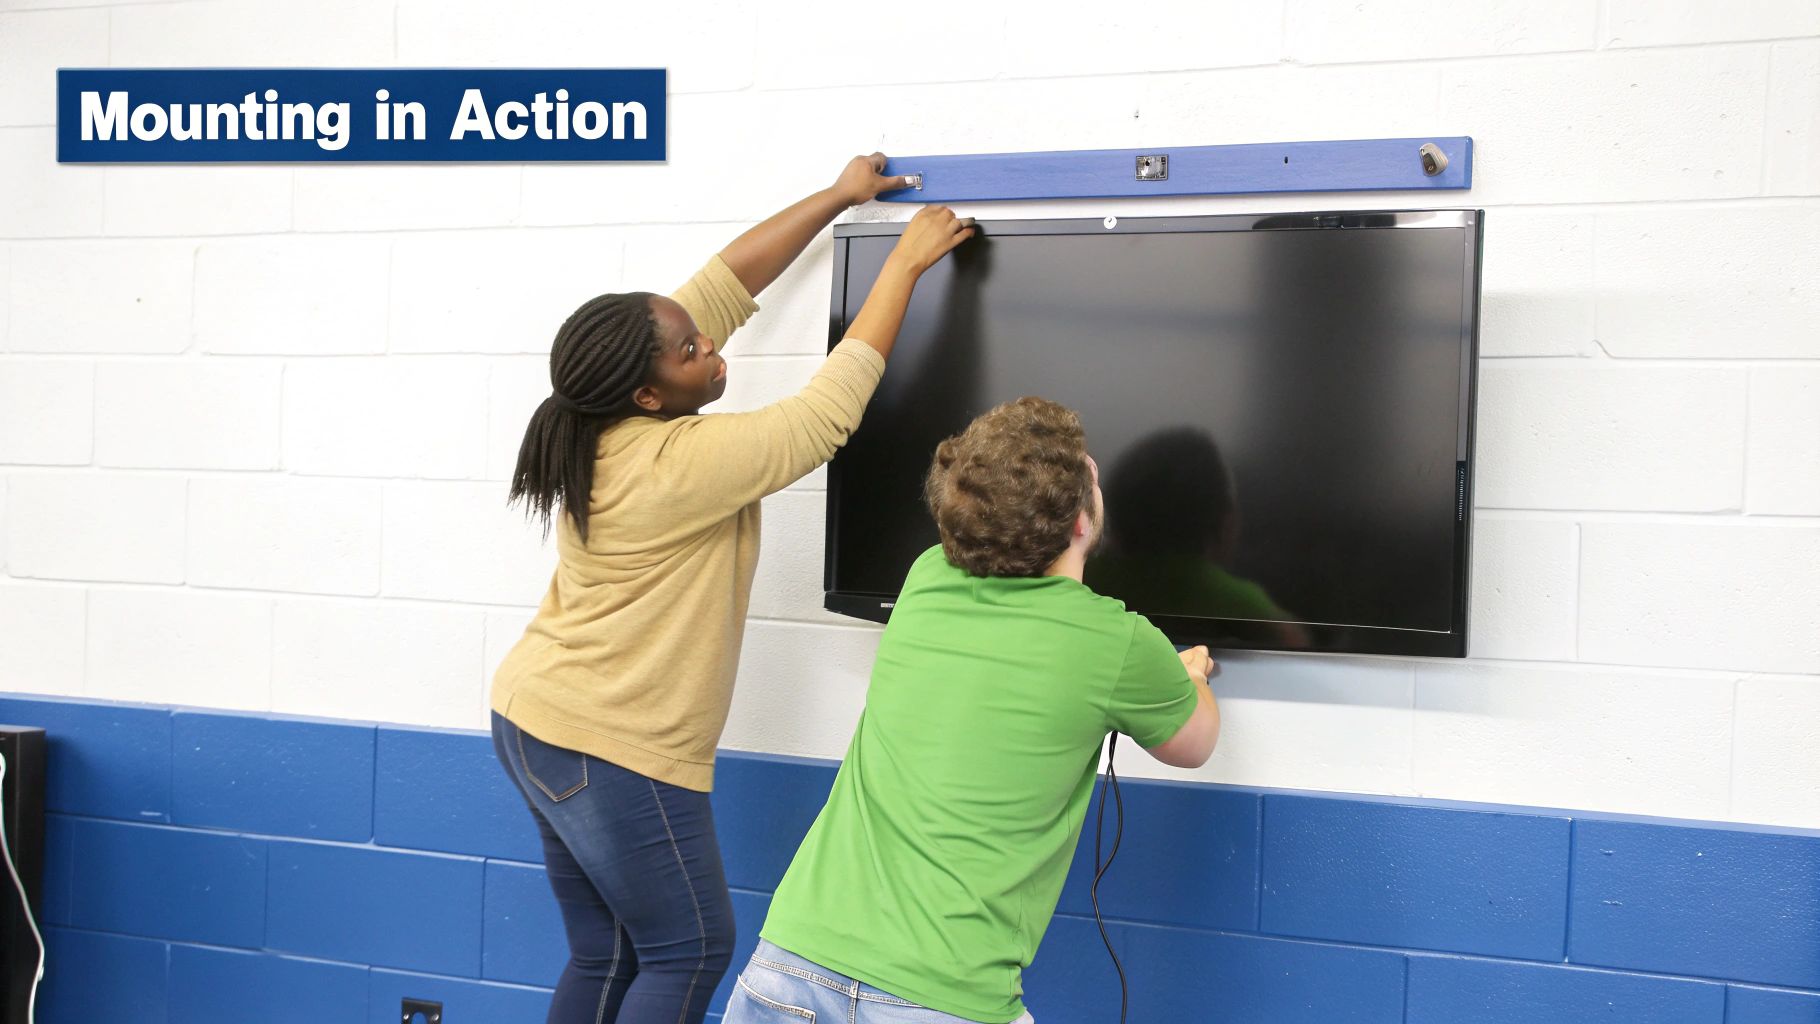
The Team Lift and Final Touches
Okay, now for the part you absolutely cannot do alone: lifting the TV. Phone a mate, bribe a neighbour with a cold one—do whatever it takes. Modern TVs might be thin, but they are deceptively awkward and fragile. Trying to manhandle a 65-inch screen by yourself is just asking for a trip to the emergency room or the electronics store.
With a person on each side, carefully lift the TV and line up the mounting arms (which you should have already screwed to the back of the TV) with the wall plate. Hook the top of the arms onto the plate first, then gently lower the bottom until it clicks into place. Most mounts have safety locks that engage with an audible 'click'. Give the bottom of the TV a gentle tug just to be 100% sure it’s locked in and secure.
With the TV hanging proudly on the wall, the last job is sorting out the cables. You can tuck any loose wires into the channels on the mount itself or use some simple cable ties to bundle them up neatly.
If you’re after that super-clean, 'floating TV' look where the cables completely disappear, you’ll need to run them behind the plasterboard. If that sounds a bit out of your comfort zone, our guide on installing data cable has some great pointers on how the pros handle in-wall wiring.
Common Mistakes and When to Call a Pro
Even with the best of intentions, a TV wall mount installation can go a bit pear-shaped. We’ve all been there. It’s that sinking feeling when your stud finder stays stubbornly silent right where you need it to beep, or the old brick wall in your Sydney terrace turns out to be harder than diamond. These little dramas are pretty common, but just pushing on can turn a small headache into a very costly disaster.
One of the biggest hurdles I see is odd stud placement. So what do you do when the timber studs aren't perfectly centred for your TV? Whatever you do, resist the temptation to just use plasterboard anchors. Trust me, they just aren't strong enough for the job. A professional installer has a few tricks up their sleeve for this, like using a bridging plate to safely span the distance between two awkwardly spaced studs.
Another classic mistake is buying the wrong mount altogether. You get it home, unbox everything, and then realise the VESA pattern doesn't match your TV, or worse, the mount isn't rated for the weight of your shiny new screen. It’s frustrating, and it’s a completely avoidable mistake with a bit of prep.
Knowing When to Wave the White Flag
There’s a fine line between being a determined DIY-er and being someone who's about to make a very expensive mistake. This isn’t about giving up; it’s about making a smart call to protect your gear and your walls.
It's probably time to call in a professional if you run into any of these situations:
- Tricky Wall Surfaces: If you're dealing with old, crumbly brick, metal studs, or anything that isn't standard gyprock on timber, it’s best to get an expert opinion.
- You're Not 100% Confident: Have any doubt at all about finding studs, hitting hidden wires, or getting that mount perfectly level and secure? Don’t risk it.
- You Want a Flawless Finish: Professionals are masters of cable concealment. They have the right tools and experience to get that clean, floating-screen look that’s really hard to achieve on your own.
Recognising when a job is beyond your skill set is a strength, not a weakness. When a $2,000 TV is on the line, paying for a professional installation is a very wise investment in your peace of mind.
This is especially true as more and more Aussies invest in high-end home entertainment setups. Australia now holds a 4.86% market share in the TV mounts category, which has seen massive growth recently. It just shows that people really want a better, more cinematic viewing experience at home.
If the job feels too big or you're just not sure, getting in touch with professional TV mounting services will guarantee a safe and secure installation. They've seen it all and can handle any curveballs your walls might throw at them. Wondering about the budget? Our guide on the cost to mount a TV on the wall breaks down what you can expect to pay.
Got a Few Lingering Questions?
Alright, so we've covered a lot of ground. But if you've still got a couple of questions rattling around, don't worry – that's completely normal. When it comes to mounting a TV, especially in homes from the Central Coast to Sydney, a few common queries always pop up. Let's get them sorted.
How High Should I Actually Mount My TV?
This is the number one question, and the answer is probably more straightforward than you'd expect. The best rule of thumb is to have the centre of the screen at eye level when you're sitting down.
So many people make the mistake of mounting it way too high, especially over a fireplace in those classic old Newcastle homes with high ceilings. It might seem like a good idea aesthetically, but trust me, it’s a one-way ticket to a sore neck after a movie marathon.
The best way to nail this is to sit on your couch, stare comfortably at the wall, and have someone mark that spot with a pencil. That mark is your target. Aim for the middle of your TV to line up with it, and you'll be set for comfortable viewing for years to come.
Can I Just Mount a TV on Plasterboard Without Finding a Stud?
I'll be blunt: please don't. It's a huge risk that we would never, ever take. Plasterboard (or gyprock, as most of us call it) just isn't built to take the concentrated weight of a modern TV, especially if you're using a bracket that extends out from the wall.
Sure, you can find some serious-looking plasterboard anchors at Bunnings, but they’re designed for lighter stuff like paintings or a small shelf. For the sake of your expensive new telly and anyone sitting below it, you absolutely must bolt the mount directly into the timber or metal studs. It’s the only way to be 100% certain it's secure.
What's the Going Rate for a Professional TV Install in Australia?
The cost for a professional job can swing quite a bit. It really boils down to a few things: where you are, the size of the TV, what kind of wall you've got, and if you want extras like getting the cables hidden in the wall.
As a ballpark figure, you could be looking at anything from $150 up to $400 or more for a standard installation. Your best bet is to get a couple of quotes from local, insured installers. They’ll give you a firm price based on your specific situation, so there are no nasty surprises when the job is done.
Ready to ditch the hassle and get that perfect, professional finish for your new TV? The crew at Advanced Comtech has been setting up dream entertainment systems for homeowners all over the Central Coast for years. Give us a call today for a flawless installation.