When it comes to installing data cable, there’s one golden rule I live by: plan first, pull later. Seriously, a solid plan is your best mate. It helps you map out the cleanest path from your modem to your device, spot any potential headaches, and grab the right gear before you even think about drilling a hole. This is how you get a professional-looking result.
Planning Your Home Network Installation
Let’s be real, nothing tests a relationship quite like a DIY project that goes south. Before you find yourself tangled in a mess of blue cable and sleeping on the couch, let’s talk strategy. A bit of proper planning is the difference between a lightning-fast connection and a weekend spent patching up plasterboard.
Think about this classic Central Coast scenario: you’ve finally set up your dream home office, but the Wi-Fi signal is about as reliable as a seagull eyeing your chips. The goal is to run a data cable from the NBN box in the living room straight to your new desk. This is where the real work begins—not with a drill, but with a simple walk-through.
Survey Your Domain
First things first, grab a notepad and walk the exact path your cable will take. Your mission here is to spot potential troublemakers along the way.
Keep an eye out for:
- Power Cables: Running data cables parallel to electrical wiring is a huge no-no. It’s a recipe for signal interference that can throttle your connection speed. If you absolutely have to cross a power line, make sure you do it at a 90-degree angle.
- Structural Hurdles: Figure out where the wall studs are. A stud finder is essential for this. Are you up against double brick, which you see in a lot of older Newcastle homes, or just standard plasterboard?
- Hidden Dangers: If you’re in an older Sydney home, you have to be mindful of asbestos. If you even suspect it might be present, stop what you’re doing immediately and call in a professional. It’s just not worth the risk.
A bit of forward-thinking saves a mountain of frustration. Identifying one tricky spot during your survey is far better than discovering it with a drill bit already halfway through a stud.
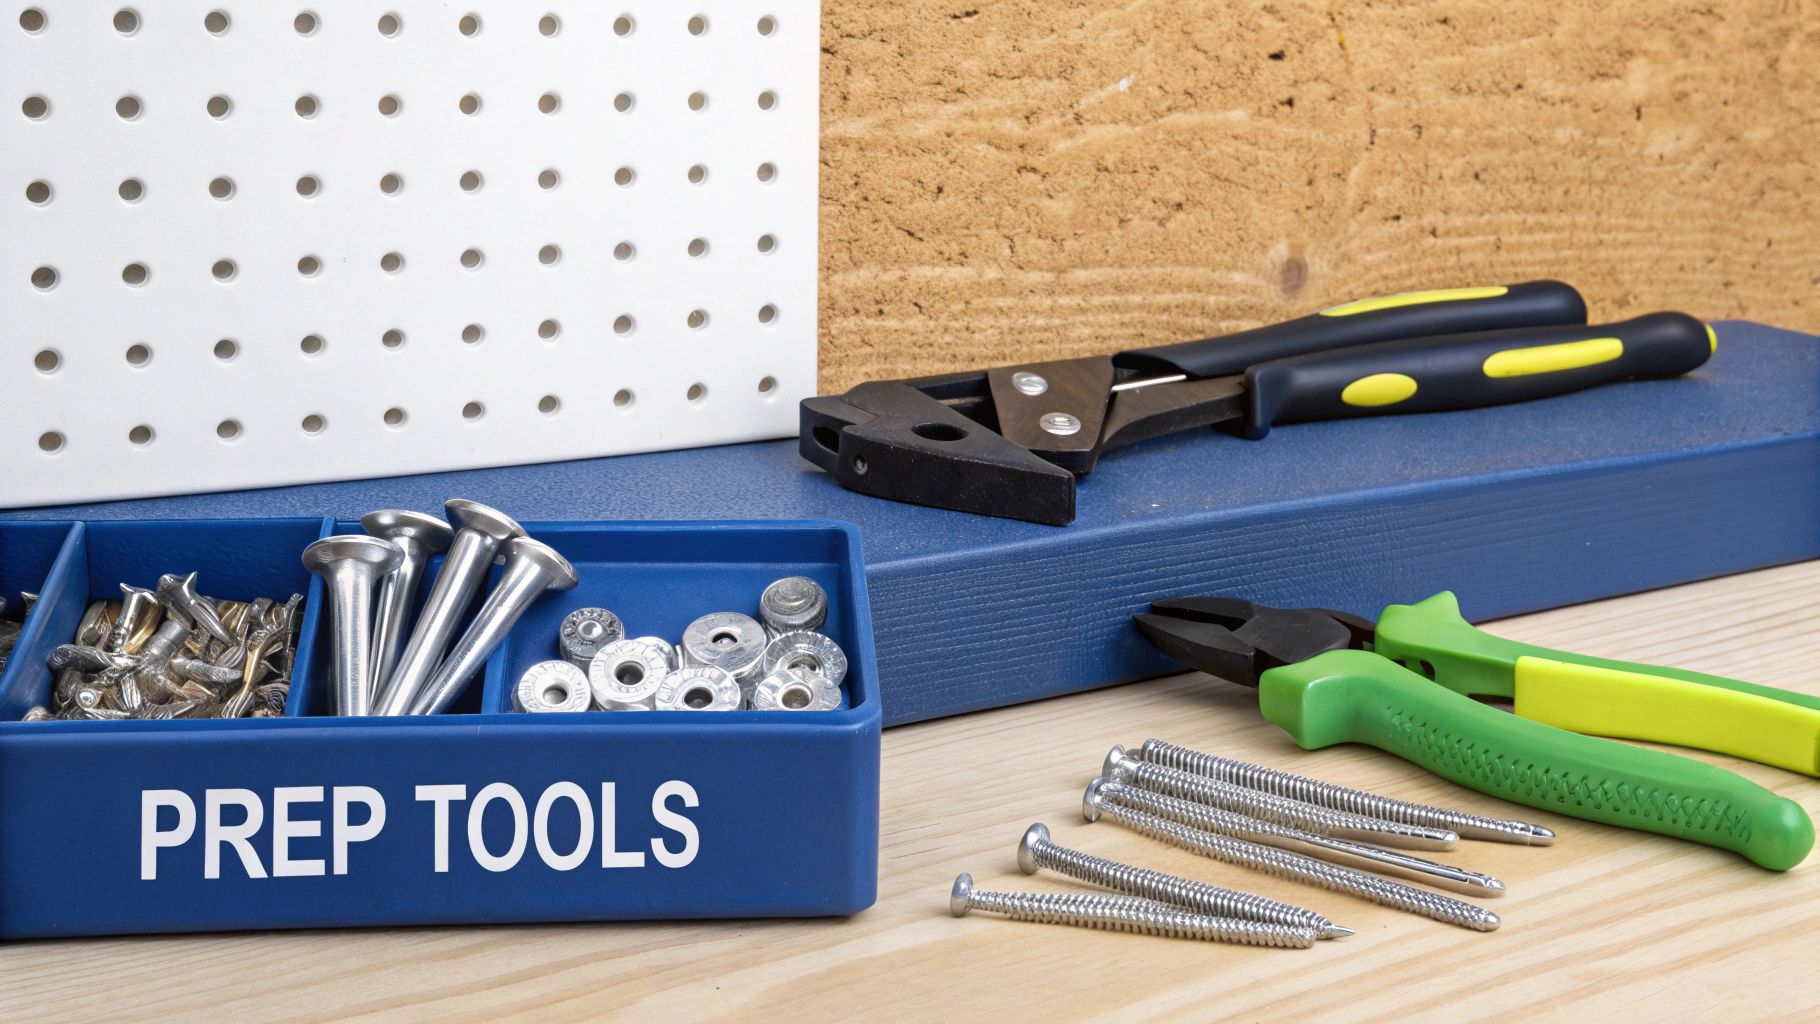
Gear Up for Success
Once you’ve got a clear plan of attack, it’s time for a trip to Bunnings. My advice? Don’t skimp on your tools; buying cheap often means buying twice. A good quality kit will make the whole job run much more smoothly.
You’ll definitely want a reliable stud finder, a sharp plasterboard saw, a good set of drill bits, and some fish tape or cable pull rods to help guide the cable through the walls.
For more complex jobs or if you’re just not feeling confident, looking into a professional home network installation can give you peace of mind and guarantee the job is done right the first time. Taking these initial steps seriously turns a potentially messy project into a straightforward and satisfying upgrade for your home.
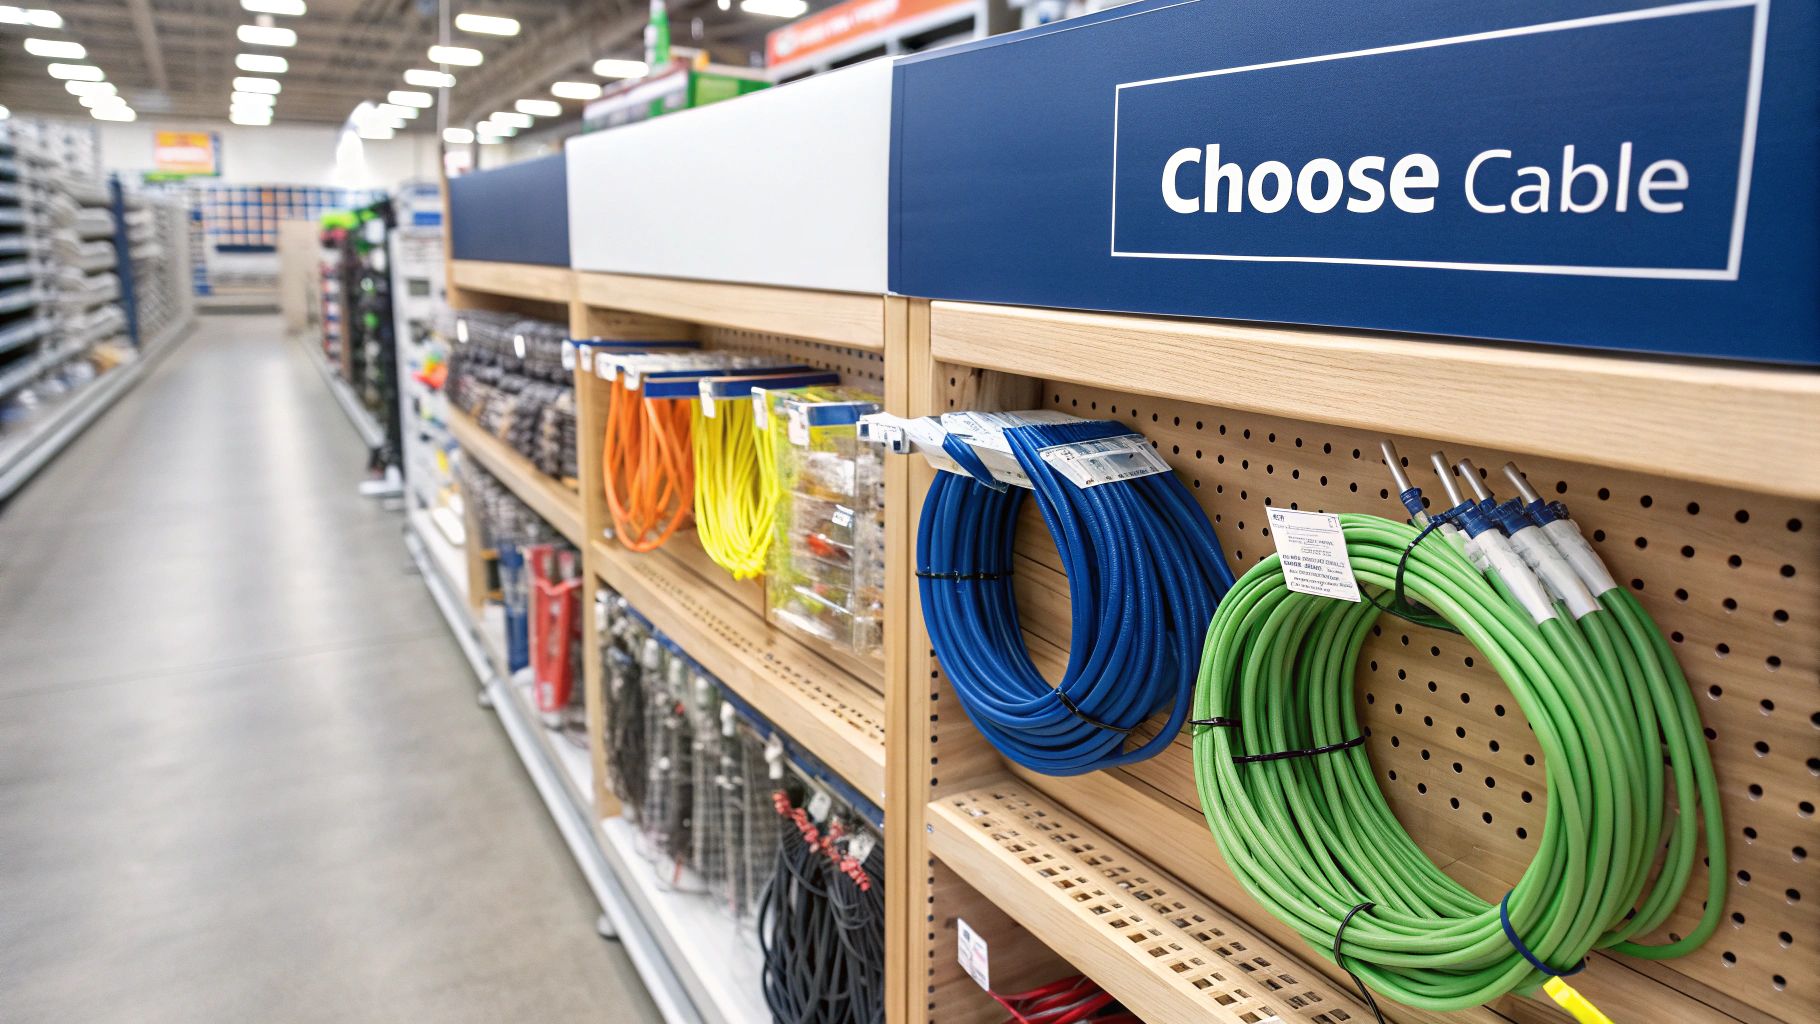
Choosing the Right Data Cable for Your Needs
Alright, let’s get to the heart of the matter: the cable itself. Picking the right data cable is a bit like choosing tyres for your car. Sure, any round piece of rubber will get you down the road, but the right set gives you a much smoother, faster, and more reliable ride. Just grabbing any old cable is a classic rookie mistake that almost guarantees a dodgy connection that’ll drive you mad.
Picture this: you’ve just invested in a brilliant new 8K TV, ready to stream the footy in stunning quality. But every five minutes, the picture freezes and buffers. The culprit? It’s probably not your internet plan, but that cheap, flimsy data cable you ran through the wall, which just can’t keep up with the demand.
Demystifying the Cable Categories
Walking into an electrical wholesaler and seeing a wall of boxes labelled “Cat This” and “Cat That” can be a bit much. So, let’s break down the main players you’ll actually need to know about.
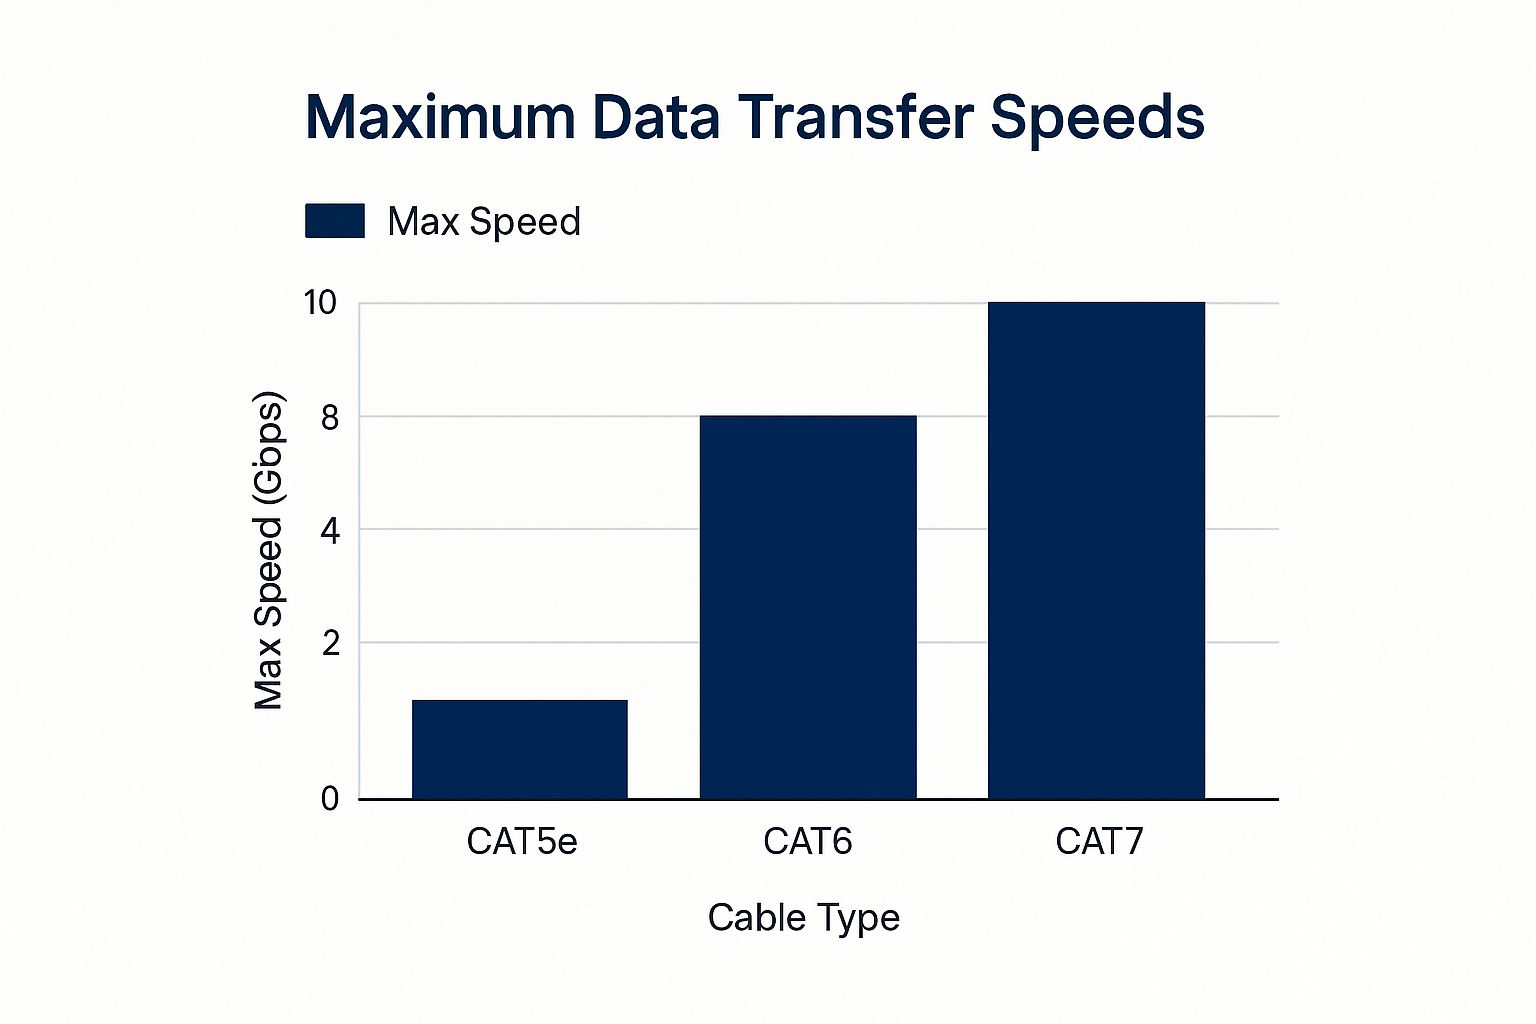
- Cat5e (Category 5 enhanced): This is the old workhorse. It can handle speeds up to 1 Gigabit per second (Gbps), which is plenty for basic internet browsing, emails, and standard HD video streaming. It’s the most budget-friendly option, but it’s definitely not built for the future.
- Cat6 (Category 6): Now we’re talking. Cat6 is a solid step up, handling up to 10 Gbps over shorter runs (up to about 55 metres). This makes it a fantastic all-rounder for a modern home, easily juggling high-speed NBN, 4K streaming, online gaming, and a house full of smart devices.
- Cat6a (Category 6 augmented): This is the top dog for home installations. It reliably delivers 10 Gbps over the full 100-metre distance and has much better shielding to fight off interference from electrical wiring. If you’re serious about future-proofing your home or have a larger property, spending a bit extra on Cat6a is a smart move.
This quick comparison table should help you figure out which cable is the right fit for your place, whether you’re just browsing or setting up for some serious gaming.
Data Cable Showdown Cat5e vs Cat6 vs Cat6a
| Cable Type | Max Speed | Best For | Typical Cost (per metre) |
|---|---|---|---|
| Cat5e | 1 Gbps | Basic internet, email, HD streaming | $0.50 – $1.00 |
| Cat6 | 10 Gbps (up to 55m) | 4K streaming, online gaming, modern smart homes | $1.00 – $2.00 |
| Cat6a | 10 Gbps (up to 100m) | Future-proofing, large homes, eliminating interference | $1.50 – $3.00 |
As you can see, the jump in performance from Cat5e to Cat6 and Cat6a is pretty significant, ensuring your network won’t be the weak link in your setup.
Don’t let your network be held back by yesterday’s technology. Choosing Cat6 or Cat6a cable today means you won’t have to rip your walls open again in a few years when internet speeds and device demands inevitably increase.
Ultimately, picking the right cable is a crucial part of any successful data cabling project. Matching the cable to what you need—both now and down the track—is the real key to building a fast and reliable home network.
How to Run Cable Through Walls and Ceilings
Right, this is where the hands-on fun really starts. You’ve planned your route, picked your cable, and now it’s time to get that sucker from point A to point B without your house looking like a demolition site. A bit of care here goes a long way.
Let’s picture a classic Sydney scenario. The NBN connection is stuck downstairs in the living room, but your teenager’s new gaming setup is upstairs. The Wi-Fi keeps dropping out during crucial moments, and they’re not happy. Your mission is to run a solid, reliable data cable up through the wall and ceiling to their room for a lag-free connection.
Planning Your Conduit Path
Before you even think about picking up a drill, let’s talk about future-proofing. Sure, you could just pull a single cable through the wall, but installing a conduit (a flexible plastic tube) is a game-changer.
Why bother? Because if you ever need to upgrade that cable or add another one in a few years, you just feed it through the existing conduit. No cutting open the walls all over again.
Think of it as building a little data highway inside your walls. It’s a small extra cost upfront—maybe $20-$30 for a good length from your local electrical wholesaler—but it saves a massive headache down the track.
The Art of Drilling and Pulling
Once you’ve used a stud finder to locate a clear path between the timber studs, it’s drilling time. The golden rule here is to drill your holes dead centre in the studs. This drastically minimises the risk of nicking an electrical wire or weakening the wall’s structure.
Now, let me introduce you to your new best friend: fish tape. This flexible metal or fibreglass rod is essential for guiding your cable through the dark, mysterious void of your wall cavity.
- Feed the Fish Tape: Start from the top hole (in the teenager’s room) and carefully push the fish tape down until it emerges from the bottom hole near the router.
- Attach the Cable: Securely tape your data cable to the hook or loop at the end of the fish tape. Use a decent amount of electrical tape and try to make the connection as smooth and slim as possible to avoid getting snagged.
- Pull Gently: Head back upstairs and begin pulling the fish tape back up, slowly and steadily. The data cable will follow. If you feel it catch on something, don’t just yank it! A bit of wiggling and gentle persuasion is usually all it takes.
Don’t be a hero and try to muscle the cable through. A kinked or damaged data cable is about as useful as a screen door on a submarine. Slow and steady wins this race.
Navigating Wires and Securing the Run
One of the biggest worries when running new cables is dealing with existing power lines. As we touched on earlier, you should always avoid running data and power cables parallel to each other. If you absolutely have to cross a power cable, make sure you do it at a sharp 90-degree angle to minimise electrical interference.
Once the cable is pulled through, leave yourself a bit of extra slack at both ends—about a metre is a good rule of thumb. This “service loop” gives you plenty of cable to play with when you’re terminating the ends and connecting your gear.
This extra length is also a lifesaver if you ever rearrange furniture or need to move a wall plate, a common challenge we see when customers need help with professional TV mounting and installation. Taking these careful steps turns a tricky job into a clean, professional-looking install that will last for years.
Terminating and Finishing Your Cable Runs
You’ve done the hard yakka. You’re probably covered in dust, you’ve wrestled with fish tape in a dark wall cavity, and you’ve emerged victorious. But before you crack open a cold one, the job’s not quite done. Now it’s time to take those messy cable ends and turn them into something that looks clean, professional, and actually works.
This final stage, termination, is where a lot of DIY projects fall over. I once spent two frustrating hours trying to figure out why a brand-new connection was dead, only to discover a single tiny copper wire was in the wrong slot. It’s a game of millimetres, but getting it right is incredibly satisfying.
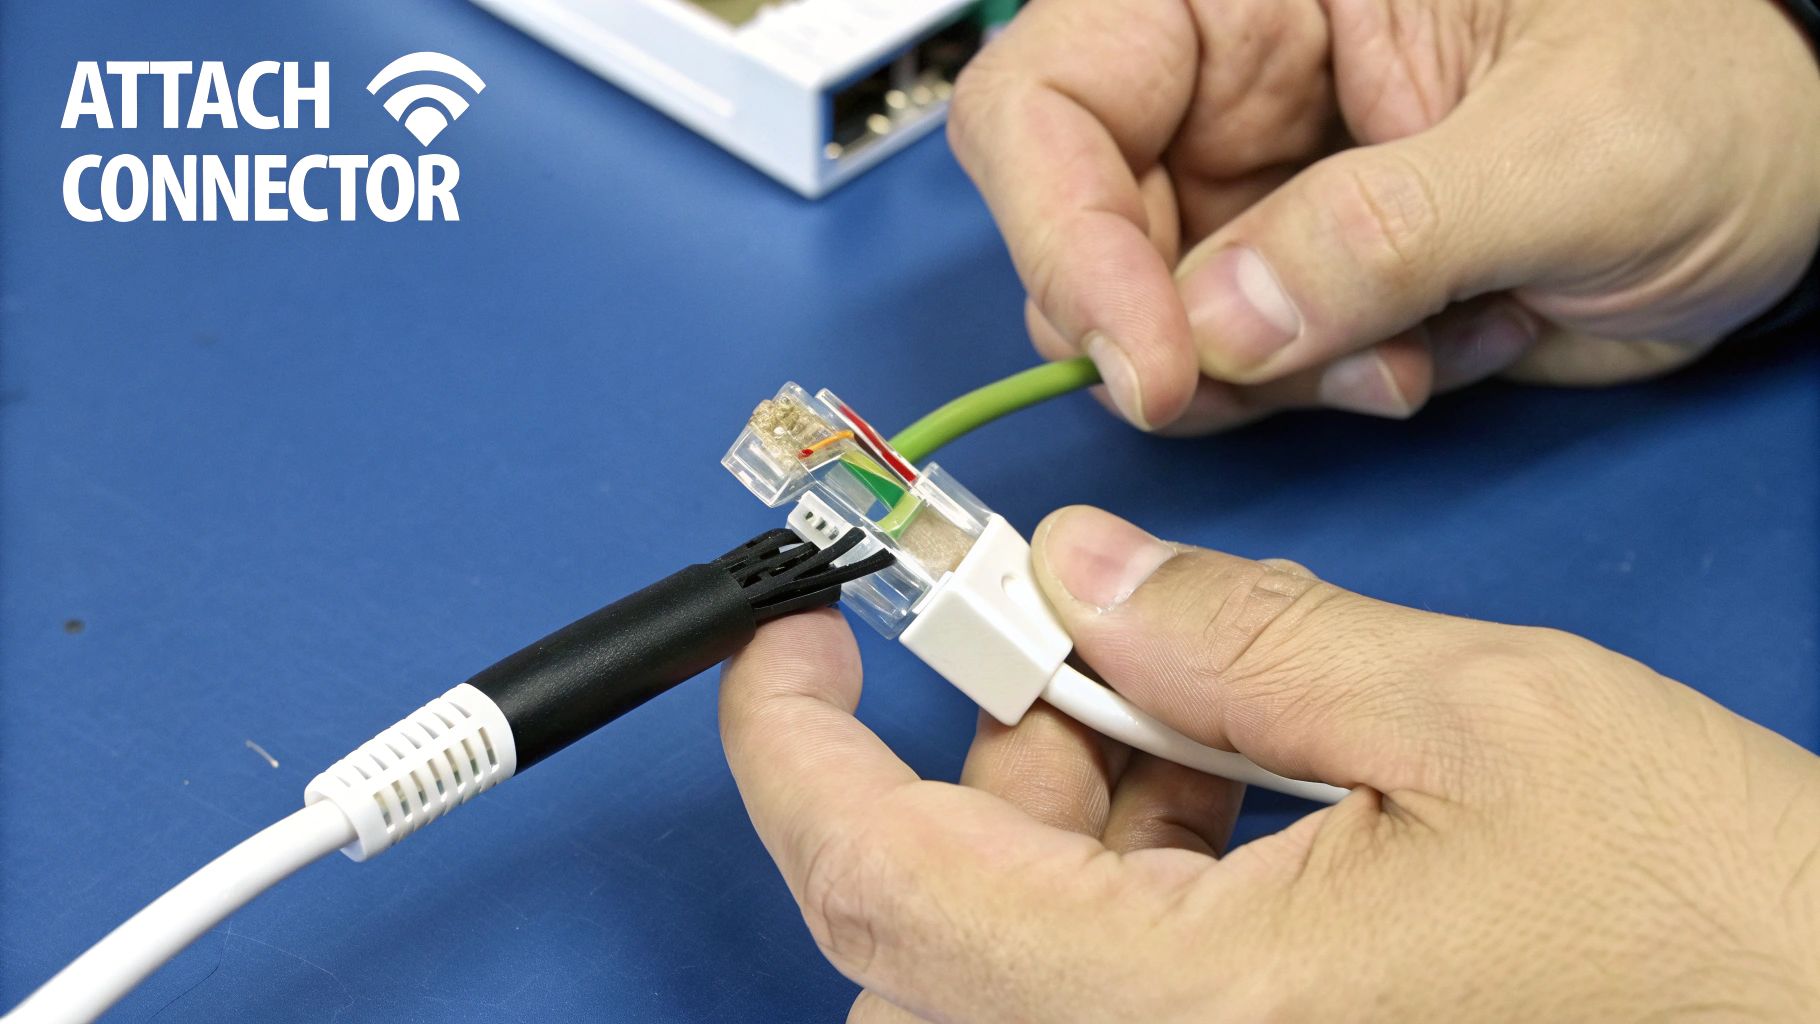
The Art of the RJ45 Connector
Your first task is to attach the RJ45 connectors—those little clear plastic plugs—to the ends of your cable. This means carefully stripping the outer jacket, untwisting the eight individual coloured wires, and then painstakingly lining them up in the correct order.
In Australia, we stick to the T568B wiring standard pretty religiously. Getting this sequence right isn’t just a suggestion; it’s non-negotiable if you want things to work.
Here’s the colour order you need to memorise:
- Orange/White
- Orange
- Green/White
- Blue
- Blue/White
- Green
- Brown/White
- Brown
Once they’re perfectly flat and in order, you’ll trim the ends so they’re all the same length, slide them into the connector, and use a crimper to permanently secure them. A good, solid crimp is absolutely crucial for a reliable connection that won’t fail you later.
Installing Sleek Wall Plates
With your connectors crimped, it’s time to give your installation a professional finish with wall plates. This is what separates a proper job from a shonky one. You’ll punch down the wires into a jack that sits in the wall plate, again following the T568B colour code.
This process not only looks a hundred times better but also protects the cable from getting tugged or damaged down the track. It’s a vital step for any permanent installation, especially if you’re setting up a robust network for something like a comprehensive home CCTV system where a stable connection is critical.
A well-terminated cable is more than just functional; it’s a mark of quality. Taking your time here ensures your network is reliable for years, saving you countless troubleshooting headaches down the line.
And finally, don’t forget to label everything! A cheap label maker from Officeworks can save you a world of pain. Labelling each port—”Office,” “Gaming PC,” “Living Room TV”—means you’ll always know what plugs into where, even years from now.
This meticulous finishing work is part of a much bigger picture. The entire telecommunications cable management market in Australia, valued at around $798 million AUD, is set to more than double by 2033. This growth highlights just how important proper, organised cabling has become in our homes and businesses. You can explore more data on the Australian cable management market to see the trends for yourself.
Testing Your New Network Connection
Right, the hard yakka’s done. The cable is neatly tucked away in the walls, and the plates look schmick. But before you kick back and admire your handiwork, there’s one last crucial step.
It’s time to make sure the whole thing actually works. Nothing’s more soul-crushing than plugging in and getting… nothing.
This is where a simple network cable tester becomes your best mate. You can grab a decent one for about $20-$30, and honestly, it’s worth every cent. This little gadget will instantly tell you if you’ve wired everything up correctly, saving you from the monumental headache of troubleshooting a dead connection later.
What Your Tester Is Telling You
Most basic testers have two parts: the main unit and a remote terminator. Just plug one end of your new cable run into the main unit and the other end into the remote. The tester sends a signal down each of the eight tiny wires inside, and a series of lights will tell you the story.
If all eight lights illuminate in sequence on both units, you can crack open that celebratory drink—you’ve nailed it!
But if the lights are out of order, dim, or don’t light up at all, you’ve got a problem. This is how you spot common mistakes like:
- A Mis-wired Pin: You’ve mixed up the colour order during termination. It happens.
- A Bad Crimp: One of the wires isn’t making a solid connection inside the RJ45 plug.
- An Open/Short Circuit: The cable might have been nicked or damaged somewhere along the run.
A cable tester doesn’t just tell you if it works; it tells you why it doesn’t. It turns a frustrating guessing game into a simple, five-minute diagnosis.
This final check is all about confidence. It ensures your new connection is stable and reliable from day one. After all, the national NBN network, which underpins most data cable installations in Australia, reports an impressive 99.95% uptime. It’s vital that your internal wiring matches that standard of quality.
If you test the cable and everything checks out, but you still find your connection is dropping out, the problem might be elsewhere. It could easily be a wireless signal issue in another part of the house. Our guide on choosing between a Wi-Fi extender vs a mesh network can help you diagnose and fix those pesky dead zones for good.
Got Questions? We’ve Got Answers
Still have a few things you’re wondering about? That’s completely normal. We hear these same questions all the time from people tackling data cabling jobs across Sydney and the Central Coast. Let’s run through some of the most common ones.
Do I Really Need a Licence to Run a Few Cables?
This is a big one, and the answer is a definite yes. In Australia, the law is crystal clear. The Australian Communications and Media Authority (ACMA) requires anyone installing permanent data, security, or phone cabling to hold a current Open Registration Licence.
Sure, running a patch lead from your modem to the TV is fine. But the second you poke a cable into a wall, ceiling, or under the floor, it becomes “concealed cabling.” That’s a different ball game entirely.
Doing this yourself without a ticket isn’t just illegal; it could also give your insurance company a perfect reason to deny a claim if something goes wrong down the track.
When Should I Just Call a Pro?
Look, I admire the can-do Aussie spirit as much as the next person, but sometimes you’ve just got to know when to call in the experts. It’s probably time to pick up the phone if:
- You even think there might be asbestos. This is an absolute deal-breaker, especially in older homes around Newcastle and Sydney. Don’t risk it.
- The job looks complicated. If you’re planning on running multiple cables to different rooms, trying to get through double-brick walls, or tying into other home systems, it’s a job for a professional.
- You need guaranteed performance. For a business setup or a high-end smart home that needs rock-solid speeds, a pro can certify the whole installation to make sure it meets performance standards.
Trust me on this one: getting it right the first time is always cheaper than paying someone to fix a messy DIY job. If you feel like you’re in over your head, calling a licensed cabler is the smartest move you can make.
Can I Run My Data and Power Cables Together?
Simply put, no. You absolutely should not run your data cables in the same conduit or bunch them up next to your electrical wiring. The electromagnetic interference (EMI) from the power cables will seriously mess with your data signal, leading to frustratingly slow speeds and connection dropouts.
A good rule of thumb is to keep them as far apart as possible. If you absolutely have to cross a power line, make sure you do it at a sharp 90-degree angle to minimise the interference.
Getting this stuff right is serious business. The fibre optic cable installation industry in Australia is massive, reaching a market size of about $1.9 billion. Big players like Ventia and Downer are in this space, which just goes to show how important it is to stick to professional standards. If you’re curious, you can discover more insights about the Australian fibre optic installation market to see the sheer scale of it all.
Feeling like your project might be a bit more than you bargained for? The team at Advanced Comtech has been getting data cabling right for homes and businesses across the Central Coast for over 30 years. For some honest advice and a pro installation that’s completely stress-free, get in touch with us. Find out how we can help at https://advancedcomtech.com.au.