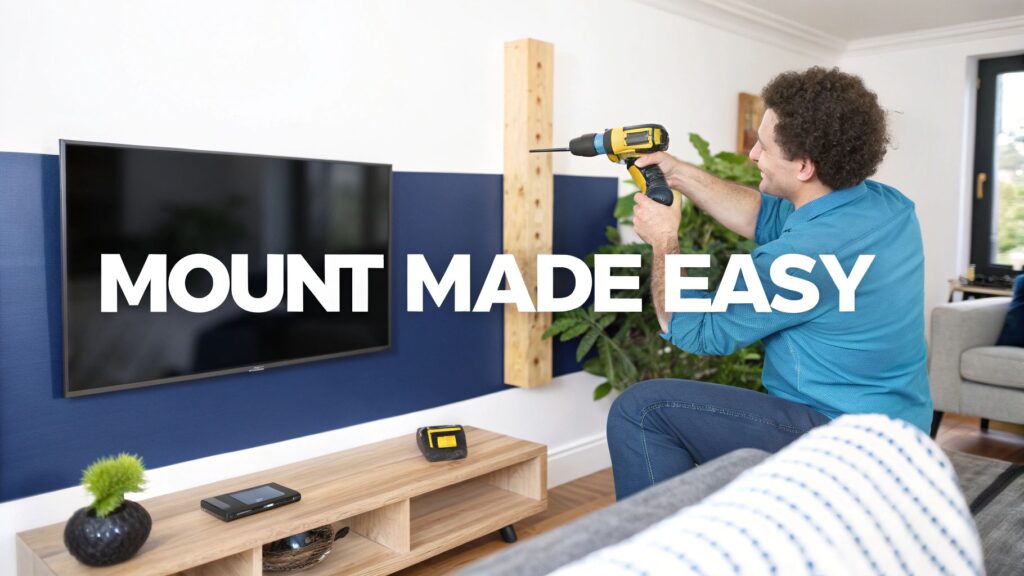
Getting a TV mount installation spot-on is a game-changer for your living room. It's how you free up that precious floor space and nail the perfect viewing angle just in time for the footy finals. It might look like a simple weekend project, but a little bit of prep work is crucial to avoid a complete shemozzle.
Trust me, getting it right the first time means your telly is secure, and you can kick back without a worry in the world.
Ready to Get That TV on the Wall?
So, you’ve just unboxed that beautiful new TV, and suddenly the old entertainment unit is looking a bit clunky and outdated. It’s a classic Aussie rite of passage: mounting the new screen on the wall. From the Central Coast to Newcastle, it's a tempting DIY job for any weekend warrior.
But before you charge in with the drill like a hero, let's have a quick yarn. We want this to be a success story, not a cautionary tale you'd tell down at the pub about putting a massive hole in your wall. I’ll never forget a mate in Sydney who rushed the job, missed the stud by a single centimetre, and almost watched his brand-new 65-incher do a nosedive. It's a classic mistake, and thankfully, it’s also an easy one to avoid.
Why Planning Your TV Mount Installation Matters
A bit of planning really does go a long way here. This isn’t just about making things look schmick; it’s about making sure your setup is safe and gives you the best possible viewing experience. A proper installation does so much more than just clear up some floor space.
Here’s why thinking it through is your best mate for this job:
- Safety First: That new TV is heavy. Anchoring it securely to a wall stud is the only way to stop it from becoming a very expensive—and dangerous—falling object.
- The Perfect View: Getting the height and angle just right means no more craning your neck during a movie marathon. You'd be surprised what a difference it makes to your comfort.
- A Clean Finish: Let's be honest, nobody wants a messy tangle of cables dangling below their sleek new screen. A bit of planning helps you figure out the best way to hide them for that clean, professional look.
Thinking ahead is your secret weapon against common stuff-ups, like picking the wrong wall, drilling straight into a hidden pipe or electrical wire, or realising the mount you bought doesn’t even fit your TV.
Doing the job right from the get-go will save you a world of headaches and potential costs later on. And if you're weighing up the pros and cons of doing it yourself, it's a good idea to check out the typical cost to mount a TV on the wall before making a final call.
Let's get into the essentials so you can get it done, kick back, and admire your handiwork.
Choosing the Right Mount and Tools
Walking into Bunnings without a game plan is a classic Aussie error, especially when you’re on a mission to mount a TV. It’s so easy to get lost in those aisles, but trust me, grabbing the right gear from the get-go is half the battle won. The absolute last thing you want is a second trip because you picked up the wrong bracket.
I remember a mate in Newcastle who found what he thought was a bargain mount online for his brand-new 75-inch TV. It turned into a very stressful night of second-guessing and near-disaster when he realised the cheap metal was already starting to bend under the weight. Don't be that guy. A few key checks will ensure your telly stays exactly where it’s meant to.
Matching the Mount to Your TV
Before you even think about the wall, you need to match the mount to your television. Think of it like a puzzle – getting the pieces to fit perfectly is crucial for safety and a good finish.
First up, check your TV's weight. You’ll usually find this in the manual or on the manufacturer's website. Next, you need its VESA pattern. That’s just the standard measurement between the four screw holes on the back of your TV, and it's what the mount will attach to.
Once you have those two numbers, you can start shopping. Mounts come in a few main flavours:
- Fixed Mounts: This is your no-frills, basic option. It holds the TV flat against the wall, almost like a picture frame. It’s perfect for a clean, minimalist look if you’ve already figured out the perfect viewing spot.
- Tilting Mounts: A slight upgrade, this one lets you angle the screen up or down. This is an absolute lifesaver for reducing glare from windows or if you need to mount the TV a bit higher on the wall, say, over a fireplace.
- Full-Motion Mounts: The most versatile of the bunch. These have articulating arms that let you tilt, swivel, and pull the TV out from the wall. They're ideal for big rooms with multiple seating areas or for tucking a screen into a tricky corner.
The right mount isn't just about movement; it's about peace of mind. Always choose a mount rated to hold at least the weight of your TV—overkill is your friend here.
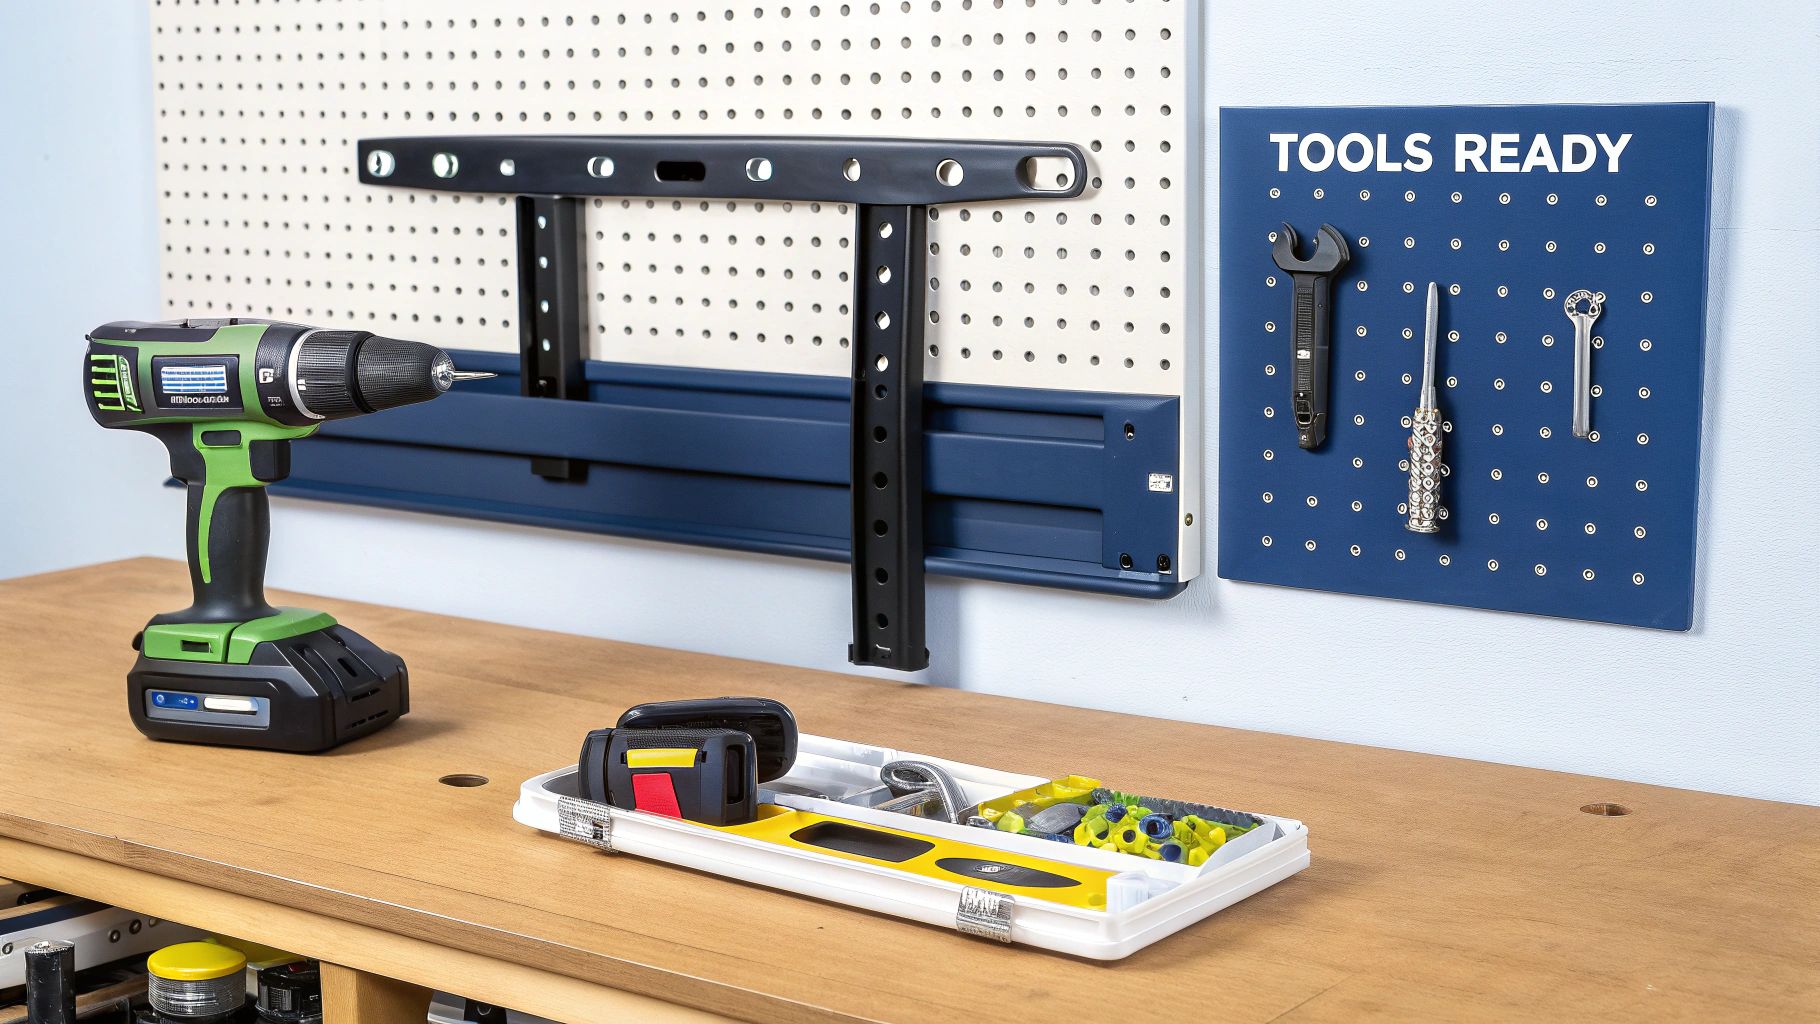
Your Essential Tool Kit
With the perfect mount chosen, it’s time to gather your tools. Having everything on hand before you start drilling will make the entire TV installation process smoother and a whole lot less frustrating. You don't need a tradie's entire ute, just a few key items.
Here’s your must-have list for a successful installation:
- A good stud finder: Don’t cheap out on this. A reliable electronic stud finder is your best mate for locating the timber supports behind your plasterboard.
- Power drill with the right bits: You'll need different drill bits for timber studs versus a solid brick or concrete wall. Make sure you have the right ones for the job.
- Spirit level: Guessing what's level never, ever ends well. A decent-sized spirit level will ensure your TV doesn't end up on a wonk.
- Tape measure and pencil: For marking out your drill holes with precision. You know what they say: measure twice, drill once.
- Socket set: This makes tightening the lag bolts into the studs so much easier and more secure than fumbling around with a shifter.
Getting your TV and sound system set up perfectly is a key part of creating a great home experience. For those looking to integrate their whole setup, learning about professional audio-visual smart home systems can provide some brilliant ideas for a truly seamless entertainment space.
Finding the Perfect Spot for Your TV
Right, let’s get down to it. Picking the perfect spot on the wall is half the battle, and it's what separates a decent tv mount installation from a brilliant one. You can't just slap it up anywhere; you need to find that sweet spot for the best possible viewing experience.
Imagine the sun’s glare hitting your screen during the final minutes of the State of Origin, or having to crane your neck because the TV is mounted way too high. We've all been there. The golden rule is to position the centre of the screen at eye level from your favourite spot on the couch. For most living rooms, this usually lands somewhere between 100cm to 110cm off the floor. It might feel a bit low when you measure it, but trust me, your neck will thank you later.
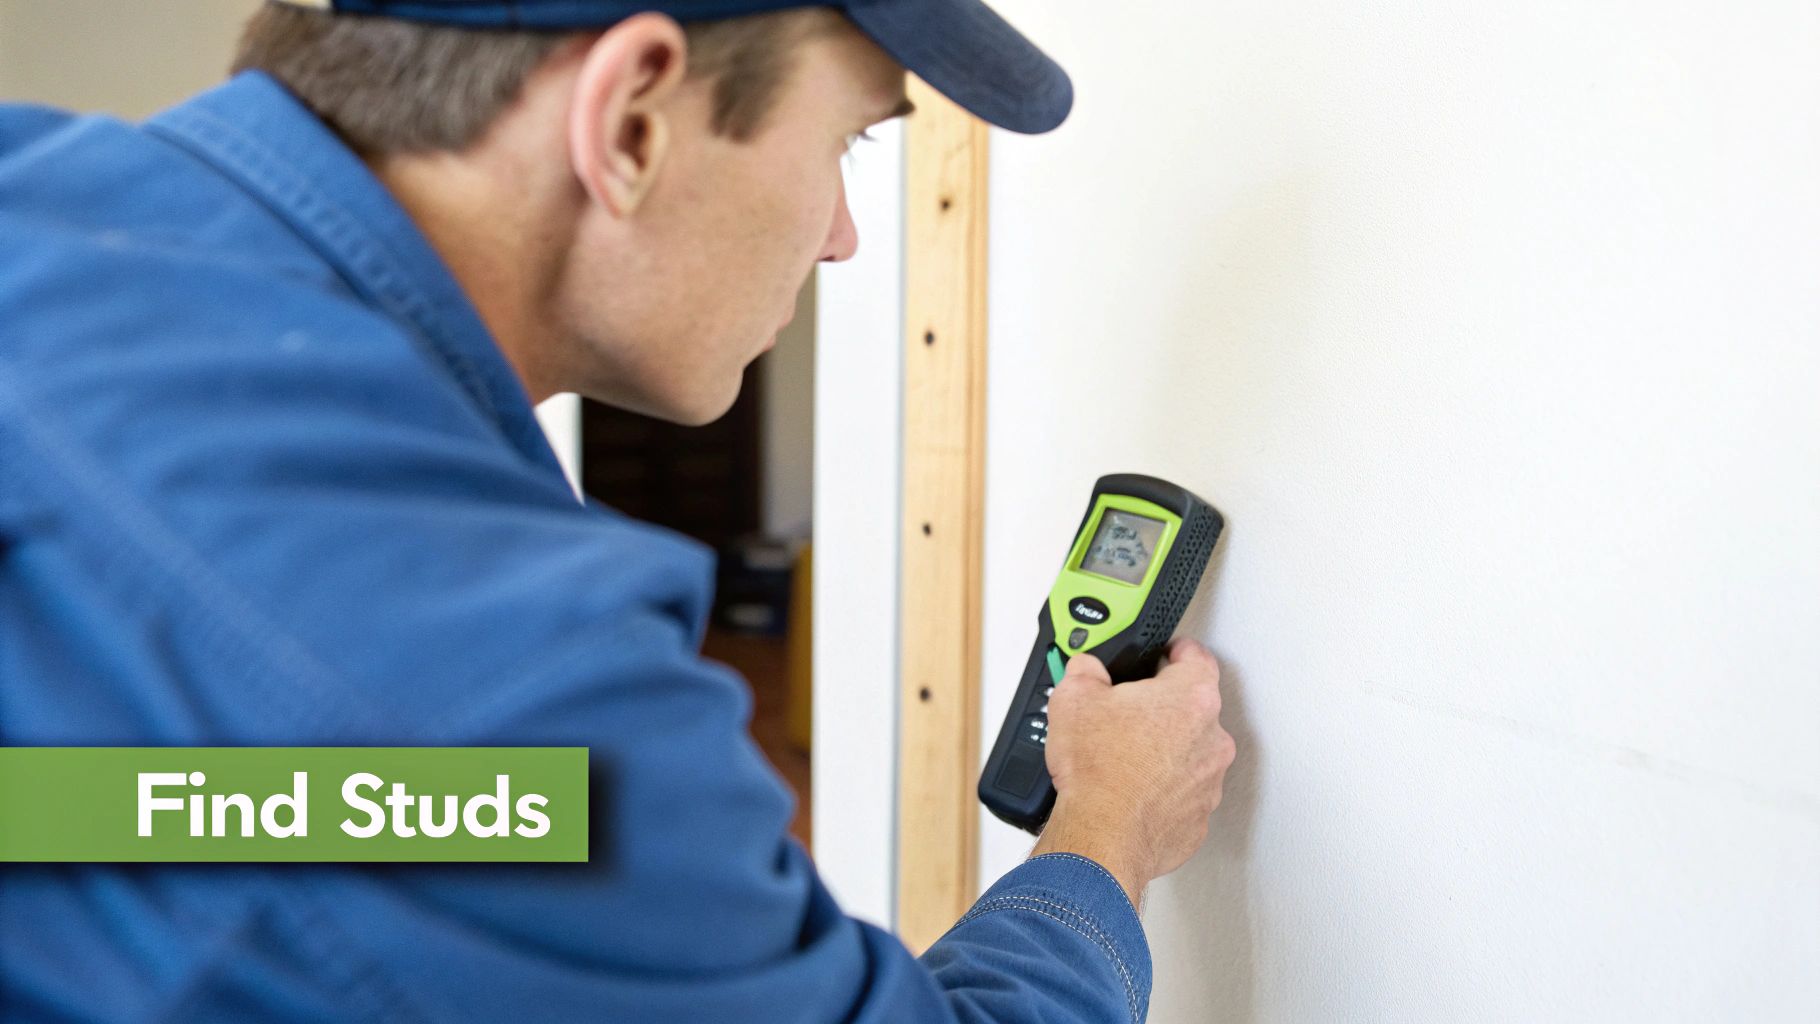
Locating a Wall Stud Is Non-Negotiable
This is, without a doubt, the most critical part of the entire job. Let me be absolutely clear: you cannot mount a TV directly into plasterboard. I’ve heard far too many horror stories from folks whose shiny new telly took a nosedive because it was held up by nothing more than hopes and a couple of flimsy drywall anchors. It never, ever ends well.
Your wall's internal frame—made of timber or steel studs—is the only thing with the structural integrity to support the weight of a modern TV. Finding these studs is your number one priority.
A good electronic stud finder is worth its weight in gold. Just slide it across the wall, and it'll beep or light up when it detects the edges and centre of a stud. Pop a little pencil mark on the wall for each one you find.
Don't have a stud finder? You can always go old-school with the tap-and-listen method.
- The Tap Test: Gently knock along the wall. You’ll hear a hollow, empty sound in the spaces between the studs.
- The Solid Thud: When you tap over a stud, the sound will change to a much duller, solid thud. That’s your target.
Once you reckon you've found one, I always recommend drilling a tiny pilot hole with a small nail—somewhere the TV will hide it—just to be 100% sure you've hit solid timber.
Your TV's safety, your wall's integrity, and your peace of mind all hang on finding that stud. Don't even think about taking a shortcut here; the risk just isn't worth it.
Dealing With Awkward Studs and Brick Walls
Of course, the studs aren't always exactly where you want your TV to be. If they're a little off-centre, don't stress. Many full-motion mounts let you shift the screen left or right after it’s hung, which can easily solve the problem.
If you’re in a classic Central Coast home with timber frames or a Sydney terrace with double brick, your approach will change a bit. For brick or masonry, you'll need a hammer drill and the right masonry bits to create a rock-solid anchor point.
It’s no surprise this is becoming such a common weekend project. The TV wall mount market is booming, valued at a whopping AUD $18.5 billion in 2023, as more people chase that clean, space-saving look.
And while you’re busy creating the perfect entertainment hub, a solid internet connection is just as important. If you find yourself battling with buffering, have a look at our guide on how to boost your WiFi signal for a flawless streaming experience.
Your Step-by-Step Installation Guide
Alright, tools are ready, the perfect spot is marked, and the grand final is just a few days away. It's go time. This is your no-fluff, hands-on guide to getting that bracket on the wall and the TV securely in place. Let's get this done so you can crack open a cold one and admire your handiwork.
First up is the wall bracket itself. Hold it flush against your pencil marks and grab your spirit level. Double-check, triple-check, then check it one more time. Believe me, a bracket that's even a tiny bit wonky now will look ridiculously crooked once a massive screen is hanging off it.
When you're happy it's perfectly level, mark your drill holes through the bracket's openings with a pencil.
Now for a pro tip that’ll save you a massive clean-up job later. Grab a plastic shopping bag or a big envelope and tape it to the wall just below where you're about to drill. It'll catch almost all of that pesky plasterboard dust. Simple, but brilliant.
Attaching the Bracket to the Wall
With your dust-catcher in place, it’s time to drill. Grab your power drill, pop in the correct bit for your wall type (timber or masonry), and drill your pilot holes directly on your pencil marks. You'll want to make sure the holes are deep enough for the entire length of the lag bolts that came with your mount.
Next, you can attach the wall plate. Line it up with your pilot holes and start screwing in the lag bolts. A socket wrench is your best friend here; it gives you the leverage you need to tighten those bolts until they're rock-solid. Don't fully tighten them all at once, though. Get them all snug, place your level on the bracket one last time to confirm it’s still straight, and then give them that final, firm tighten.
This infographic shows that crucial moment of getting the bracket securely onto the wall.
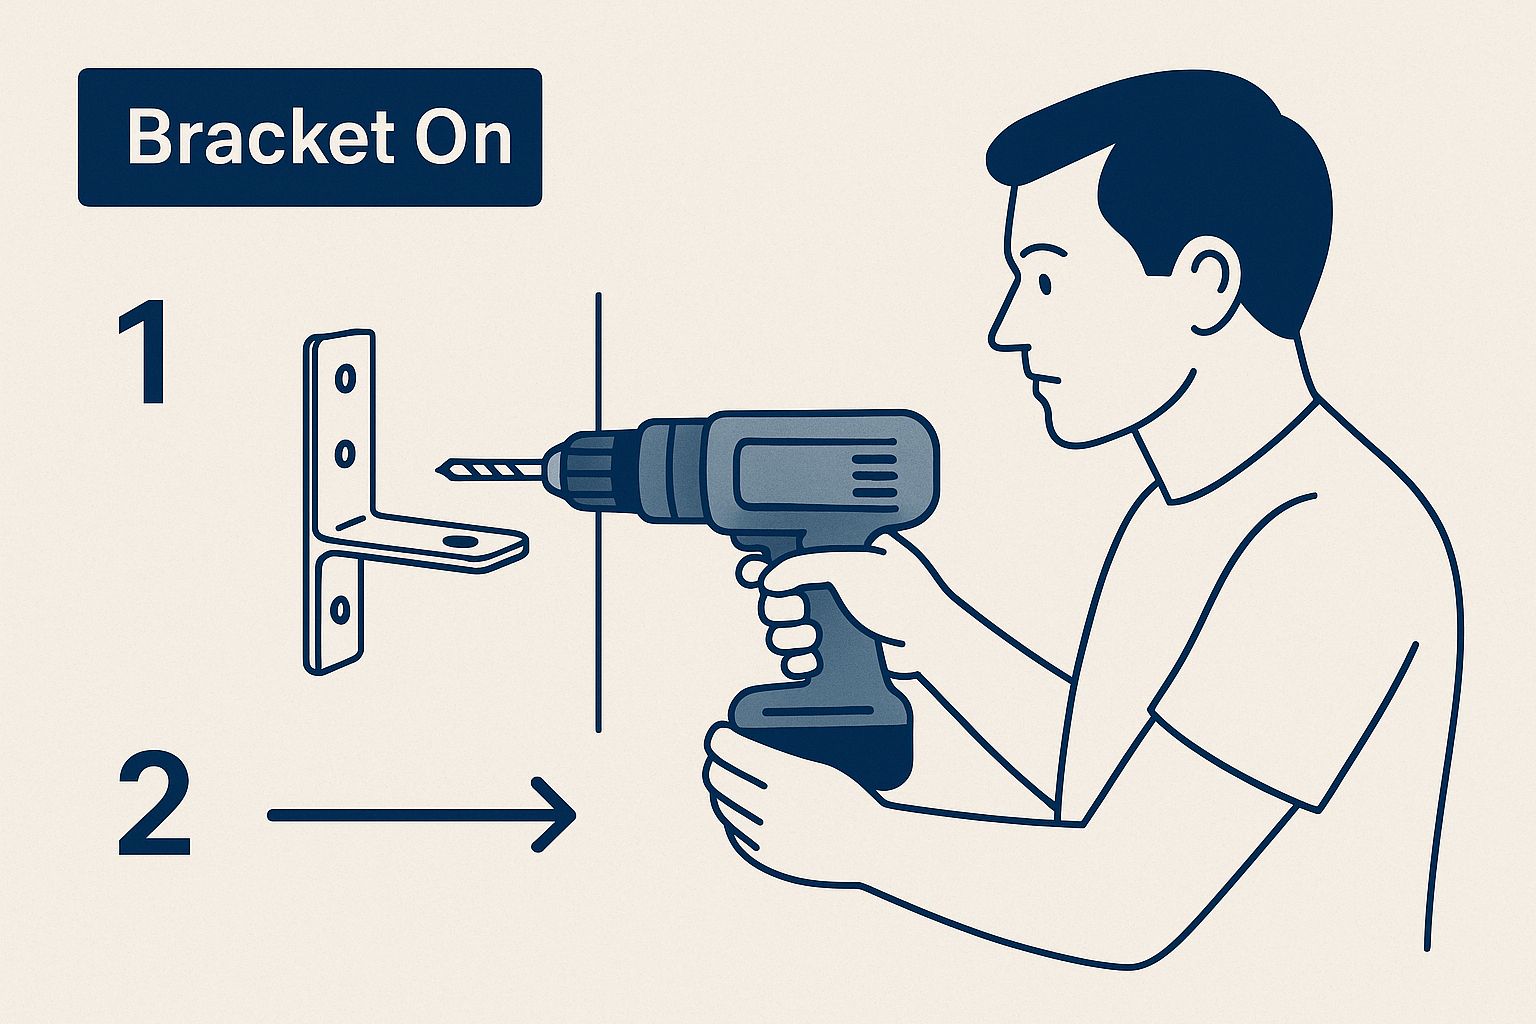
Getting this part right is the foundation of a safe and successful tv mount installation.
Fixing the Arms to Your Television
With the wall part sorted, let’s turn our attention to the TV. Lay it screen-down on a soft, clean surface—a blanket or doona on the floor is perfect to avoid any scratches. You’ll see the four VESA mounting holes on the back.
Your mount kit probably came with a bag containing a whole assortment of screws. Your job is to find the ones that fit your TV perfectly. Gently hand-thread a few different sizes into the holes to find the right ones—they should screw in easily without feeling too loose or being too tight.
Once you’ve found the correct screws, attach the vertical mounting arms (or plate) to the back of the TV. Make sure they are secure and that any locking mechanisms at the bottom are open and ready to clip onto the wall bracket.
This is a good time to plug in the main cables you'll need, like the power cord and any HDMI cables. Fumbling around behind a mounted TV is a massive pain, so thinking ahead here will save you a lot of grief.
The Grand Finale: Lifting and Locking
This is the slightly nerve-wracking part, so please, grab a mate to help you lift. Trying to do this solo with a big screen is just a recipe for disaster.
Together, carefully lift the TV. Walk it over to the wall bracket and hook the top of the mounting arms over the top edge of the wall plate. Let it hang gently, then lower the bottom of the TV towards the wall until the locking mechanism on the arms clicks into place on the bracket. You should hear a satisfying 'click' that tells you it's secure.
Give the bottom of the TV a gentle pull to confirm it's locked in and not going anywhere. Congratulations, you've done it!
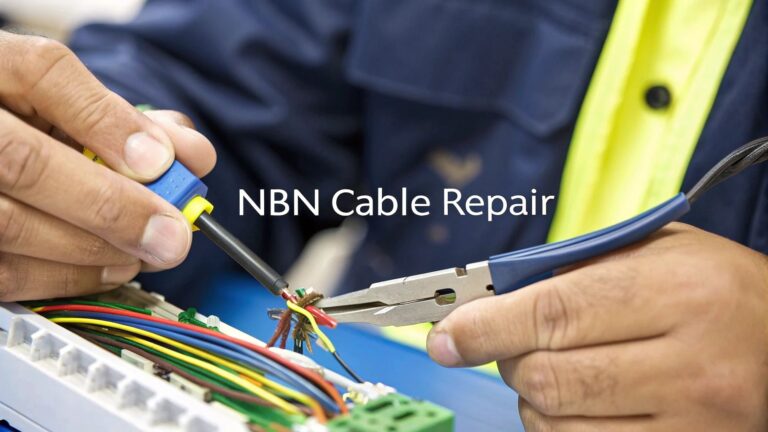
A truly clean installation often involves hiding cables within the wall, which requires careful planning. If you're running new network points at the same time, understanding the work of a professional data cable installer can be really useful for achieving a tidy, integrated setup.
Hiding Cables for a Professional Finish
Alright, the TV is up, and it's looking schmick on the wall. But then you see it: that ugly tangle of HDMI and power cables dangling down like a bunch of black spaghetti. It completely ruins the clean, minimalist vibe you were going for.
Don’t worry, sorting out that cable mess is the final boss of any good tv mount installation, and it’s a battle you can definitely win. We’ll go through a couple of ways to get that slick, professional finish, from dead-simple solutions to something a bit more advanced.
Simple and Speedy Cable Solutions
If you're not keen on cutting into your walls, the easiest fix by far is cable trunking. You can grab this from Bunnings; it's basically a hollow plastic channel that sticks straight onto your wall. You just pop the cables inside, snap the cover on, and you're done.
Honestly, it's a ten-minute job. The best part is you can even paint the trunking to match your wall colour, helping it blend in nicely. It’s a fantastic, renter-friendly option for anyone in a Sydney apartment or a Central Coast rental where making holes is a big no-no.
A few other quick fixes include:
- Cable Ties or Sleeves: These are great for bundling the cables together neatly behind the TV itself.
- Adhesive Cable Clips: You can stick these to the back of the TV or your entertainment unit to guide the cables down and out of sight.
They might be simple tricks, but they're surprisingly effective at keeping things tidy without any drilling.
The Ultimate Clean Look In-Wall Concealment
For that truly invisible, showroom look, hiding the cables inside the wall is the absolute best way to go. It’s definitely more involved, but the flawless finish is worth it. It means cutting two small holes in the plasterboard—one behind the TV and another down near your power point—and then feeding the cables through the wall cavity.
Now, before you even think about cutting, you need to be 100% sure what's behind that wall. Get your stud finder out and check for studs, noggins, and—most importantly—any existing electrical wiring. Hitting a live wire is a fast track to a very, very bad day.
If you’re not completely confident, this is the point where calling in a professional is the smartest move you can make. Messing with wall cavities can get complicated, especially in older Newcastle homes where you just never know what you might find lurking in there.
For those who are keen on giving it a go, you can buy in-wall cable management kits that come with everything you need, including brush plates that give the entry and exit points a really neat look. Properly concealing cables is a skill, and for anyone planning larger home networking projects, understanding the process of installing data cable provides excellent insight into getting it right the first time.
Got a Few Lingering Questions?
Alright, so we've covered a lot of ground. But if you've still got a couple of things you're not 100% sure about, don't sweat it. That's completely normal. Let's tackle some of the most common questions we hear from our customers around Sydney and the Central Coast when it comes to getting a TV up on the wall.
So, What's a Professional Install Going to Cost Me?
Decided the DIY route just isn't worth the headache? Smart move. Bringing in a pro is the best way to guarantee a perfect, stress-free result.
For a pretty straightforward job here in Sydney, you’re generally looking at a cost somewhere between $120 and $250.
Now, if you've got a seriously huge screen, you're dealing with tricky double-brick walls, or you want all those messy cables completely hidden inside the wall, the price will nudge up a bit. Across Australia, a more complex job like that can range from $250 up to $500. My best advice? Always grab a few quotes from local installers to see what the going rate is for your specific setup.
Can I Just Mount a TV Straight Onto Plasterboard?
Let me be crystal clear on this one: absolutely not. Plasterboard on its own is nowhere near strong enough to handle the weight of a TV. It might seem okay for a little while, but you're setting up a disaster. The anchors will eventually give way, and your pride and joy will come crashing down.
You must find the timber or steel studs behind the wall and drill your mounting bracket directly into those. While you might see heavy-duty plasterboard anchors at the hardware shop, they are not a safe bet for something as heavy and expensive as a television. Finding a stud isn't just a suggestion; it's the only way to do a secure tv mount installation.
What's the Ideal Height for My TV?
This is probably the most crucial question, and the answer makes a massive difference to how much you'll enjoy watching your new telly. The rule of thumb is simple: the centre of the screen should be at eye level when you're sitting comfortably on your sofa.
For most living rooms, this usually means the middle of the TV ends up being about 100cm to 110cm off the floor.
A great little trick to find your perfect height is to just sit on the couch, look straight ahead at the wall, and get someone to mark the spot where your gaze naturally rests. That's your sweet spot.
A common mistake is mounting the TV way too high, especially over a fireplace. This is a one-way ticket to a sore neck. If you really have no other option, at least use a tilting bracket. Angling the screen down will make a world of difference and save you from a lot of discomfort.
Feeling like this is a job best left to the experts? Advanced Comtech provides professional, secure, and tidy TV mounting services across the Central Coast, Sydney, and Newcastle. We'll handle everything, so you can just kick back and enjoy a flawless setup. Get in touch with us today!