Thinking about installing a security camera system can feel a bit like you're about to open a massive can of worms. You start picturing tangled cables snaking everywhere and the classic nightmare of drilling straight into a hidden water pipe. But honestly, it's less about creating a massive headache for yourself and more about gaining some genuine peace of mind.
It’s about making your home a fortress—even if it's just to finally catch that brazen possum nicking your prize-winning tomatoes off the vine.
So You Want to DIY Your Home Security Cameras
Right then, let's get stuck into it. The thought of setting up your own security system can seem like a huge task, but I promise it’s more achievable than you might think. I’ve got a mate up in Newcastle who went from having zero tech skills to installing a slick system that caught his neighbour's dog treating his front lawn like a personal loo. If he can figure it out, so can you.
This guide is your first step to becoming your street’s unofficial security guru. We'll break down everything from the initial planning right through to flicking the final switch.
Why Is Everyone Getting on Board?
It's about more than just stopping opportunistic thieves these days; it’s about staying connected to your home no matter where you are. Modern security cameras are a far cry from the grainy, unreliable footage of the past. They're becoming a central part of the smart home, letting you do things like:
- Check on deliveries: Get a ping on your phone the moment a package arrives, so it doesn’t sit on your doorstep all day as an easy target for some stickybeak.
- Keep an eye on pets: See exactly what mischief your furry mates are getting up to while you're at work.
- Deter unwanted visitors: Let's be honest, a visible camera is often enough to make someone think twice before hopping your fence.
The technology has come along in leaps and bounds. We're not just talking about simple recording anymore. AI-powered features can now tell the difference between a person, a car, and a tree branch swaying in the wind. That means fewer pointless notifications blowing up your phone at 2 AM. These advancements are making top-notch security more accessible and user-friendly for everyday Aussies.
It’s a booming industry for a good reason. The Australian CCTV market was valued at over $1.7 billion AUD in 2024 and is expected to skyrocket, driven by smarter tech and a growing focus on safety.
This trend shows that homeowners, from the Central Coast right down to Sydney, are taking their security seriously and moving beyond just a basic alarm. While cameras are a fantastic visual deterrent, it’s also important to understand how they fit in with other security measures. For a deeper dive on that, check out our guide on the differences between burglar alarms and full security systems.
For now, this guide will walk you through setting up the camera side of things, helping turn that daunting task into a manageable weekend project.
Mapping Out Your Camera Coverage Like a Pro
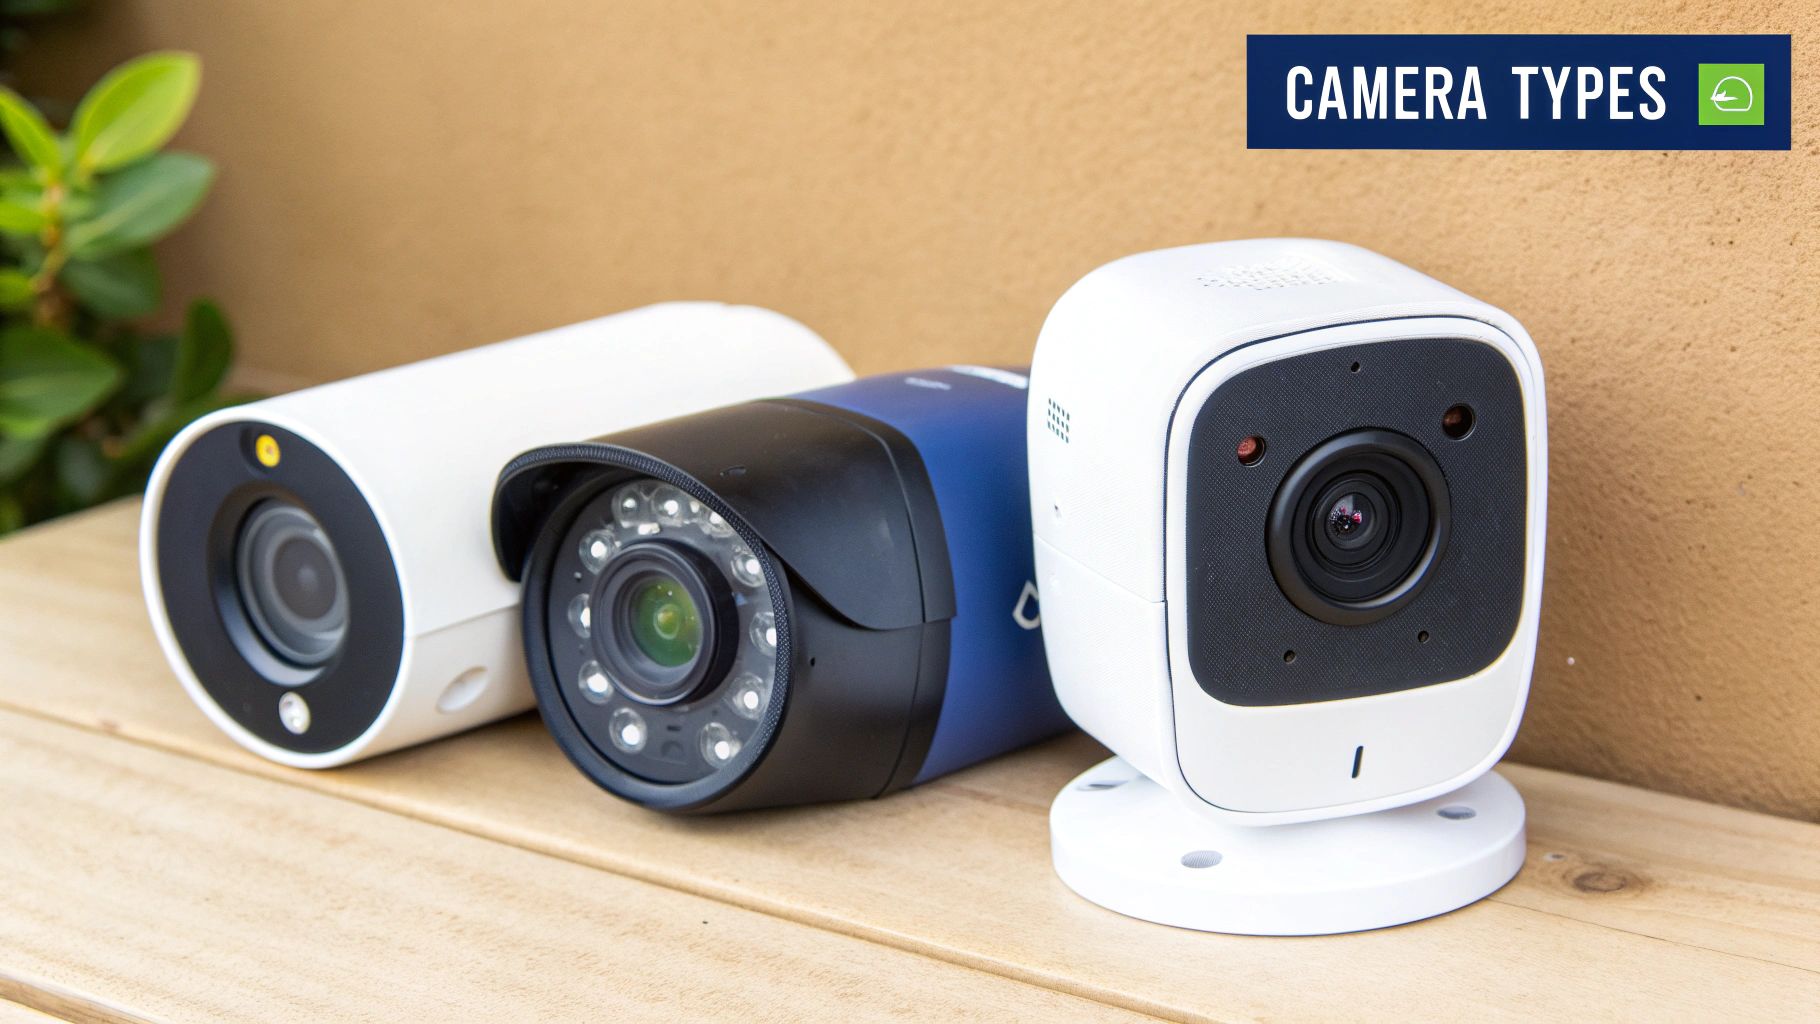
Alright, before you even think about picking up a drill, let’s talk strategy. A solid plan is the difference between a security system that actually works and one that just gives you a great view of the postie delivering your mail. A proper security camera installation starts with a bit of clever thinking, not just sticking cameras on walls wherever they fit.
The best way to kick this off is with a simple 'walk-around'. Grab a notepad, walk the perimeter of your property, and try to put on your 'burglar hat' for a minute. Where are the obvious entry points? What about the dark corners or blind spots someone could use to sneak around unseen?
Finding the Prime Real Estate for Your Cameras
You're essentially hunting for the most vulnerable spots around your place. The goal is to get eyes on the areas where someone is most likely to try their luck. For most Aussie homes, there are a few non-negotiables:
- The Front Door: This is a no-brainer. You absolutely want a clear shot of anyone who comes knocking.
- Driveways and Garages: Covering your vehicles and the main access to your garage is a must.
- Back Patios and Doors: Sliding glass doors and back entrances are classic targets for break-ins.
- Sneaky Side Alleys and Gates: These are the spots everyone forgets. They provide a perfect hidden path right to the side of your house.
I remember a job on the Central Coast where the homeowner was convinced he only needed to cover his front and back doors. During our walk-around, we found a side gate completely hidden by overgrown bushes. He’d forgotten it was there, but it was a direct, unseen route to his back windows. One camera covering that alley completely changed his entire setup. It's often those forgotten spots that pose the biggest risk.
The Legal Side of Things in NSW
Now for a bit of a serious chat. While you want to protect your castle, you can’t just point your cameras wherever you like. In NSW, there are strict surveillance laws you need to follow. The main rule of thumb is simple: your cameras should only monitor your property.
Your security system is there to protect your home, not to become the neighbourhood watchdog. Pointing cameras into your neighbour’s backyard, living room, or bathroom is a massive breach of privacy and can land you in some very hot water.
When you're planning your camera angles, make sure the field of view stops at your boundary line. It’s about being a good neighbour as much as it is about good security.
A well-thought-out plan ensures you get the coverage you need without overstepping. For more tips on designing the right setup, our guide on choosing a house CCTV system has some great pointers. Getting this planning stage right really is the foundation for the whole project.
Choosing the Right Security Gear for Your Home
Walking into a tech shop to look at security gear can feel like wading through alphabet soup. You're hit with terms like IP, NVR, DVR, and PoE, and it’s enough to make you want to turn around and head straight for the nearest Bunnings sausage sizzle. But don't stress, let's cut through the jargon.
Picking the right hardware for your security camera systems installation is absolutely crucial. It's the difference between crystal-clear footage of a would-be thief and a blurry blob that could be anything from a person to a very large wombat.
Wired vs Wireless: The Big Debate
One of the first decisions you'll face is whether to go with a wired or a wireless system. It's a common fork in the road, and each path has its pros and cons.
A wired system, often using Power over Ethernet (PoE), means a single cable runs to each camera, providing both power and a data connection. It’s rock-solid reliable but involves more effort running cables through your walls and ceiling.
Wireless cameras, on the other hand, connect to your Wi-Fi. They're much easier to set up but still need a power source, so they aren't truly 'wire-free' unless they're battery-powered. While convenient, they can be vulnerable to Wi-Fi dropouts, which is the last thing you want when you need them most.
For a truly dependable setup, my money is almost always on a wired system.
To make it a bit clearer, here’s a quick rundown of how they stack up against each other.
Wired vs Wireless Camera Systems: A Quick Comparison
| Feature | Wired Systems (PoE/IP) | Wireless Systems (Wi-Fi) |
|---|---|---|
| Reliability | Extremely stable connection, not affected by Wi-Fi issues. | Can be prone to interference or dropouts from weak Wi-Fi signals. |
| Installation | More complex, often requiring professional installation to run cables. | Much easier DIY setup, no data cables to run through walls. |
| Power Source | Power and data are supplied through a single Ethernet cable (PoE). | Requires a separate power cable or relies on batteries that need regular recharging. |
| Image Quality | Consistently high-quality video without signal loss. | Can suffer from lag or reduced quality if the Wi-Fi signal is poor. |
| Security | More secure as it's a closed-circuit system, harder to hack. | Potentially vulnerable to hacking through the Wi-Fi network. |
Ultimately, if you're after a set-and-forget system with the best possible reliability, wired is the way to go. If you're renting or just need a simpler setup for a smaller area, wireless can be a great option.
Why IP Cameras Are the Go-To Choice
These days, modern IP (Internet Protocol) cameras are the standard for most homeowners, and for good reason. They deliver sharp, high-definition images and come packed with clever features that older analogue systems just can't match.
This shift is happening all across Australia, with the local CCTV market expected to grow to nearly $1 billion AUD by 2034. This growth is almost entirely driven by the demand for smarter, IP-based solutions.
The infographic below shows how a well-planned layout with different camera types covers all the key zones of a typical property.
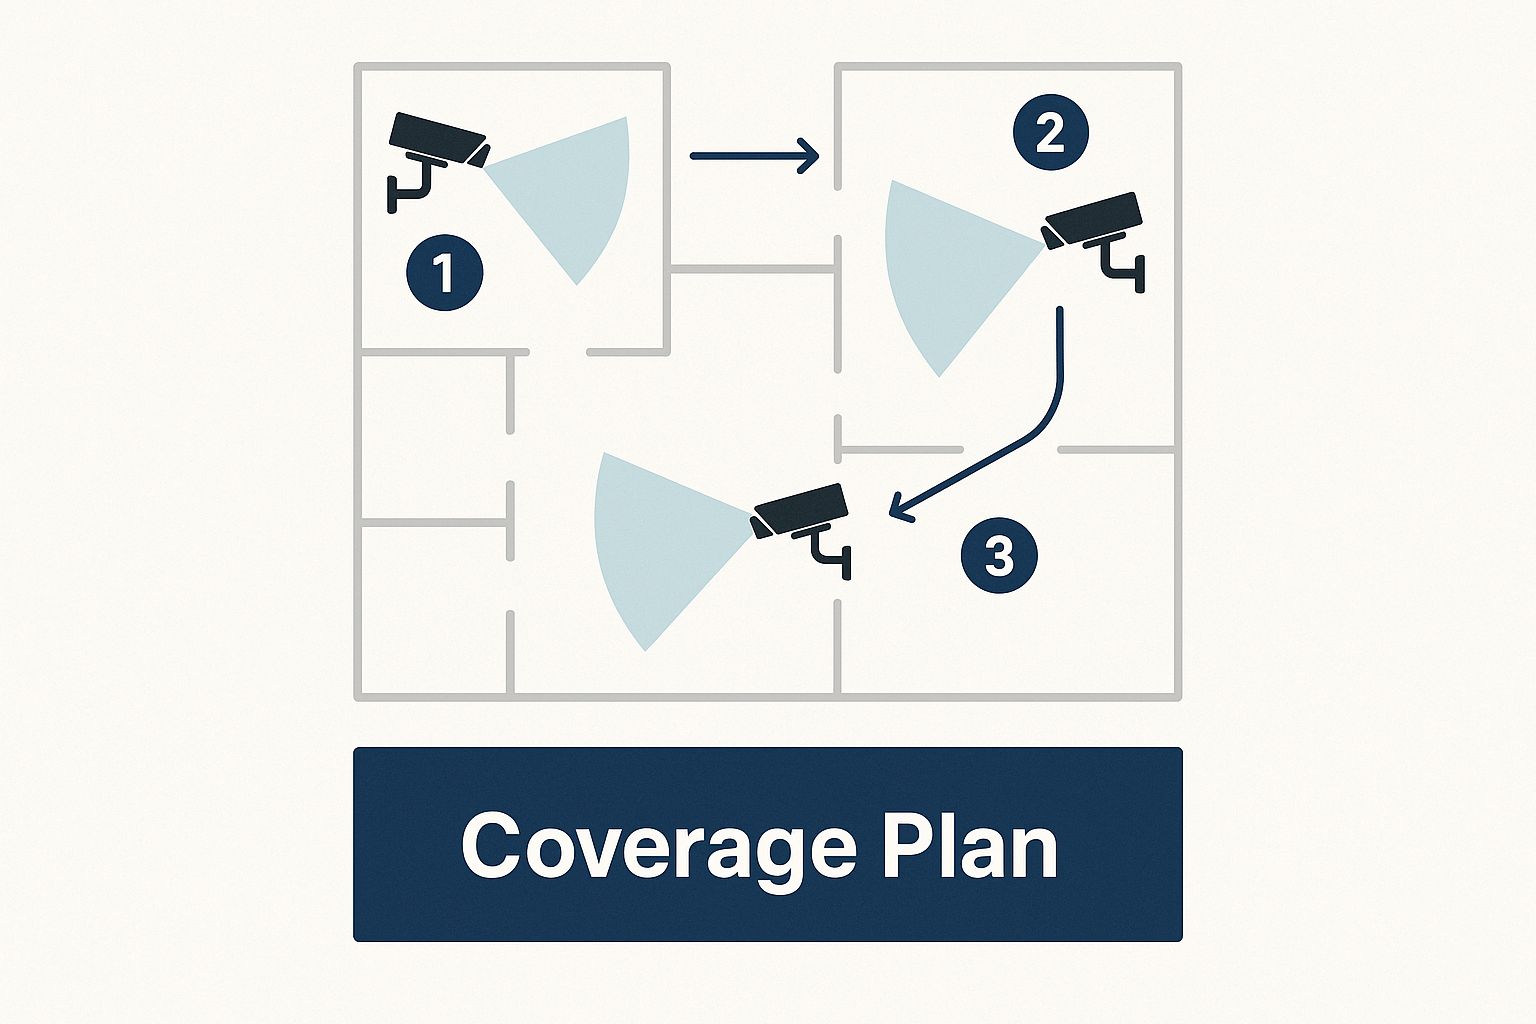
Notice how the wider-angle cameras secure large areas like the yard, while more focused cameras guard specific entry points like doors and windows. That’s the kind of strategic thinking that makes a system truly effective.
Must-Have Camera Features
When you're comparing cameras, a few key specs really matter. Getting these right will ensure your system performs well, day or night, rain or shine.
- Resolution: 1080p (Full HD) is a good starting point, but for key areas like your driveway where you might need to capture a license plate, stepping up to 4K is worth the extra cash.
- Night Vision: Don't skimp on this. Good infrared (IR) night vision will give you clear black-and-white images even in complete darkness, which is when most break-ins happen.
- Weather Resistance: For any camera going outside, look for an IP rating like IP66 or IP67. This ensures it can handle the wild weather we get, from scorching summer sun to torrential downpours.
Choosing the right gear from the start saves a lot of headaches later. For a detailed breakdown of top models, you might be interested in our guide on the best security cameras for your home.
The Hands-On Guide to Mounting and Cabling
Right, tools at the ready! This is where all that careful planning starts to pay off and your security system actually begins to take shape. Don’t stress about the physical side of things; we’ll break it down without any of the confusing tech jargon.
The main goal here is simple: get your cameras mounted securely and run the cables cleanly, all without turning your walls into Swiss cheese. Let's get stuck in.
Getting the Cameras Up
First things first, let's get those cameras attached where they need to go. Whether you've picked a sleek dome camera for under the eaves or a tough-looking bullet camera for the driveway, the basic idea is the same. They'll almost always come with a mounting template in the box—make sure you use it!
Getting a secure mount is absolutely non-negotiable. A wobbly camera gives you shaky, useless footage and makes it an easy target for any would-be troublemaker.
- Drilling Safely: Mark your spots with the template, have a quick check for any hidden electrical wiring or pipes, and then drill your pilot holes.
- Mounting the Bracket: Use the screws and plugs that came with your camera kit. If you're going into brick, you'll definitely need the right masonry bits and plugs to get a solid, lasting fix.
This bit is all about being patient and precise. Take your time, and your cameras will be rock-solid.
The Art of Running Cables
Now for the part that can make people a bit nervous: the cabling. Running wires through wall cavities and ceilings might sound daunting, but with a few tricks of the trade, it’s much easier than you think. We're aiming for a clean, professional finish where the cables are completely hidden.
My favourite trick for fishing cables through a tricky wall cavity involves a bit of string and a small, powerful magnet. Tie the string to your cable, drop it down the wall cavity, and use the magnet on the outside of the plasterboard to guide the string down to your exit hole. It's a true lifesaver that has saved me hours of frustration.
This is easily the most hands-on part of the job, but it's where a DIY installation can really look like it was done by a pro. For a more detailed look at the specifics of this kind of work, our guide on installing data cable provides some excellent insights that apply here too.
Finishing Touches for a Pro Job
A couple of small details are what separate an amateur job from a truly schmick installation. These final touches don't just look better; they also protect your gear from the elements, which is a must with our unpredictable Aussie weather.
One of the most important yet often-overlooked steps is creating a 'drip loop'. This is just a small U-shaped loop in the cable right before it enters the camera. This clever little trick ensures that any rainwater running down the cable drips off the bottom of the loop instead of flowing directly into your camera's connection port, which is a simple way to prevent water damage.
With just a bit of care, your cameras will be up, wired, and looking like they were installed by a seasoned professional.
Powering Up and Configuring Your New System
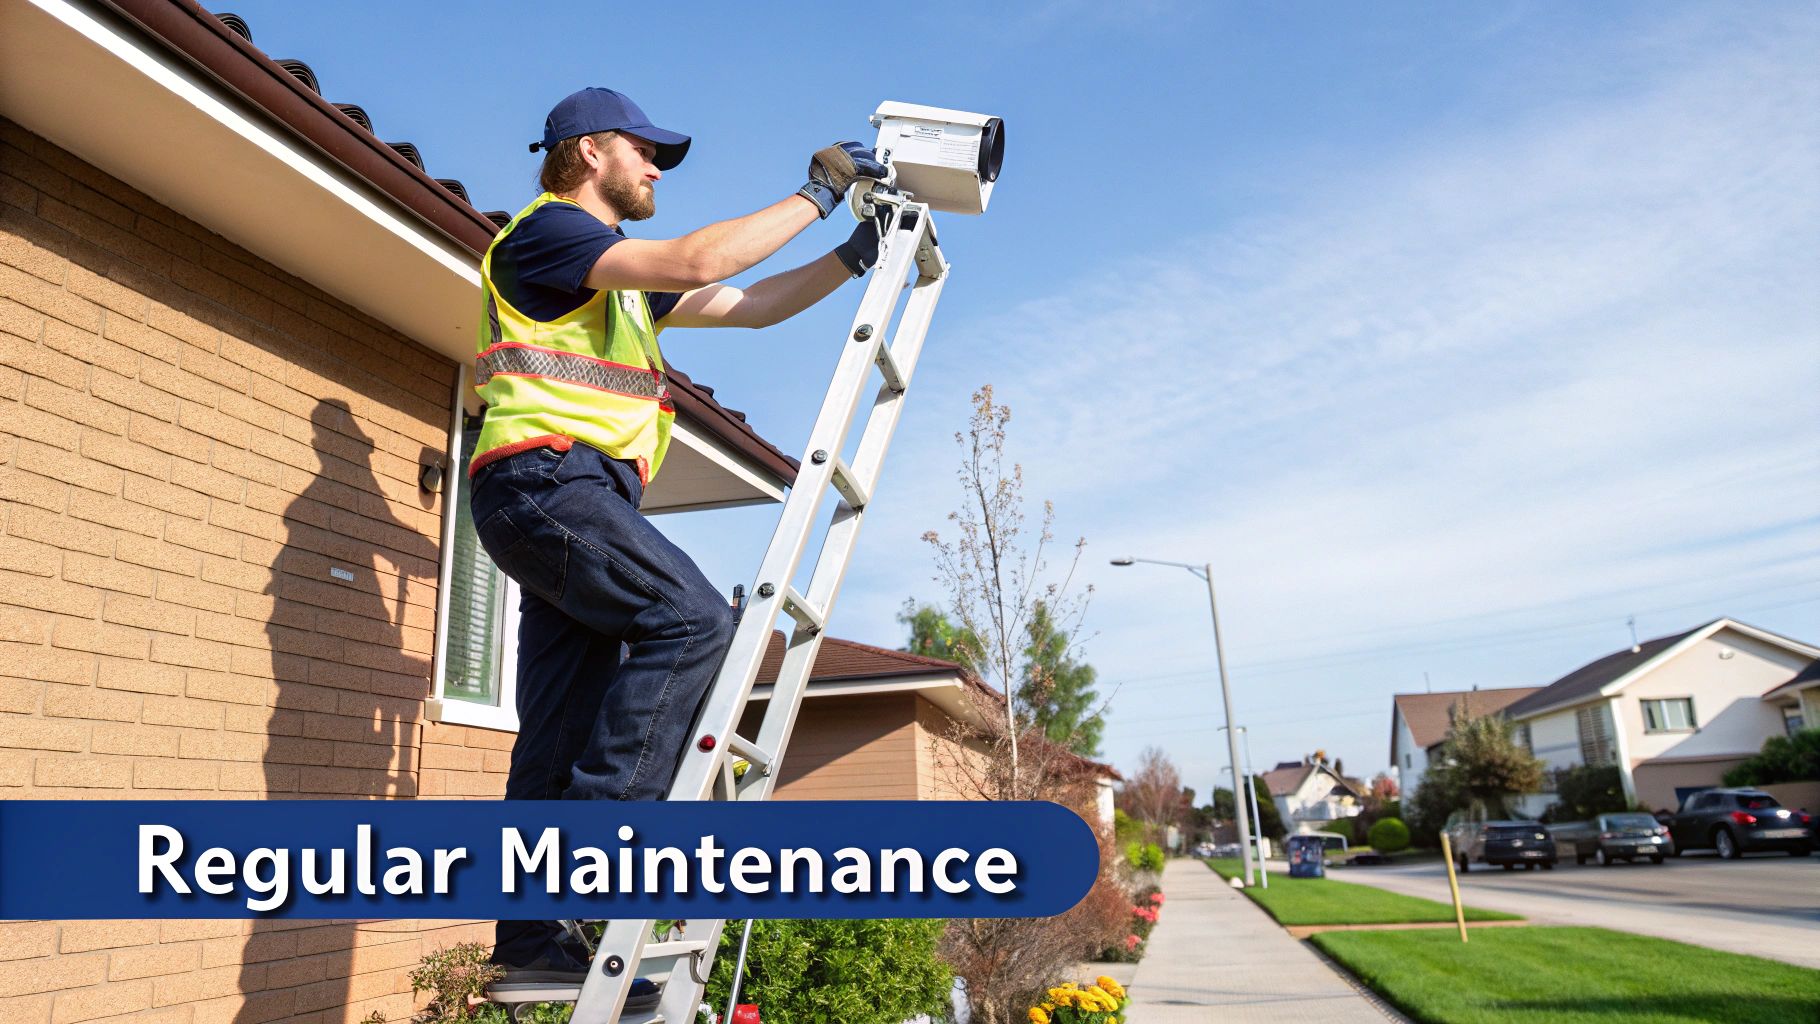
Alright, the hard yakka is done. Your cameras are mounted, the cables are neatly tucked away, and you’re ready for the big moment. This is where your security camera installation truly comes to life, moving from a collection of hardware into your property’s digital watchdog.
It's time to connect everything to your Network Video Recorder (NVR) and dive into the software.
Don’t stress, most modern systems have a setup wizard that’s pretty straightforward. It’ll walk you through the basics like setting the time and date. The first, and most important, step is to change the default password. Leaving it as 'admin' or '12345' is like leaving your keys in the front door. A strong, unique password ensures you're the only one with access.
Fine-Tuning Your Recordings
Once the basics are sorted, you get to tell your system how to record. This is a game-changer for managing your storage space and avoiding hours of useless footage of your garden gnome just sitting there.
You’ll generally have two main choices:
- Continuous Recording: This means the system records 24/7. It’s great for high-traffic areas where you can’t afford to miss a thing, but it will chew through your hard drive space pretty quickly.
- Motion-Activated Recording: The cameras only start recording when they detect movement. This is the go-to for most residential spots and saves a heap of storage.
Most people I know use a combination of both. You might set the camera on your driveway to continuous but have the one watching your quiet backyard set to motion-activated. This sort of customisation is what makes for a truly effective setup.
For properties off the main grid, figuring out power and data can be a unique challenge, which is why solutions like solar-powered security camera systems are becoming more popular in regional areas.
Setting Up Smart Alerts and Remote Viewing
Now for the really cool part: setting up motion detection zones. You can literally draw boxes on the screen to tell the camera which areas to ignore.
This is a lifesaver. It stops you from getting a phone alert every single time the neighbour’s cat struts past or a car drives down the street. It’s the difference between a helpful security tool and a constant annoyance.
The ultimate goal is getting that remote viewing sorted on your phone. There’s nothing better than the peace of mind that comes from being able to check in on your place from anywhere, whether you're at the shops in Tuggerah or on holiday up the coast.
This setup is part of a massive trend across the country. The video surveillance market in Australia is booming, with IP-based systems making up nearly 48% of the market in 2024. This reflects a huge demand from homeowners for higher-quality, smarter surveillance that's accessible from anywhere.
Once configured, you'll have powerful, reliable security right at your fingertips.
Common Questions from Aussie Homeowners
Look, we get it. When you're thinking about a security camera system installation for your home in Sydney, the Central Coast, or Newcastle, you've probably got a bunch of questions. It's a decent investment of time and money, so let's clear up a few of the most common queries we hear from homeowners.
How Much Is This Actually Going to Cost Me?
This is always the first question, and fair enough! The honest answer is… it varies. A basic, single-camera setup could be just a few hundred bucks. But if you’re looking at a more serious system – say, four top-notch cameras, professional cabling, and a good Network Video Recorder (NVR) – you're likely in the $1,500 to $3,000 AUD ballpark, sometimes more.
What really drives the final price? A few things:
- Camera Count: More cameras mean more hardware cost and, crucially, more time for the installation.
- Camera Quality: A 4K camera with all the bells and whistles like advanced motion detection will cost more than a standard 1080p model. Simple as that.
- DIY vs. Pro Install: You'll save on labour costs by doing it yourself, no doubt. But getting a pro in guarantees it's done properly. The labour for a professional install on a typical system usually lands somewhere between $600 and $1,200 AUD.
Can I Really Install These Cameras Myself?
You absolutely can. Modern camera kits are far more user-friendly than the old clunky systems. If you're comfy up a ladder, know your way around a drill, and don't mind the fiddly job of running cables through your walls or ceiling, a DIY installation is a solid weekend project for a lot of people.
But, and this is a big but, there's a world of difference between just screwing a camera to a wall and setting up a security system that actually works when you need it most. A pro installer knows the tricks of the trade – finding the optimal camera angles, hiding cables so your house doesn't look like a server room, and making sure the whole system is reliable.
Do I Need to Tell My Neighbours I'm Installing Cameras?
This is a great question, and it touches on both good manners and the law. You don't legally need your neighbour's permission to monitor your own property. However, it’s always a good idea to have a quick, friendly chat over the fence.
The golden rule here, especially in NSW, is that your cameras must not record private areas of their property. Think backyards, living room windows, that sort of thing.
Just letting them know you're beefing up your security and reassuring them the cameras are only pointed at your place can prevent any misunderstandings down the track. A bit of open communication is key to keeping the peace.
Feeling a bit clearer but thinking you'd rather leave it to someone who does this day in, day out? The team at Advanced Comtech has spent years helping homeowners across the Central Coast, Sydney, and Newcastle get their security sorted. We take care of the entire process, from planning the perfect layout to flicking the final switch. Drop us a line for a no-obligation chat about your place at https://advancedcomtech.com.au.