A home network cable installation is hands-down the best way to get lightning-fast, ultra-reliable internet. It's all about running physical Ethernet cables from your router to the key spots in your house, creating a rock-solid wired connection that Wi-Fi just can't touch for sheer speed or stability. This is the ultimate fix for buffering, lag, and those frustrating dropouts.
So You Want to Ditch Dodgy Wi-Fi Forever?
Picture this: it's the final minutes of the State of Origin. The Blues are on the attack, the crowd is roaring, and just as the winning try is about to be scored… your screen freezes. That dreaded spinning wheel appears, a tiny digital cyclone of pure frustration. By the time the stream catches up, the moment is gone. You're left staring at your reflection in a blank screen, wondering why you even bother paying for top-tier NBN.
If that little horror story feels a bit too real, you're in the right place. Let's be honest, you're probably here because your Wi-Fi drops out more than a politician's promise. It’s the phantom menace of the modern Aussie home, messing with everything from your Netflix binge to that critical Zoom call with the boss.
Why a Wired Connection Is a Game-Changer
Look, Wi-Fi is great for scrolling on your phone from the back deck, but it’s not the heavyweight champion you need for the serious stuff. It's prone to interference from just about everything: your microwave, your neighbour's network, and especially those thick double-brick walls common in many Sydney homes. A direct, physical connection via an Ethernet cable simply bypasses all that chaos.
A professionally installed home network cable setup delivers benefits you'll notice straight away:
- Unbeatable Speed: You finally get the full internet speed you're actually paying for, without the signal loss that plagues wireless connections.
- Rock-Solid Reliability: Say goodbye to random dropouts during intense gaming sessions or important video conferences. A wired connection is consistent and stable.
- Lower Latency: Experience less lag (or 'ping') in online games, giving you that crucial competitive edge.
- Enhanced Security: Wired networks are just plain more secure than wireless ones, seriously cutting down the risk of someone snooping on your connection.
The simple truth is that a wired network is the backbone of a truly connected home. It’s not just about speed; it's about creating a reliable digital foundation for all your devices, today and into the future.
This isn't just a trend for tech-heads anymore; it’s a mainstream move. The demand for structured cabling in Australia is booming, with the market expected to more than double to over $1 billion AUD by 2033, mostly driven by our ever-increasing reliance on digital connectivity.
While options like extenders can help patch up a weak signal, our guide on Wi-Fi extenders versus mesh systems explains why a hardwired solution is almost always the superior choice for raw performance. This project will make you the undisputed internet champion of your household.
Wi-Fi vs. Wired Ethernet: A Quick Comparison
Still on the fence? Sometimes seeing it laid out side-by-side makes the choice clearer. Here's a simple breakdown to help you decide where each connection type shines in your home.
| Feature | Wi-Fi | Wired Ethernet |
|---|---|---|
| Speed | Good, but variable. Slower than wired and affected by distance/obstacles. | Excellent. Consistently delivers the maximum speed of your plan. |
| Reliability | Prone to interference and dropouts from other devices or networks. | Extremely stable and consistent. Not affected by wireless interference. |
| Latency (Ping) | Higher. Can cause noticeable lag in gaming and video calls. | Very low. The best choice for responsive online gaming and real-time apps. |
| Convenience | Highly convenient. No cables needed, easy to connect new devices. | Less convenient. Requires physical cables and ports for each device. |
| Security | Less secure. Requires strong passwords and encryption to prevent access. | Highly secure. Physical access to the cable or network is required. |
Ultimately, the best setup uses both. Use Ethernet for your mission-critical devices like your work computer, smart TV, and gaming console, and leave the Wi-Fi for your phone, tablet, and casual browsing. It’s all about creating a hybrid network that gives you the best of both worlds.
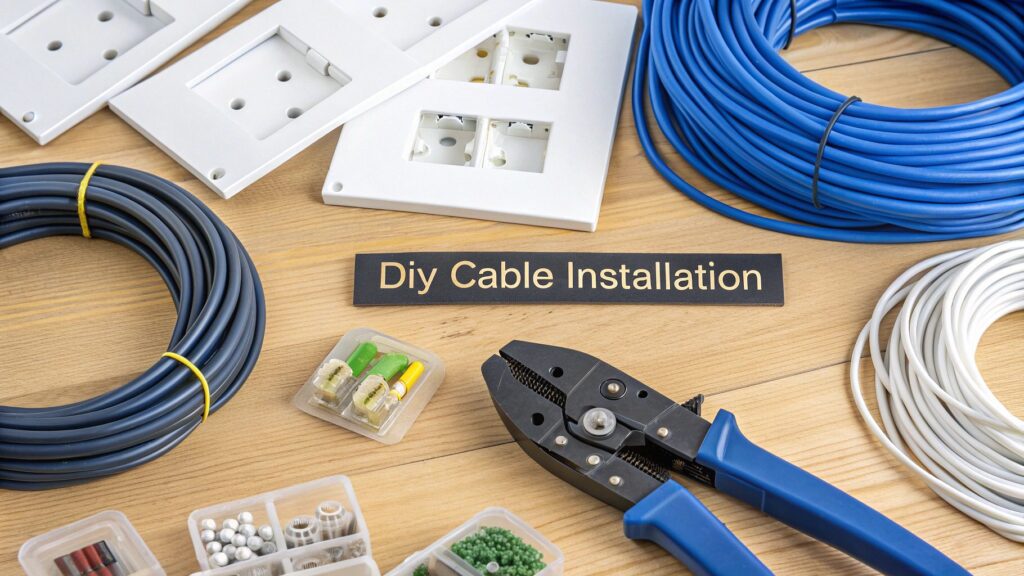
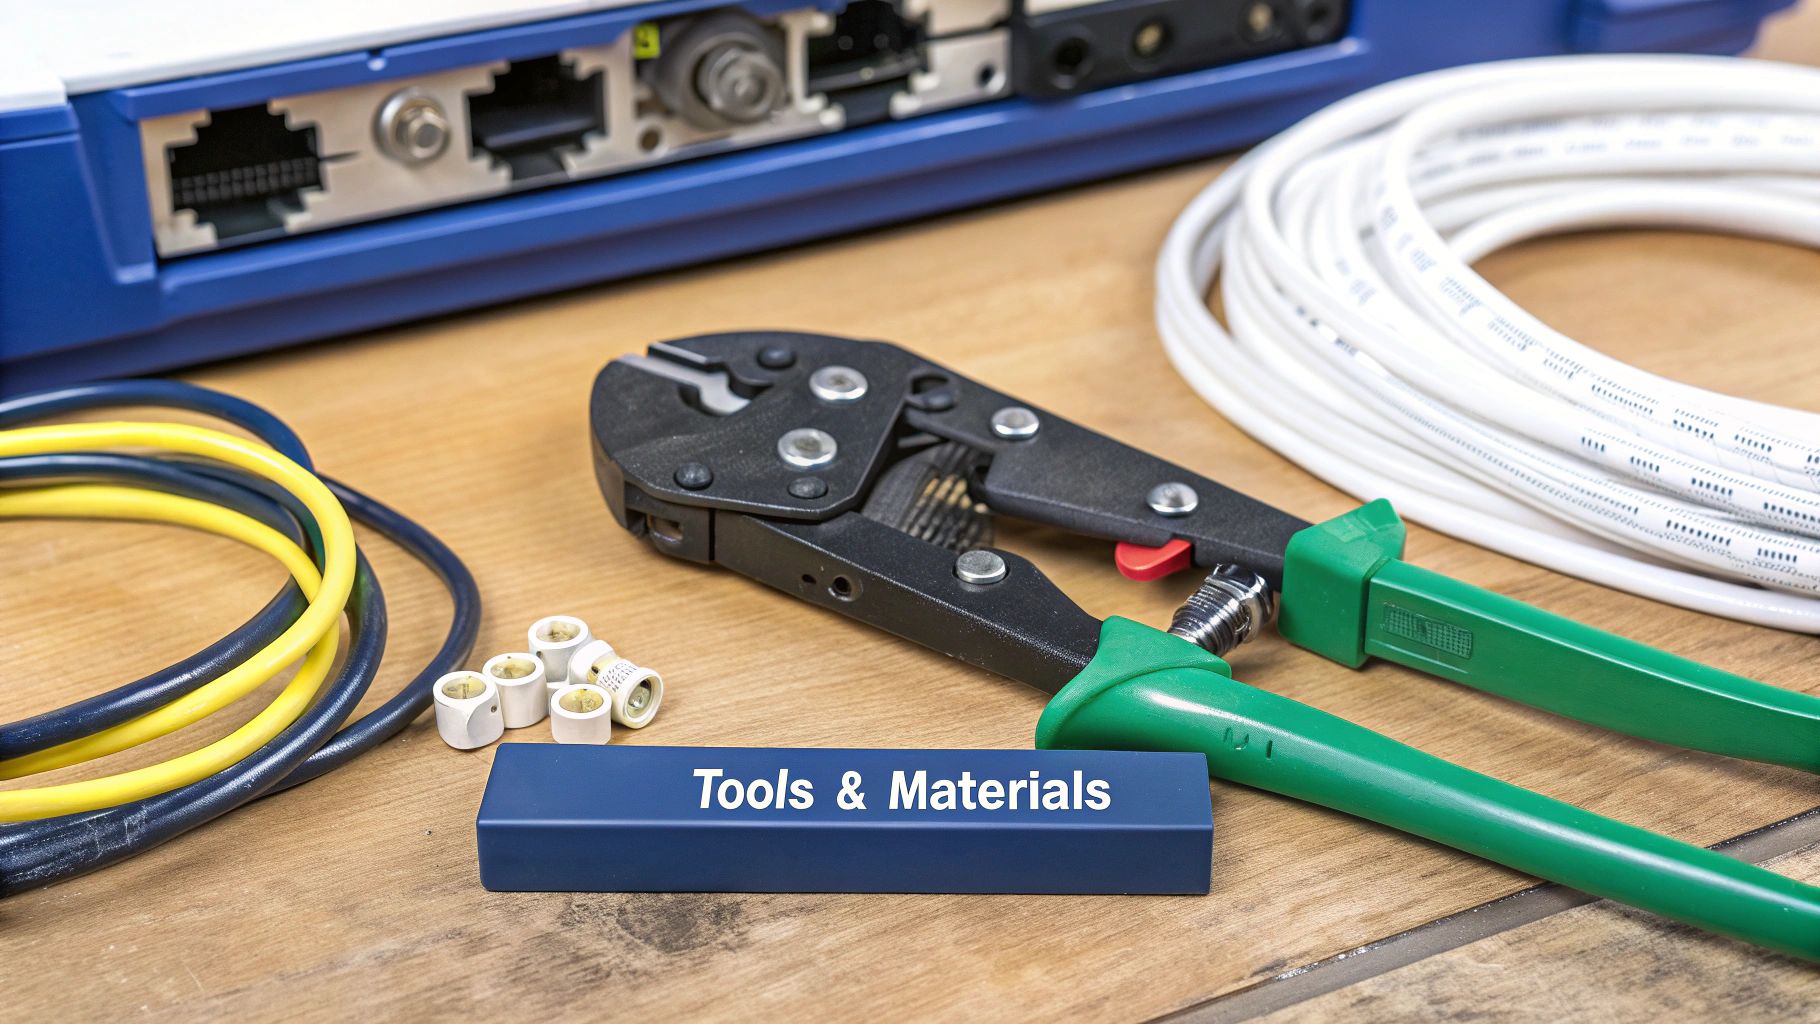
Getting Your Shopping List Together: What You'll Actually Need
Alright, let's talk about gear. Heading off to Jaycar or Bunnings without a solid plan for your home network cabling is a classic rookie mistake. You'll either end up with a trolley full of expensive bits you don't need or forget that one crucial part, guaranteeing a second trip right in the middle of the job. Let's get this right the first time.
Think of picking your cable like choosing fuel for your car. You've got a few options, and while they all work, some deliver much better performance.
- Cat5e: This is your standard unleaded. It's an older type, it's cheap, and it can handle gigabit speeds just fine over shorter runs. For most basic NBN plans, it'll do the trick.
- Cat6: This is the premium unleaded. It gives you more bandwidth and has better shielding against interference, making it a fantastic, future-proof choice for most homes in Sydney and on the Central Coast. It really is the sweet spot between price and performance.
- Cat6a: Now we're talking high-octane race fuel. This stuff supports ridiculously fast 10-gigabit speeds and is heavily shielded. It’s definitely overkill for most people, but if you're a serious gamer or a video editor shifting massive files around, it’s the top dog.
The networking world is always changing to keep up with our hunger for more data. The huge NBN rollout kicked off a massive boom in fibre optic installation. While that initial rush has calmed down, the need for better home networks to support our connected lives is only getting bigger.
The Essential Toolkit
Now for the fun part—the tools. Having the right gear is the difference between a clean, professional-looking job and a complete shemozzle.
- Cable Crimper ($30 – $60): This is absolutely non-negotiable. Don't even think about trying this with your dad's old pliers. A good crimper properly secures the RJ45 connectors (the little plastic plugs) onto the ends of the cable.
- Punch-Down Tool ($20 – $40): There’s something so satisfying about using one of these. It neatly pushes each of the tiny wires into the slots on the wall plate jack.
- Cable Tester ($25 – $50): This little gadget will be your best mate, I promise. It checks every connection to confirm you've wired it all up correctly before you put the walls back together. It'll save you a world of pain.
- Wall Plates & Jacks ($5 – $15 each): These are what give your installation that polished, professional look.
A quick budget breakdown: For a standard Aussie home needing three or four data points, you’re probably looking at around $200 to $300 for all the cables, tools, and materials. It’s a pretty small investment for a massive leap in your internet's speed and reliability.
With your shopping list sorted, you’re one step closer to ditching that dodgy Wi-Fi for good.
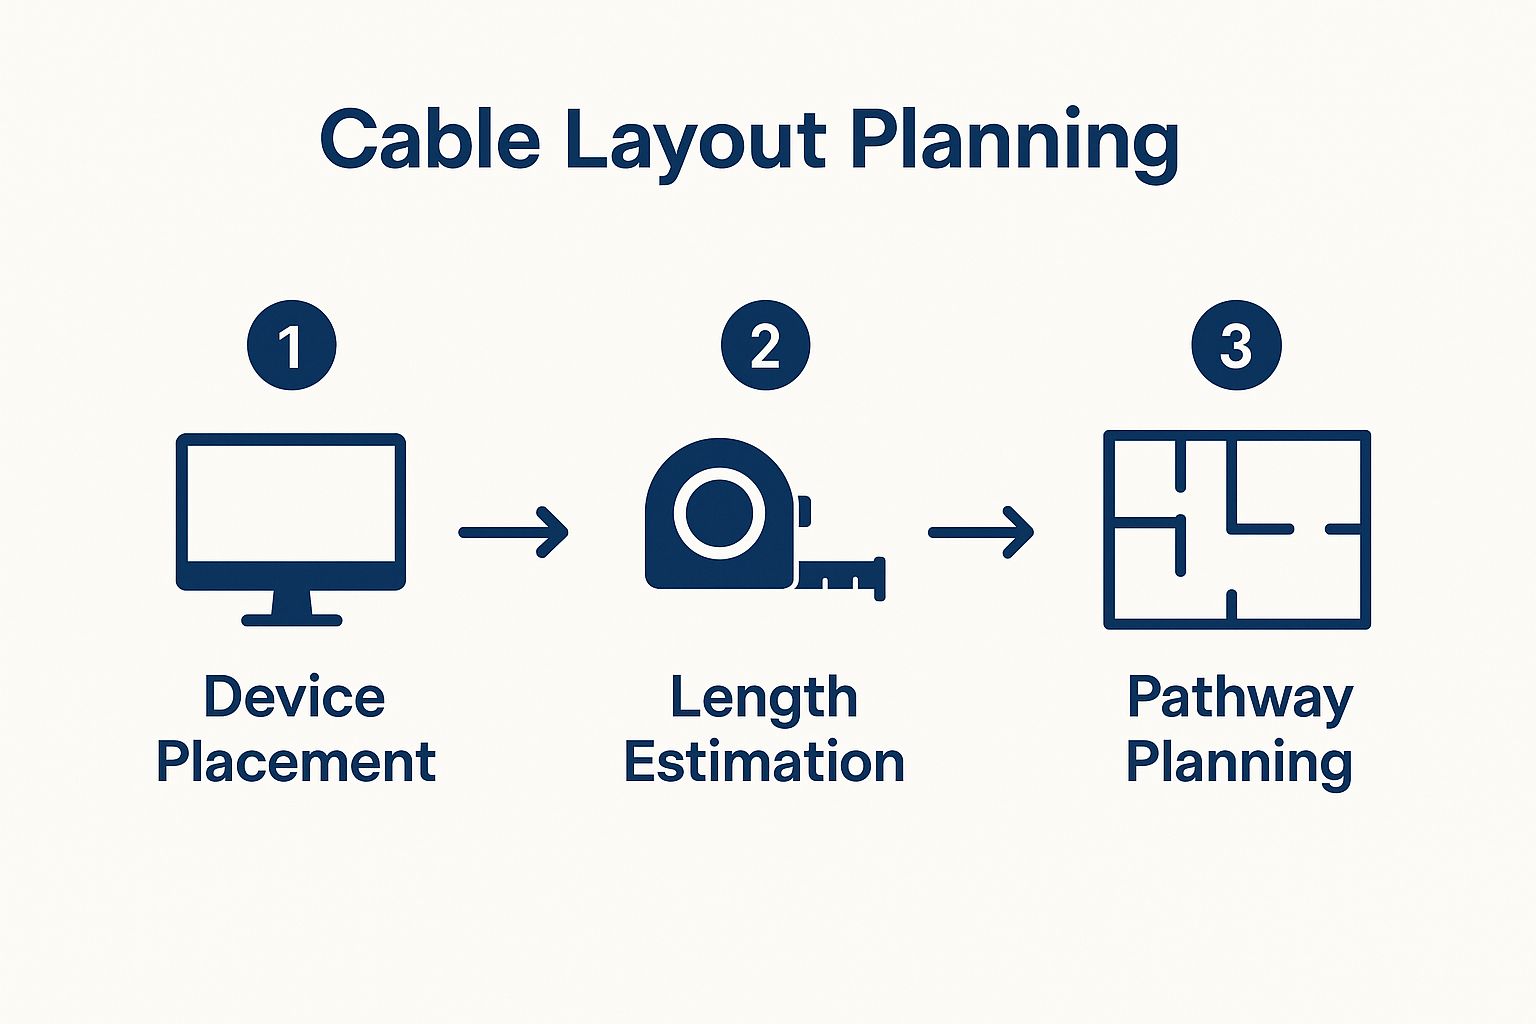
Planning Your Attack: Mapping Your Cable Routes
Before you even think about picking up a drill, you need a battle plan. A proper home network installation is mostly about smart planning, with the actual work being the easy part. Just winging it is a recipe for disaster.
I once had a mate, Dave from Newcastle, who was so keen to get started that he just began feeding cable into his ceiling, hoping for the best. The result? A bright blue Ethernet cable sagging awkwardly across his living room because he ran smack into a beam he never knew was there. Don't be like Dave.
Let's think like a professional for a minute. Your main goal is to get a cable from Point A (your router) to Point B (your office, TV, or gaming setup) as invisibly and efficiently as possible. This means exploring the hidden pathways of your home.
Grab a torch and get ready for a bit of detective work. Your main highways for running cable are usually one of these:
- The Ceiling Cavity: This is often the easiest route, especially in single-storey homes. You can run cables right across the ceiling joists, dropping them down into wall cavities where you need them.
- Under the Floor: If you have a house on stumps with a decent crawl space, you've struck gold. It's the perfect, out-of-the-way path to run cables to almost any room.
- Inside Wall Cavities: This is for your vertical runs—dropping a cable down from the ceiling or pulling it up from under the floor to a new wall plate.
Navigating Aussie Homes
Homes around Sydney, the Central Coast, and Newcastle have their own unique quirks. If you're in an older place with double-brick walls, running cables can be a real headache. You’ll often have to follow existing conduits or run cables externally in a discreet conduit to hide them.
Newer homes with plasterboard walls are a dream to work with by comparison, but you still need to be careful.
The single most critical rule is to always keep data cables separate from electrical wiring. Running them parallel to power cables can cause electromagnetic interference (EMI), which will absolutely mess with your signal and slow your connection to a crawl. If you must cross electrical wires, always do it at a 90-degree angle and keep as much distance as you can.
Before you finalise your plan, think about the whole setup. For instance, if you're running cables to your entertainment unit, it's a good time to think about a clean, professional finish. You might want to check out our guide on professional TV installation and mounting services to see how a tidy data port can integrate perfectly with a wall-mounted screen for that sleek, cable-free look.
A little bit of foresight now saves a mountain of headaches later.
Getting Your Hands Dirty: Running and Terminating the Cables
Alright, let's get into the fun part. With a solid plan in your back pocket, it’s time to stop thinking and start doing. This is where the magic happens, turning all that planning into a real, high-speed network that will leave your old Wi-Fi for dead. Grab your tools, because we're about to make some (very tidy) holes.
The first step is the physical cable run. This is all about getting the cable from point A to point B, using the paths you scouted out earlier. Remember my mate Dave from Newcastle and his living room cable sag? We're not doing that.
Start by using your drill to create small, clean holes in the top or bottom plates of the wall frames. Then, it's time to go fishing.
Attach the Ethernet cable securely to your fish tape or pull rods and gently guide it through the wall cavity. Patience is your best friend here; don't just yank it through. It's so easy to snag on insulation, another wire, or even kink the cable itself, which can seriously kill its performance. Slow and steady wins the race.
The Fiddly Bit: Terminating the Ends
Once your cable is pulled through, you’re left with two raw ends. Now for the most delicate part of the job: putting the connectors on. This process, called termination, can look a bit intimidating with all those tiny, colourful wires, but it's really just like a miniature Lego project. Get it right, and everything clicks into place perfectly.
You’ll hear a lot about two different wiring standards: T568A and T568B. Honestly, for a home network, the difference isn't something to lose sleep over.
The golden rule is simple: pick one and stick with it for your entire house. For what it's worth, the T568B standard is far more common in Australia, so it's a safe bet.
Let's walk through what you need to do.
Putting on the RJ45 Connector
The end that plugs into your router or computer needs an RJ45 connector. Here’s the play-by-play:
- Strip the Cable: Carefully use your wire stripper to remove about 2-3 cm of the outer jacket, exposing the eight twisted wires inside. Whatever you do, don't nick the inner wires!
- Untwist and Align: Untwist each of the four pairs. Straighten them out as best you can and line them up according to the T568B colour code: Orange-White, Orange, Green-White, Blue, Blue-White, Green, Brown-White, Brown.
- Trim and Insert: Once they're in the perfect order, hold them flat and trim the ends so they're all exactly the same length. Carefully slide them into the RJ45 connector, making sure each wire goes into its own tiny channel.
- Crimp it Down: Push the connector into your crimping tool and give it a firm, confident squeeze. You'll hear a satisfying click as the tool pushes tiny copper pins into each wire and secures the plug.
I remember my first time doing this. I must have spent ten minutes painstakingly lining up the wires, only to have one sneaky brown one jump out of place right as I slid them into the connector. The cable tester, of course, immediately failed me. It’s frustrating, but it happens to everyone. Just take a deep breath, snip the end off, and try again.
Punching Down to a Wall Plate
The other end of your cable will connect to a wall plate, giving you that clean, professional finish. This is where your punch-down tool comes into play.
The process is similar, but instead of a plug, you're connecting the wires to a keystone jack. Each slot on the jack is colour-coded for both T568A and T568B. Just follow the 'B' pattern, press each wire into its corresponding slot, and use the punch-down tool to push it in. The tool not only secures the wire but also neatly trims the excess in one go.
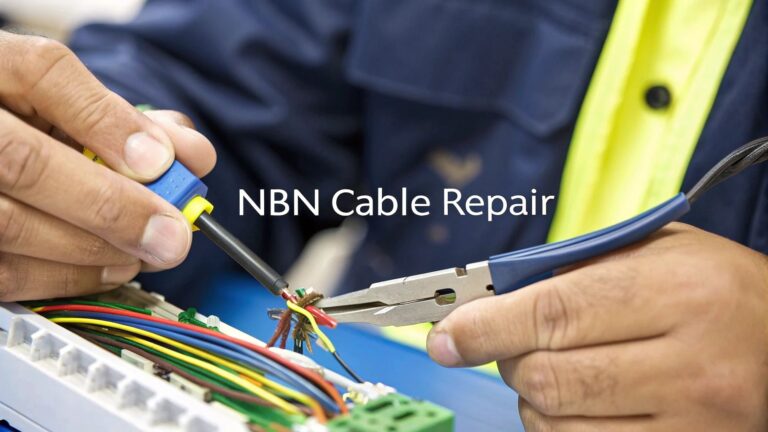
This process is surprisingly similar to wiring other low-voltage systems. In fact, if you're planning on adding security cameras down the track, you'll find a lot of the same cabling principles apply. We actually have a handy guide that details how to install security cameras right here.
The Moment of Truth: Testing Your Network
You've done it. The cables are run, your knuckles are probably a bit scraped, and there’s a fine layer of plaster dust on just about everything. Now for the victory lap: making sure all that hard work actually paid off. This is where that nifty little cable tester you bought becomes the most important tool in your kit.

It's a pretty simple process. Just plug one end of your tester into the new wall plate and the other into the corresponding cable end back at your patch panel or switch. A good tester will have a series of lights, usually numbered 1 through 8.
As it sends a signal down each of the tiny internal wires, you're looking for a clean sequence of green lights. If they all light up in order, congratulations – you can crack open a cold one. You've nailed it.
Troubleshooting a Dodgy Connection
But what if you get a dreaded red light, or a light that doesn't come on at all? Don't panic. This is super common and almost always an easy fix. In my experience, more than 90% of failed tests are due to a simple mistake at one of the ends.
Here’s what you should check first:
- A Mis-wired Connector: This is the usual suspect. It’s so easy for one of the tiny wires to jump out of order right before you crimp the RJ45 plug. Just snip the end off and start again, carefully following the T568B colour code.
- A Bad Punch-Down: The wire might look like it’s in, but it’s not properly seated in the wall jack. Grab your punch-down tool again and give each wire a firm push to make sure it's making solid contact.
- A Kinked Cable: Did you have to pull the cable hard around a sharp corner? If so, you might have damaged the internal wires. This is less common, but it definitely happens.
Take your time with troubleshooting. It’s almost always a minor mistake at one of the ends. Rushing to re-do everything will only lead to more frustration.
Once every single run tests perfectly, it’s time to connect everything up for real. Plug the cables into your router or network switch, then connect your computers, TVs, and other devices to the wall plates.
The final check is the most satisfying one: a simple internet speed test. Run one on a connected device and watch the needle fly. Seeing those blazing-fast numbers pop up is the ultimate reward for all your effort.
Now that you've got a rock-solid wired connection, it's also a great time to check out our tips on how to secure your Wi-Fi network to keep your whole setup safe.
Answering Your Top Home Cabling Questions
We talk to a lot of people from the Central Coast, Sydney, and Newcastle who are thinking about running their own network cables. It’s a project that can feel a bit out of reach for most, so it's totally normal to have questions before you start making holes in your walls.
Let's tackle some of the most common ones we hear.
Is it Okay to Run Ethernet Cables Next to Power Cables?
In a nutshell: absolutely not. This is probably the biggest and most common mistake we see. Running data cables parallel to your home's electrical wiring is a surefire way to create problems.
The current in the power lines generates an electromagnetic field (we call it EMI) that interferes with the data signal in your Ethernet cable. The result? Slower speeds, unreliable connections, and a whole lot of frustration.
If you have no other choice and have to cross a power line, make sure you do it at a 90-degree angle and keep as much space between them as you can.
Do I Actually Need a Cable Tester?
Yes. One hundred percent, yes. It might feel like an unnecessary gadget and an extra cost, but believe me, this tool is your best friend on a cabling job.
A simple cable tester will save you from the nightmare scenario of finishing everything up, attaching the wall plates, and then finding out a connection is dead. It turns a potential day-long troubleshooting headache into a quick, five-minute fix right there and then. Don't even think about skipping it.
What's This Project Going to Cost Me?
Ah, the big question. And honestly, it really depends on what you're trying to achieve. If you're just sorting out a basic Wi-Fi setup, you might only be looking at $150 to $300.
But for a full-blown hardwired network with Ethernet ports in a few different rooms, the investment is bigger. You can expect to spend anywhere from $500 to $1,200, give or take, based on the size of your place and how complex the cable runs are. Going the DIY route can definitely cut down on labour costs, but we always recommend getting a pro involved to avoid the common pitfalls. You can get a deeper dive into the numbers by checking out these home network setup cost insights.
A Tip from the Trenches: Whatever you measure for your cable runs, always add an extra 10-15% to the total length. There's nothing worse than getting to the end of a pull and realising you're a few metres short.
If you're feeling like your home or business could do with a professional touch for a rock-solid, high-speed network, we're here to help. The team at Advanced Comtech has spent decades getting people connected across the Central Coast, Sydney, and Newcastle.
We handle all the tricky stuff, leaving you with a clean, reliable, and seriously fast network. Give us a call, and let's get your data cabling sorted.