
Staring at a tangled mess of old phone lines and dreaming of a lightning-fast connection for your home office? A proper data cable installation is the secret to unlocking reliable, high-speed internet, moving well beyond the limits of patchy Wi-Fi. It’s all about creating a dedicated digital highway directly to your most important devices.
Thinking About a DIY Data Cable Installation
Let's be honest, the thought of drilling into walls and wrangling spools of cable can be a bit daunting. Before you dive headfirst into a weekend project, it's worth getting real about what a DIY data cable installation actually involves.
This is a lot more than just plugging things in. It’s about planning a bulletproof network that won’t bail on you mid-knockout round of the footy or during a crucial client video call.
To make this tangible, let's follow the journey of 'Dave,' a bloke from the Central Coast who was sick to death of his Wi-Fi dropping out. His goal was simple: get a rock-solid, hardwired link for his gaming rig in the spare room and another for his partner's home business setup in the lounge. Dave’s story will guide us through the first crucial steps of any project.
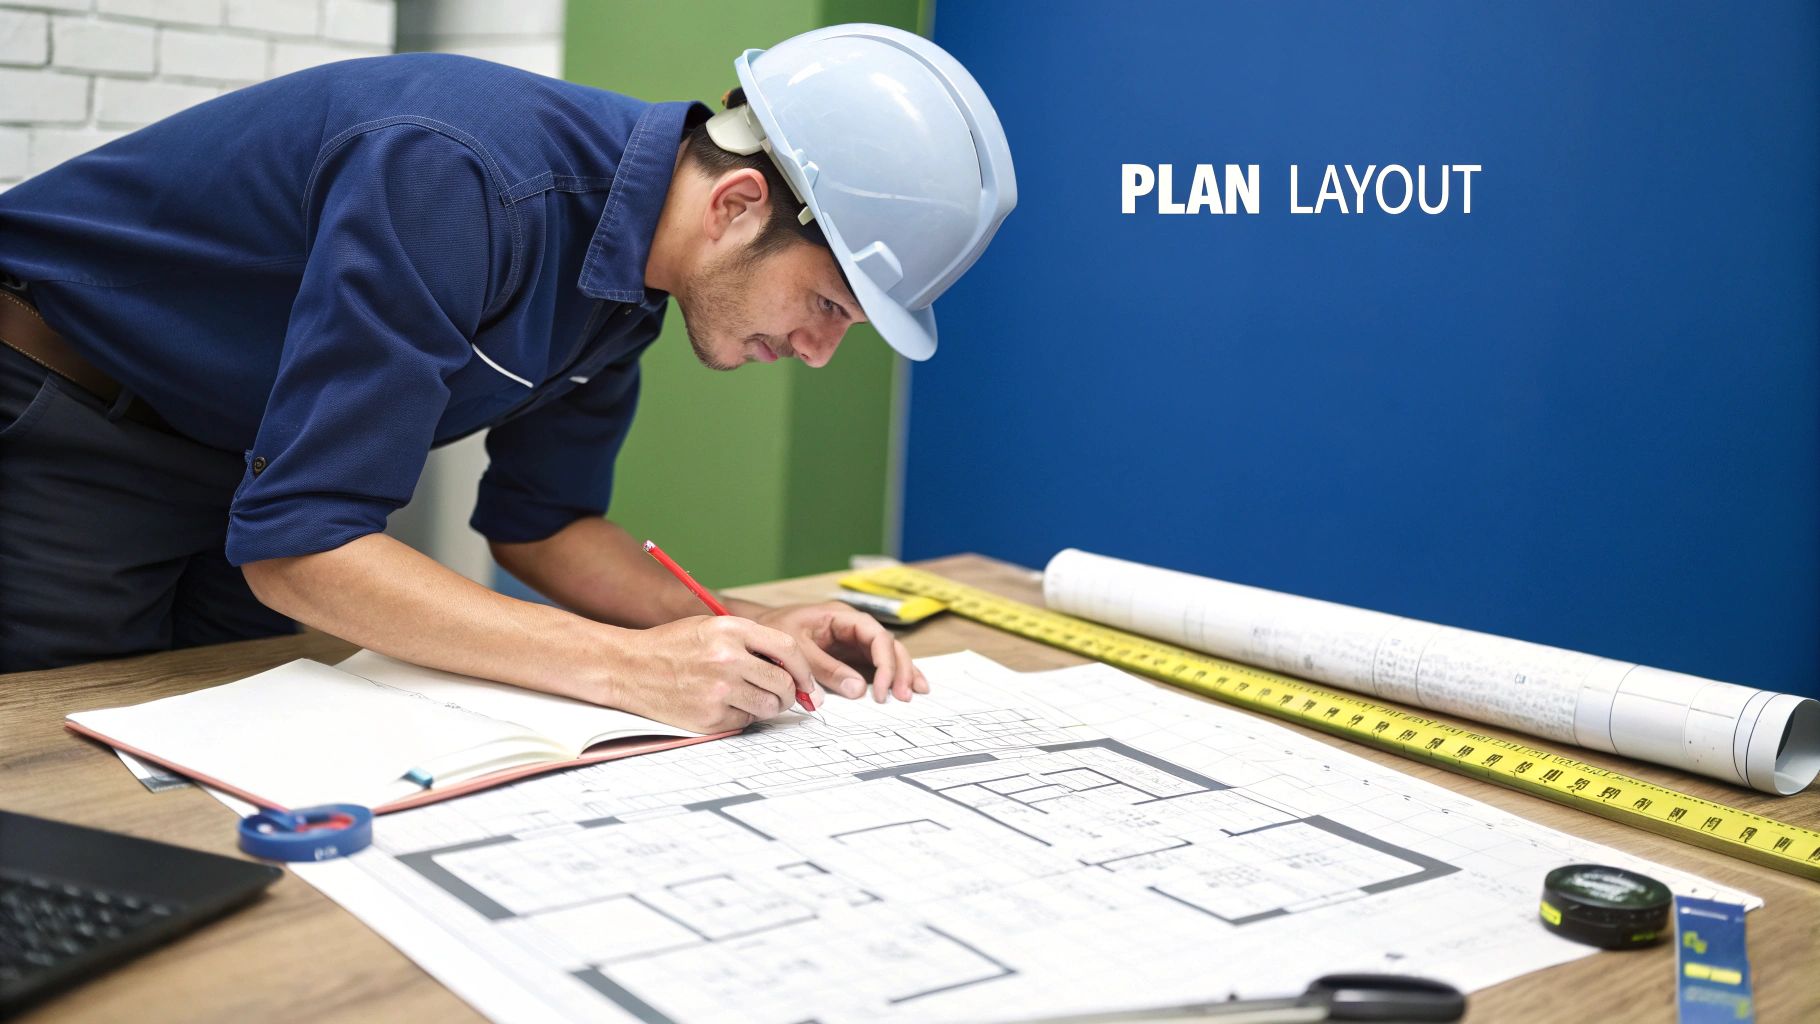
Starting With a Solid Plan
The first thing Dave did wasn't a trip to Bunnings. Instead, he grabbed a pen and paper and sketched out a basic floor plan of his house. This is a non-negotiable first step for anyone. You don’t need to be an architect; a rough drawing will do the trick.
On his sketch, he marked out:
- The location of his NBN connection box and modem.
- The exact spots where he wanted his new data points (the wall sockets).
- A rough idea of the path the cables would need to take—through the ceiling or under the floor.
This simple exercise immediately highlights potential challenges. For Dave, it showed that running a cable to the lounge room was straightforward, but getting one to the spare room would involve navigating around an air conditioning duct. Planning for this early saved him a massive headache later.
A good plan is half the battle won. Knowing where your cables need to go before you even buy them prevents wasted money and a weekend full of frustration. It turns a complex job into a series of manageable steps.
Is DIY Right for You?
Seeing the plan on paper also helps you make a crucial decision: is this a job you can realistically tackle?
A simple run in a single-storey house with a crawl space might be a great weekend project. However, if you're looking at a multi-storey double-brick home in Newcastle, the complexity jumps significantly. For a deeper look into the specifics, our complete guide on data cabling installation can provide more detailed insights.
Ultimately, deciding to DIY comes down to your confidence, tools, and patience. Dave's story will help us explore the tools you'll need and the techniques for running the cables, but this initial planning stage is where you decide whether to become the weekend hero or call in the pros.
Choosing Your Gear: Cables and Tools
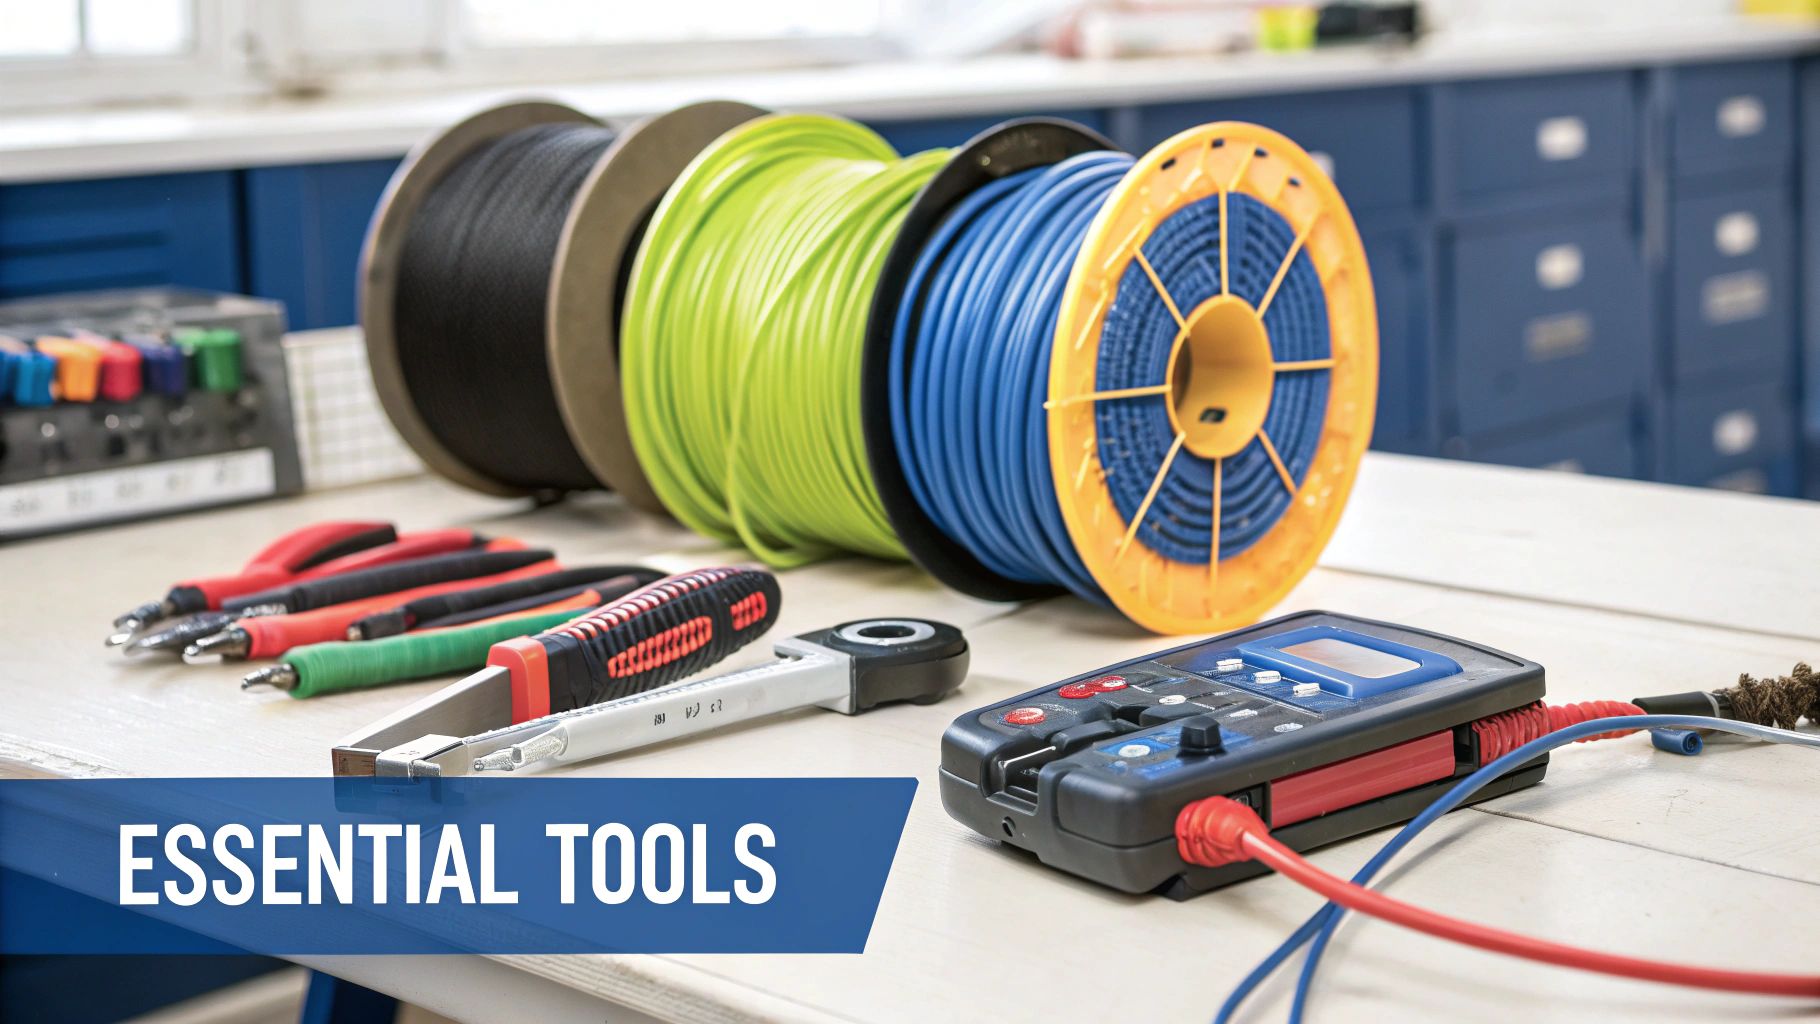
Alright, you've committed to a hardwired network. Now for the fun bit—shopping for gear. But just wandering into an electronics store unprepared is a classic rookie error. You’ll get hit with a wall of acronyms like Cat5e, Cat6, and Cat6a, and it's dead easy to either overspend or buy the wrong thing entirely.
Think of it like picking the right surfboard for the waves at Avoca; you need the right board for the conditions. For your data cabling job, the "conditions" are your internet speed and what you plan to do with it.
Picking the Perfect Cable
For most Aussie homes, Cat6 is the sweet spot. It's the perfect balance of cost and future-proofing for faster NBN plans, easily handling speeds up to 10 Gigabits per second (Gbps) over typical household distances. It’s the reliable all-rounder of the data cabling world.
Sure, Cat5e is a bit cheaper, but it’s older tech and might become a bottleneck for top-tier NBN speeds down the track. On the other end of the scale, Cat6a is built for serious speed over long runs but is thicker, less flexible, and costs a fair bit more. It's usually total overkill unless you're running a data centre in your garage.
Here's a quick guide to help you choose the right cable for your home or small office.
Ethernet Cable Quick-Pick Guide
| Cable Type | Max Speed | Best For | Average Cost (per 50m) |
|---|---|---|---|
| Cat5e | 1 Gbps | Basic internet, but not really recommended for new installs. | $30 – $45 |
| Cat6 | 10 Gbps | Gaming, 4K streaming, home offices, and future-proofing. | $50 – $75 |
| Cat6a | 10 Gbps (over 100m) | High-demand commercial setups or extreme future-proofing. | $90 – $130 |
Bottom line? Stick with Cat6 for a home installation. You won't regret it.
Building Your Essential Toolkit
Once you've got your Cat6 cable, you need the right tools to turn that spool into a working network. Please, don't be like a mate of ours from Newcastle who thought a pair of kitchen scissors and some pliers would do the job. After hours of frustration, he ended up with a connection so slow he swore his old dial-up was faster.
Avoid that drama by getting these essentials from the get-go:
- Cable Stripper: Specifically designed to slice off the outer jacket without nicking the delicate wires inside.
- RJ45 Crimper: This is the tool that securely clamps the plastic RJ45 plugs onto the end of the cable.
- Punch-Down Tool: You'll use this to connect the wires into the back of your wall jacks (keystones). It's incredibly satisfying to use.
- Cable Tester: This is a non-negotiable final step. This little gadget verifies that all eight wires are correctly connected before you plug in your expensive gear.
A proper toolkit isn't just an expense; it's an investment in your sanity. The right tools make the job faster, easier, and ensure your network actually performs at the speed you paid for.
While a rock-solid wired connection is a game-changer, you'll still need great Wi-Fi in other parts of the house. For tackling those pesky dead zones, it pays to understand the difference between a Wi-Fi extender vs a mesh network to create the ultimate home setup.
Running and Terminating Your Cables
Right, you've got your plan and your shiny new gear. This is where the real work begins, turning a simple spool of cable into the high-performance network you've been dreaming of. It’s time to get those cables from Point A to Point B, and that often means navigating the mysterious world behind your plasterboard.
Fishing cables through walls and ceilings can feel like a dark art, but with a few classic Aussie tricks, you can conquer it. For those of us in Sydney and Newcastle dealing with double-brick homes, the challenge is real. A good set of cable-pulling rods is your best mate here, helping you guide the cable through tricky wall cavities without getting snagged.
The Golden Rules of Cable Routing
Before you start pulling, there are a couple of non-negotiable rules. The biggest one is keeping your data cables a good distance from any electrical wiring. Think of it like lanes on the M1 during peak hour; you don't want them crossing over unnecessarily.
Electrical cables create "noise" or electromagnetic interference (EMI), which can mess with your data signal and slow your connection down to a crawl. Many a DIYer has learned this lesson the hard way, spending hours troubleshooting a slow network only to realise their data cable is spooning a power line in the ceiling.
To avoid this drama:
- Keep your distance: Aim for at least 50mm of separation when running data cables parallel to power lines.
- Cross at right angles: If you absolutely must cross a power cable, do it at a 90-degree angle to minimise the interference.
This simple infographic breaks down the core process of routing your cables cleanly and effectively.
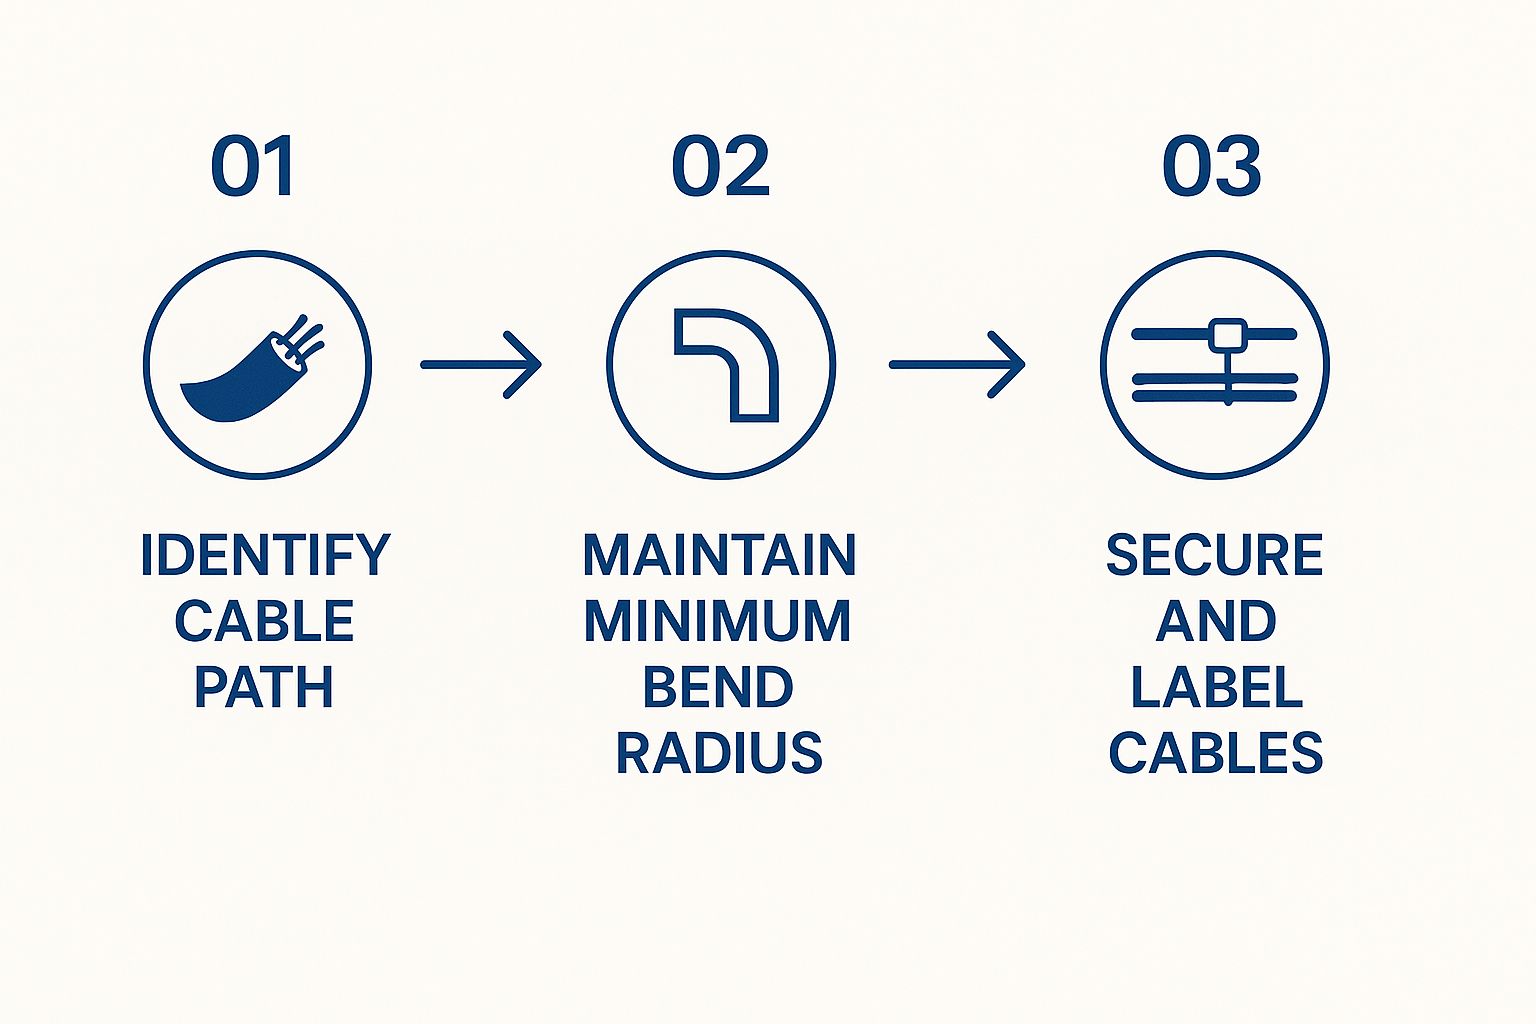
As the visual shows, a successful data cable installation hinges on planning your path, respecting the cable's physical limits, and keeping things organised for the future.
The Satisfying Art of Termination
Once your cable is run, it’s time for the really satisfying part: termination. This is where you connect the wires to the wall jacks and plugs, bringing your network to life. It’s precise work, but get it right, and you'll feel like a proper tech wizard.
The first step is using your punch-down tool to connect the individual wires to the back of the keystone jack (the bit that sits in your wall plate). Each wire has a specific slot, colour-coded to make your life easier.
This brings us to the age-old debate: T568A vs. T568B. These are simply two different wiring standards that dictate the order of the coloured wires. Honestly, it doesn't matter which one you choose, as long as you use the same one for both ends of the cable.
Our pro tip? Just pick 'B' for everything. The T568B standard is far more common in Australia, so sticking with it will make any future work or repairs much simpler. Consistency is key.
After punching down the jack, you'll crimp an RJ45 connector onto the other end of the cable using your crimper tool. This process involves stripping the outer jacket, arranging the tiny wires in the correct T568B order, sliding them into the plastic plug, and giving it a firm squeeze with the crimper.
Just like running cables in the wall, terminating them neatly is similar to the precision needed for a professional TV wall mounting installation, where a clean finish makes all the difference. Taking your time here ensures a reliable, high-speed connection that is built to last.
Australia's Digital Backbone and Your Home
Ever stopped mid-Netflix binge to think about the incredible network making it all happen? It’s easy to focus on your own setup, but the data cable installation you're planning is the final, vital piece of a massive nationwide puzzle.
That puzzle is the National Broadband Network (NBN), a mammoth project that completely changed Australia's digital landscape. We're talking about thousands of kilometres of fibre optic and copper cables snaking under everything from busy Sydney streets to the quiet suburbs of the Central Coast. It was a truly epic undertaking.
This is the infrastructure that makes working from home, streaming in 4K, and lag-free gaming a reality for millions. Our digital lives would grind to a halt without it.
From the Exchange to Your Front Door
Kicked off way back in 2009, the NBN rollout was a game-changer for Aussie connectivity. Fast forward to early 2024, and you've got around 12.53 million homes and businesses with access to the NBN’s wired network. That means internet is available to about 90% of all premises in the country.
This massive grid now serves over 8.82 million active users, which just goes to show how much we rely on a solid internet connection. You can dig into more of these NBN statistics in Australia if you're curious.
So, why does this matter for your project? Because all that national infrastructure gets the signal to your property line, but it’s your home’s internal wiring that has to carry it the rest of the way. A poor internal setup can easily cripple a lightning-fast NBN connection, leaving you with speeds that feel like a throwback to the dial-up era.
Your home’s data cabling is the 'last mile' of Australia’s internet superhighway. Getting it right ensures you're not stuck in a digital traffic jam right before you reach your destination—your devices.
Powering More Than Just Homes
This digital backbone does more than just power our homes. It’s the lifeblood for small businesses everywhere, from a café in Newcastle running its POS system in the cloud to a graphic designer on the Coast uploading huge files for a client. It also connects the enormous data centres that are the engine room of our online world.
Of course, even with the NBN’s impressive reach, some spots still struggle with connectivity. For those in regional or remote areas, alternatives are key. Understanding options like our Starlink installation on the Central Coast can provide a powerful solution where traditional broadband falls short.
At the end of the day, it doesn't matter if you're hooking up to NBN fibre or a satellite dish. The core principle is identical: the quality of the final data cable installation inside your property dictates whether you get the speed and reliability you're paying for. It makes your project a critical piece of a much larger picture.
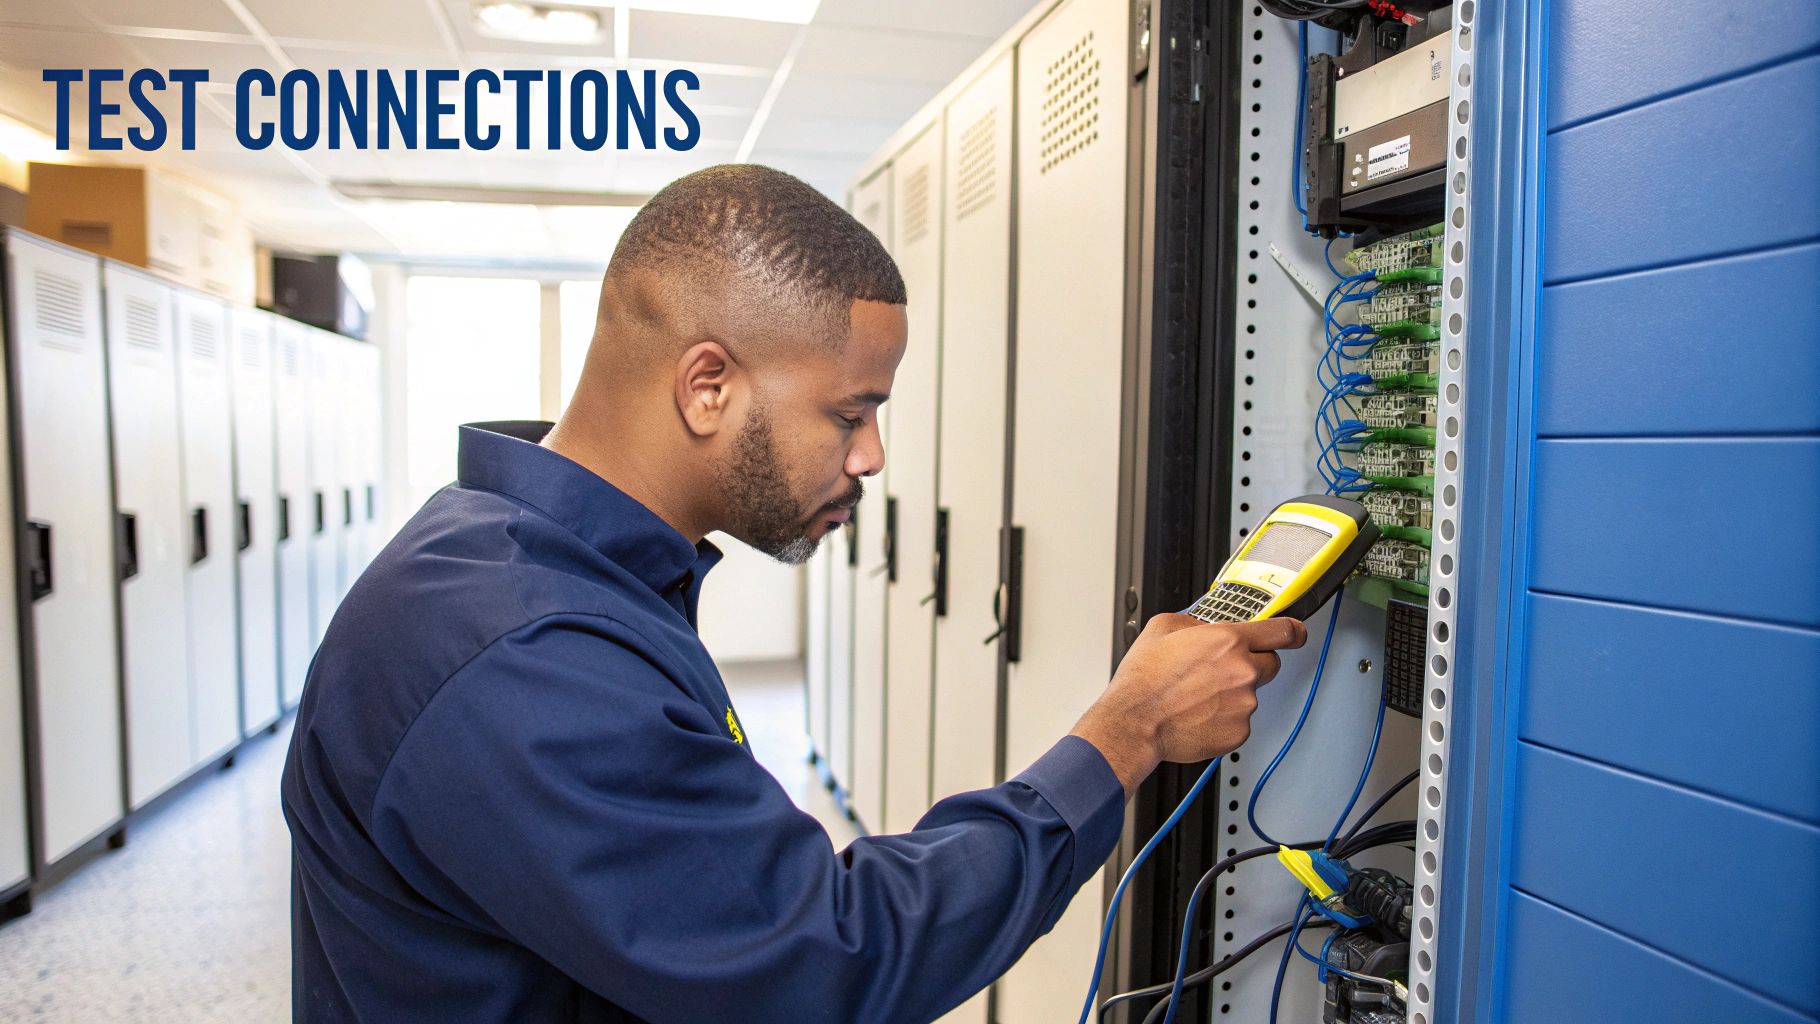
Testing Your Work Before You Plug In
You've run the cables, terminated the ends, and it all looks schmick. Job done, right? Not quite, mate. Now comes the most crucial step of any data cable installation—the one that separates a professional result from a future headache.
Just plugging your laptop in and hoping for the best isn't a real test. Sure, it might connect, but you have no idea if all the wires are doing their job or if you’re getting the full speed you worked so hard for. Skipping this is like building a deck and not checking if it’s level; it might look fine at first, but you’ll definitely discover the problems later.
Why a Simple Tester is Your Best Mate
This is where a simple, inexpensive network cable tester becomes non-negotiable. This little gadget, often costing less than $30, can save you hours of pure frustration. It works by sending a signal down each of the eight tiny wires in the cable, instantly flagging a mixed-up pair or a dodgy connection.
We once helped a bloke in Sydney who’d spent an entire weekend wiring his new home office. His internet was connected but painfully slow. He was convinced his NBN was cactus until we ran our tester. Turns out, he’d mixed up the orange and green pairs on one end. A two-minute fix he could have found instantly with a basic tester.
Think of a cable tester as your insurance policy. It's a small investment that guarantees your network performs at the full speed you've paid for, catching tiny mistakes that can have a massive impact on performance.
Deciphering the Flashing Lights
Using one is dead simple. You plug the main unit into one end of your cable (at the wall plate) and the small remote unit into the other end (at your patch panel or switch). When you turn it on, a series of lights will blink in sequence from one to eight on both units.
Here's what you're looking for:
- Perfect Sequence (1-8): If the lights flash in order on both ends, crack open a cold one! Your cable is perfect.
- Mixed-Up Lights: If the lights flash out of order (e.g., 1, 2, 4, 3…), you've got a crossed pair. You'll need to re-terminate one end, paying close attention to the T568B colour code.
- Missing Light: If a light doesn't come on at all, it means there's a break or a wire isn't punched down properly.
Once your physical cables are confirmed solid, it's a good time to ensure your network is locked down. After all, a fast connection is great, but you also need to understand how to secure a Wi-Fi network from unwanted guests. This final check guarantees your hard work pays off with a fast, reliable, and secure connection.
A Few Common Data Cabling Questions
Still got a few questions rattling around your head? No worries at all, that's completely normal. We’ve pulled together some of the most common queries we hear from folks across Sydney, the Central Coast, and Newcastle when they’re thinking about a data cabling project. Let's tackle them head-on.
Can I Run Data Cables Outside My House?
You absolutely can, but you can’t just grab any old cable you've got lying around. You’ll need to use an outdoor-rated Ethernet cable, which is specifically designed to be both UV-protected and waterproof.
Your standard indoor cable will get absolutely wrecked by the harsh Aussie sun and rain. Before you know it, the connection will fail. For some extra peace of mind, especially if you plan on burying the cable, it's always a great idea to run it inside a protective conduit first.
Is It Worth Installing Cat6a Cable for My Home?
Honestly, for most homes—even those with the fastest NBN plans—Cat6 is plenty. It comfortably handles speeds up to 10Gbps over the typical distances you’d find in a residential house. That's more than enough for gaming, streaming 4K movies, and working from home.
Cat6a is not only more expensive, but its thicker, less flexible design makes it a real pain to work with in tight spaces like wall cavities. It's generally overkill unless you're a professional video editor constantly shifting massive files across your local network.
For the best bang for your buck in a home data cable installation, stick with Cat6. It delivers fantastic performance without the added cost and hassle of Cat6a, future-proofing your home network for years to come.
What Are the Rules for Running Data Cables Near Power Lines?
This is a big one, and it's all about safety and performance. In Australia, we have strict regulations, known as the AS/NZS 3000 Wiring Rules, that dictate how data and electrical cables must be separated. This is mainly to prevent electromagnetic interference (EMI) from the power lines messing with your data signal and, more importantly, to keep everything safe.
A good rule of thumb to remember is:
- Try to keep at least 50mm of space between data and electrical cables when they run parallel to each other.
- If they absolutely have to cross paths, make sure they do it at a sharp 90-degree angle to minimise any potential interference.
When in doubt, the best thing you can do is consult a licensed and registered cabler. They know these rules inside and out and will make sure your installation is both safe and compliant.
Feeling like your data cable installation is a bit more than a weekend DIY project? Advanced Comtech has you covered. Our licensed experts handle everything from planning to testing, ensuring you get a fast, reliable, and professional result every time. Get in touch with us today to discuss your project.