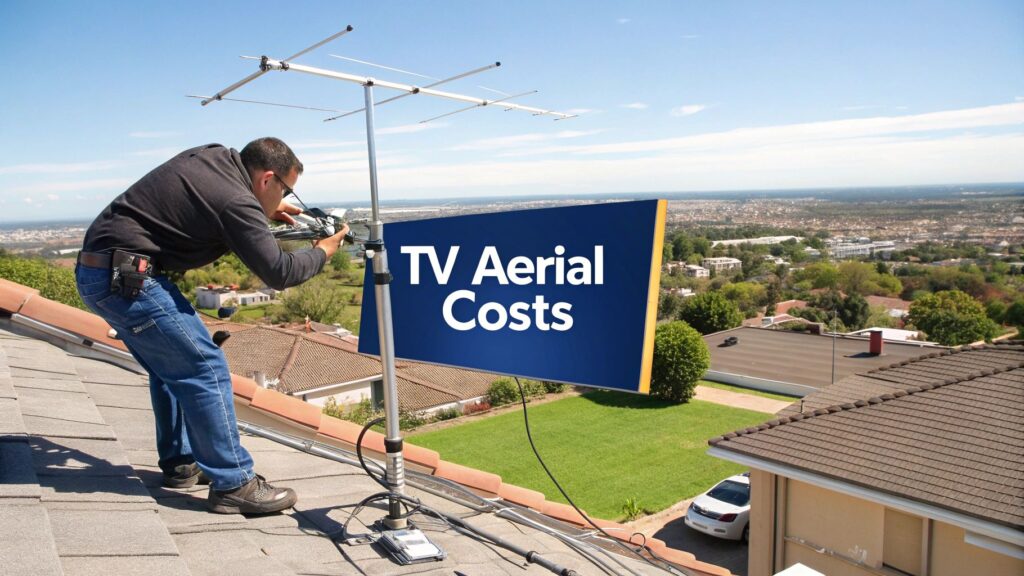
So, how much does it actually cost to get a new TV aerial sorted? Let's cut to the chase. For a standard, brand-new installation in places like Sydney, the Central Coast, or Newcastle, you're typically looking at a figure somewhere between $400 and $700.
Think of that as a solid starting point. It covers the basics, but it's not a one-price-fits-all deal. Every home is a bit different, and things like a roof steeper than a kangaroo's takeoff or needing a signal booster can definitely nudge that number up.
Quick Guide to TV Aerial Installation Costs
To give you a clearer idea at a glance, here’s a breakdown of what you can generally expect to pay for various aerial-related jobs around NSW.
| Service Type | Typical Price Range (AUD) |
|---|---|
| Standard New Aerial Installation | $400 – $700 |
| Aerial Replacement (existing setup) | $350 – $600 |
| Signal Booster / Amplifier Install | $250 – $450 |
| Extra TV Point Installation | $150 – $250 per point |
| Fault Diagnosis & Repair Call-out | $120 – $200 |
This table gives you a ballpark, but remember these are just averages. The final quote will always depend on the specifics of your property and what's needed to get that crystal-clear picture for the footy.
What's in the Price Tag?
We've all been there – trying to get a straight answer for a trade job can feel like pulling teeth. Picture this: it's the season finale of your favourite show, the tension is building, and suddenly your screen freezes into a mess of colourful blocks. The last thing you need right now is a confusing quote packed with jargon.
The truth is, the cost to install a TV aerial isn't a simple one-size-fits-all number, and for good reason. Think of it like ordering a pizza. A basic Margherita has a set price, right? But the moment you start adding extra toppings like pineapple (don't you dare), the cost creeps up. It’s the exact same principle with your TV aerial.
The final bill really comes down to a few key "ingredients":
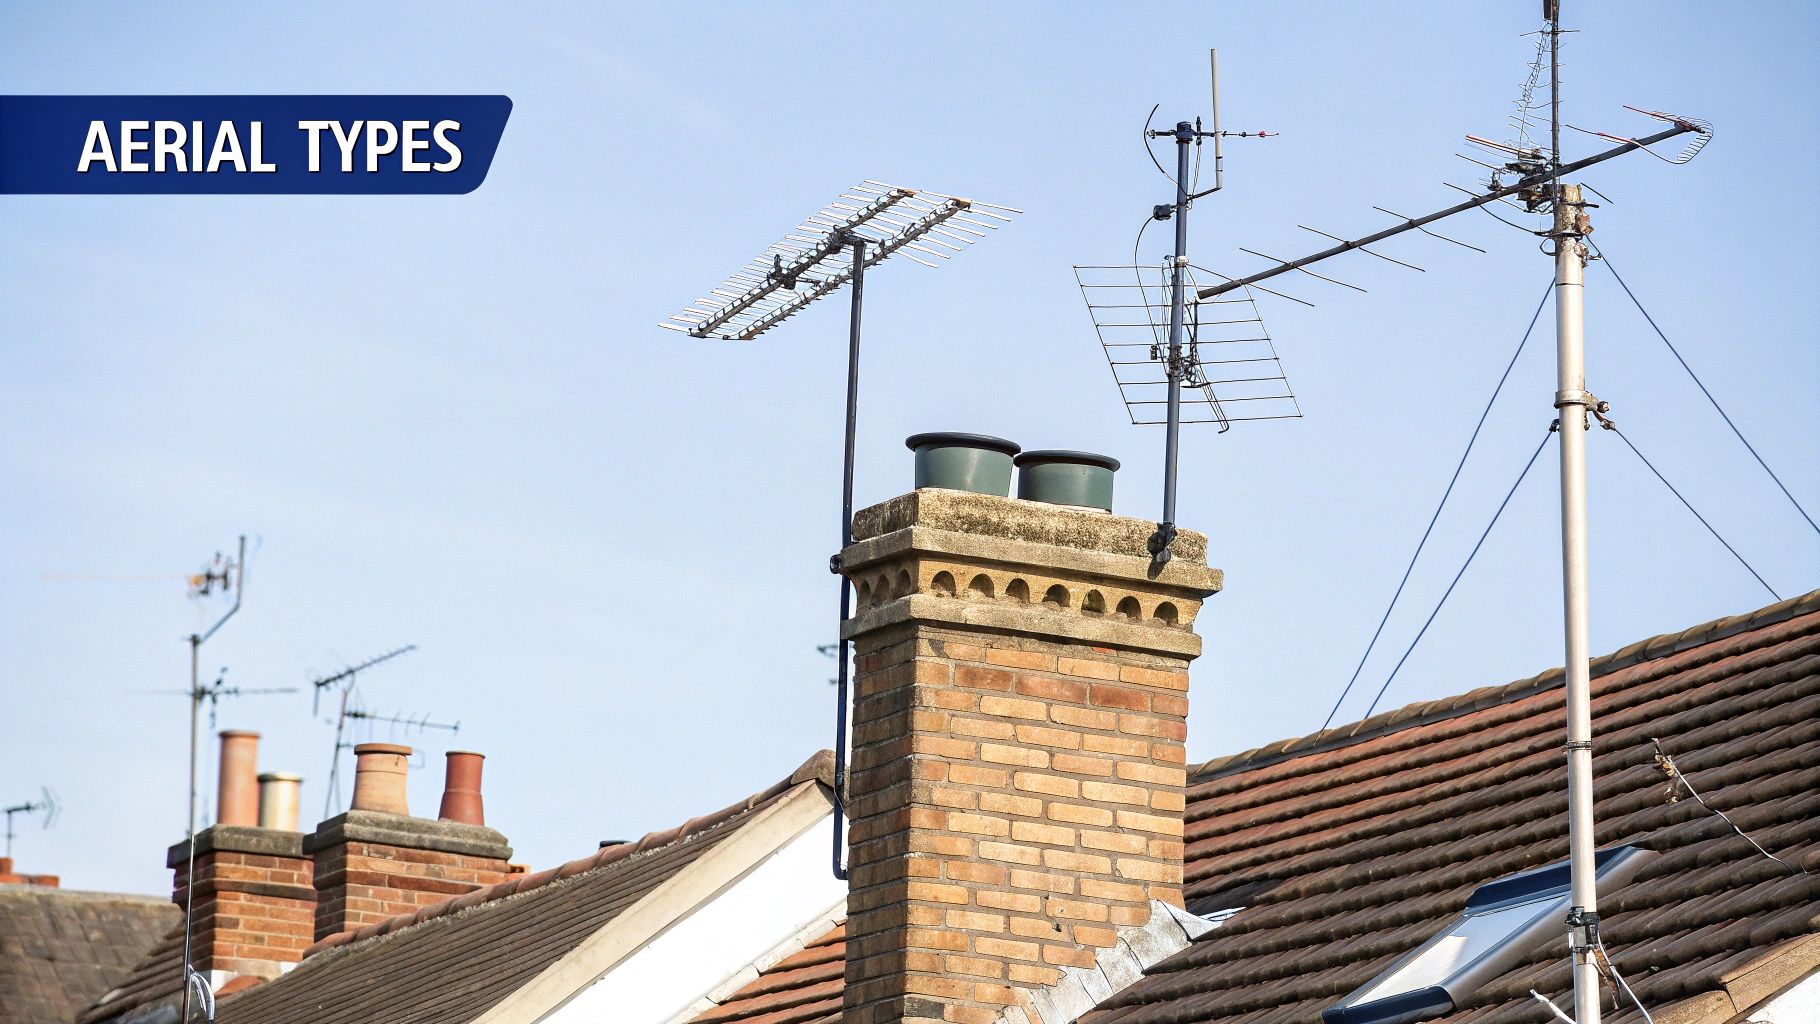
- The specific aerial you need. Different spots across the Central Coast or Sydney need different types of aerials to pick up the best signal.
- How tricky the job is. A simple, low-set tiled roof in a new estate is a world away from a steep, two-storey metal one in a leafy North Shore suburb.
- Any extra bits and pieces. Sometimes you need a signal booster or a special bracket to get the job done right.
It’s also worth thinking about the full picture. Getting the aerial sorted is one thing, but what about the telly itself? If you’re planning on getting your new screen up on the wall, it’s a good idea to check out our guide on the cost to mount a TV on the wall so you can budget for the whole setup.
Here's a pro tip: A good installer won't just guess. They’ll show up with a signal meter to test your reception before they even touch the aerial. This step is crucial because it tells them exactly what gear you need, so you don't end up paying for something you don't, or worse, getting an aerial that isn't up to the task.
What Am I Actually Paying For?
Ever looked at a quote and felt like you were trying to read a foreign language? You're not alone. It’s easy to think the final number is just plucked from thin air, but a professional quote is actually a careful sum of two major parts: the actual gear and the skilled hands putting it all together.
Let’s pull back the curtain and see exactly what you’re paying for when you get that new aerial installed.
Part 1: The Gear (Hardware)
First up, you've got the aerial itself, and trust me, not all antennas are created equal. Think of it like buying a car. You could get a simple, reliable sedan that gets you from A to B, or you might need a rugged 4×4 built to handle the toughest terrain. TV aerials work in a similar way.
The type of hardware you need really boils down to where you live.
- Standard Aerials: These are your go-to models for most suburban areas in Sydney or Newcastle where the signal is pretty good. They’re kind on the wallet and do the job perfectly well.
- High-Gain Aerials: Live in a reception black spot on the Central Coast, tucked away in a valley behind Gosford? You’ll probably need one of these bad boys. They're designed with extra elements to pull in a weaker signal from further away, a bit like giving your TV a set of giant ears.
- Specialised Mounts & Masts: If your roof is an odd shape or you need to get the aerial higher up to clear some massive gum trees, you'll need specialised brackets or a taller mast.
The quality and where the aerial is made also play a huge role. For instance, some installers offer different price points based on whether the product is a standard import or a premium, Australian-made unit built for our harsh local conditions. You can see how this affects the bottom line by looking at cost breakdowns from installers like Adelaide Telefix, where Aussie-made options command a higher price for their superior durability and performance.
Part 2: The Know-How (Labour)
Next up is the labour, and this is where expertise really shines. You're not just paying for someone to climb a ladder; you’re paying for their experience, safety training, and all the right diagnostic tools to get the job done properly.
An experienced technician will spend less time scratching their head and more time getting the job done right the first time. They know how to pinpoint the best spot on your roof for maximum signal, ensuring you get a flawless picture.
The complexity of the job is the biggest factor here. A simple aerial swap on a single-storey, flat-roofed home in a Newcastle suburb is pretty quick and straightforward. But a brand-new installation on a steep, two-storey tiled roof in a gusty coastal spot like Norah Head? That's a different beast entirely. It demands more safety gear, more time, and a higher level of skill, which is rightly reflected in the labour cost.
Getting the hardware and the installation spot-on is the key to a great picture. If you're also thinking about where to place your TV for the best viewing experience, our guide on professional TV installation and mounting can help you finish the setup perfectly.
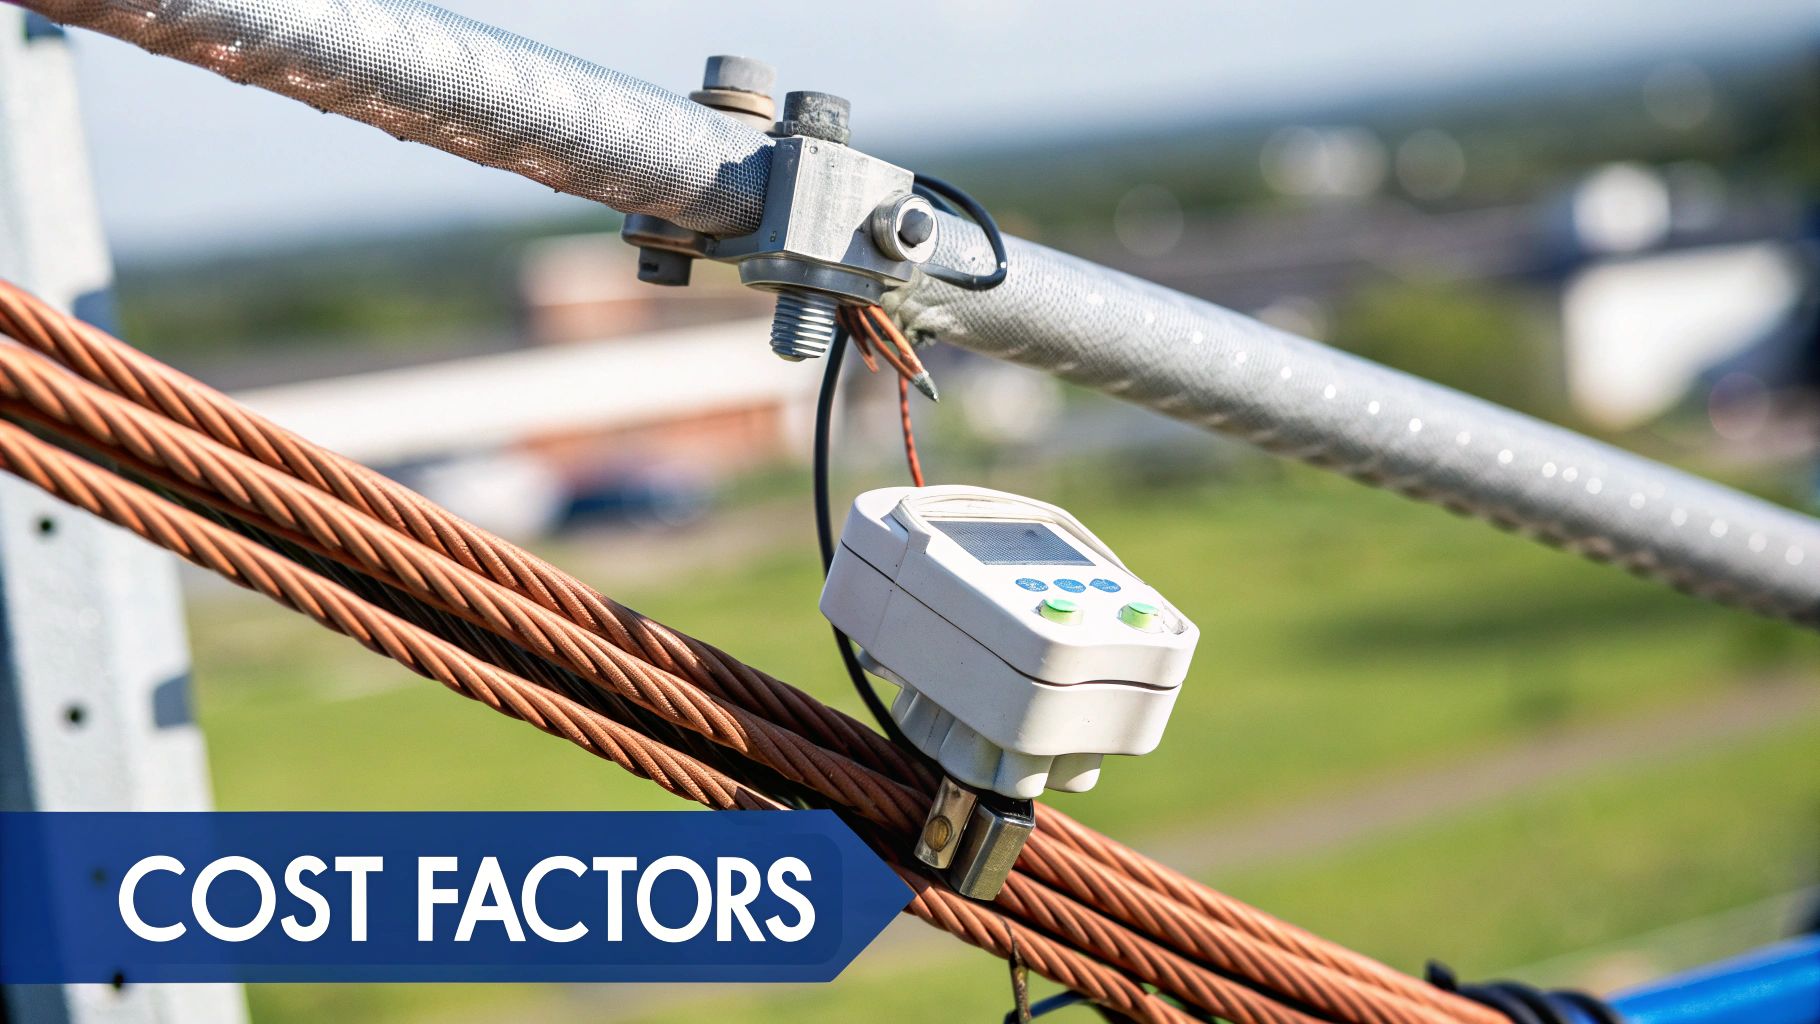
The Sneaky Costs That Can Blow Your Budget
You’ve got a quote in your hand, and it looks pretty good. But hold on. Just like a sneaky seagull eyeing your chips at Terrigal Beach, hidden costs can swoop in and wreck your budget if you’re not careful. The initial price for an aerial installation usually just covers the basics, but what about the bits and pieces you didn't see coming?
Picture this: the technician is up on your roof, takes one look at your old setup, and lets out a long sigh. "Mate," he says, "this old cabling has had it. It's more cracked than the M1 on a long weekend." All of a sudden, your simple job has a new line item. It’s one of the most common surprises we see.
These are the "what if" scenarios that can turn a straightforward job into something a lot more complex and, you guessed it, more expensive.
Common Budget-Blowing Add-Ons
So, what are these potential budget busters? They’re usually necessary evils—things you absolutely need for a quality, long-lasting signal but might not have thought about initially. Knowing what they are means you can ask the right questions from the get-go.
Here are the usual suspects that can inflate the final cost of tv aerial and installation:
- Signal Boosters or Amplifiers: Tucked away in a Central Coast valley with dodgy reception? You’ll probably need a signal booster (often called a masthead amplifier) just to get a decent picture of the Knights game. This little bit of kit can add $250 – $450 to the bill.
- New Cabling: Old, sun-baked, or cheap coaxial cable is a signal killer. Replacing it is a non-negotiable for a crisp picture. If you're sorting out your home network anyway, it's worth looking into a complete fix. You can learn more about professional data cabling installation in our detailed guide.
- Extra TV Points: Want to put a telly in the kids’ room or the man cave? Each new point needs its own cable run and installation, typically setting you back $150 – $250 per point.
- Specialised Mounts: That salty coastal air is great for a surf but absolutely brutal on metal. A galvanised or specialised mount might be needed to stop rust in its tracks, adding a bit more to the hardware cost.
The goal isn't to get the cheapest quote; it's to get the most accurate one. A thorough technician will spot these potential needs before starting the job, so there are no nasty surprises when the invoice arrives.
Safety and Access Challenges
Sometimes, the extra cost has nothing to do with the gear itself. It’s all about the challenge of just getting up on your roof safely. If you have a particularly steep roof, a two-storey house, or brittle old tiles, the job instantly gets a lot trickier.
This might mean the installer needs extra safety equipment, like harnesses or even temporary edge protection. It also means the job will take more time. Since labour is charged by the hour, a job that takes four hours instead of two because of access issues will naturally cost more. Be sure to mention your roof type when getting a quote to avoid a price hike on the day.
DIY vs Pro: The True Cost of Saving a Buck
The siren song of a Bunnings sausage sizzle and a weekend project is a powerful one. We get it. You see an aerial on the shelf, think "how hard can it be?", and suddenly you're picturing yourself as a home improvement hero, saving a few hundred bucks in the process.
But is that trip to the hardware store really the cheaper option when all is said and done? Let’s break it down with a classic Aussie tale of two neighbours.
The Saga of Dave the DIYer
Meet Dave from Warners Bay. After getting a quote that felt a bit steep, he decided to tackle his fuzzy TV reception himself. His Saturday started with a trip to grab an aerial, some cable, and a few connectors. Total cost so far? About $120. Not bad, he thought.
But then came the reality. The aerial he bought wasn't quite right for his area's weak signal, meaning a second trip back to the shops. Then he realised his old ladder didn't quite reach the gutter safely, leading to a sketchy moment that had his heart pounding faster than a drum solo.
After finally getting the aerial mounted, he spent another hour fiddling with connections, only to find the picture was somehow worse. The grand final was starting, the screen was a pixelated mess, and his Saturday was officially ruined. Dave's "savings" had cost him an entire weekend, multiple trips to the shops, and a whole lot of sanity.
Pete the Pro-Caller's Perfect Picture
Next door, there’s Pete. He saw the same fuzzy screen, made one phone call, and then spent his Saturday morning at the beach. The technician arrived with the right aerial, a professional signal meter, and all the safety gear.
The pro knew exactly where to mount the aerial for the best reception, ran the cable neatly, and tuned the TV perfectly. The whole job was done in just over an hour. Pete was on the couch with a cold one, watching the pre-game show in crystal-clear HD, well before kick-off.
This handy infographic breaks down the core differences in time and money for the average job.
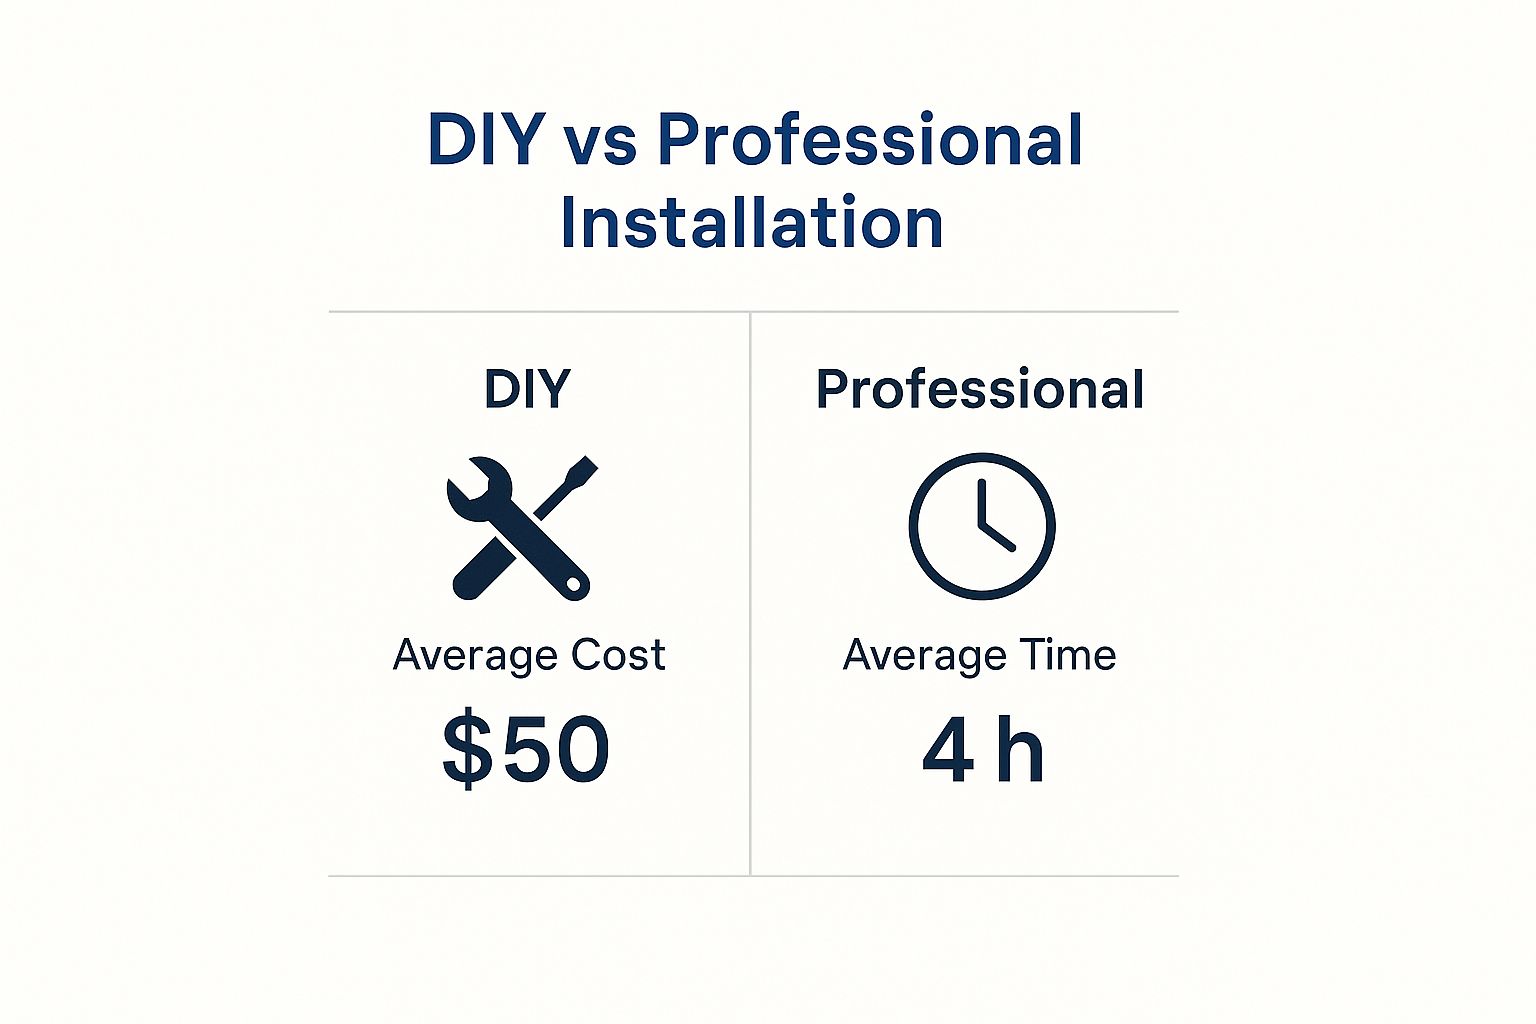
The chart clearly shows that while the initial outlay for professional gear is higher, the time saved is significant—and that’s before you even factor in the DIY headaches.
Deciding between doing it yourself and calling in an expert involves more than just the upfront price. Let's compare the two paths side-by-side to get a clearer picture.
DIY vs Professional Installation: A Realistic Comparison
| Factor | DIY Installation | Professional Installation |
|---|---|---|
| Upfront Cost | Lower initial parts cost ($70 – $150). | Higher initial cost ($250 – $450), includes labour & parts. |
| Hidden Costs | High potential for multiple trips, wrong parts, tool purchases, potential roof damage. | All-inclusive quote. No surprise costs unless major issues are found (e.g., faulty wiring). |
| Time Investment | A full day or weekend, including research, shopping, and installation. | Usually 1-2 hours from arrival to completion. You get your day back. |
| Tools & Gear | Requires purchasing or borrowing ladders, drills, crimpers, and safety equipment. | Technician arrives with all necessary professional-grade tools, including signal meters. |
| Safety Risk | Significant. Risk of falls from ladders/roofs, especially without proper safety gear. | Minimal for you. Professionals are insured and trained to work safely at heights. |
| End Result | Hit-or-miss. Often results in a sub-par signal, frustration, and wasted time. | Guaranteed perfect reception. The job is done right the first time, with a warranty. |
As you can see, the "savings" from a DIY job can quickly evaporate when you account for your time, the extra expenses, and the very real safety risks involved.
The Real Bottom Line
When you weigh it all up, the true cost of tv aerial and installation isn't just about the initial cash. It’s a balance of money, time, safety, and actually getting the job done right the first time.
While a DIY approach might seem cheaper on paper, it often comes with hidden costs: multiple trips for parts, the wrong equipment, potential damage to your roof, and the very real risk of falling.
A professional installation might have a higher upfront cost, but what you’re really paying for is peace of mind. You’re buying back your weekend, ensuring your safety, and getting a guaranteed, perfect signal without any of the stress. Sometimes, saving a buck just isn't worth the price.
How Your Suburb Affects the Price Tag
Ever wondered why your mate in Penrith paid a different price for his aerial install than your cousin tucked away in a Gosford valley? It’s not just about what you paid for the house. When it comes to TV reception, your postcode plays a massive role in the final cost of TV aerial and installation.
Location, location, location.
Think of it like trying to get a decent radio signal on a road trip. If you're right next to the transmitter, you get crystal-clear sound. But drive into a valley or behind a skyscraper, and all you get is static. Your home's location relative to the broadcast tower works the exact same way.
From Coastal Spray to City Shadows
The unique geography across Sydney, Newcastle, and the Central Coast creates a real patchwork of reception hotspots and complete dead zones. Each area throws its own spanner in the works, directly influencing the kind of gear you'll need and, you guessed it, how much you'll have to pay.
Here’s a quick rundown of how your neighbourhood can shake up the quote:
-
Coastal Living (e.g., Terrigal, Merewether): That beautiful sea breeze comes with a nasty side effect: corrosive salt spray. A standard metal aerial won't last five minutes. You'll need to fork out for galvanised or even stainless steel parts to stop your setup from becoming a rusty eyesore in a couple of years.
-
Hilly and Leafy Areas (e.g., Kincumber, Hornsby Heights): Tucked away amongst the gum trees? It's a beautiful spot, but those trees and hills are signal-blocking masters. You’ll almost certainly need a taller mast to poke the aerial above the obstacles and a high-gain antenna to "grab" what's left of the weaker signal. Both of those will add to the final bill.
-
Urban Canyons (e.g., Sydney CBD, Parramatta): Living amongst high-rises can turn your TV signal into a pinball machine. Signals bounce off all those concrete and glass towers, creating annoying ghosting on your screen. A technician will need more time and specialised gear to pinpoint a clean signal path, which bumps up the labour costs.
The rule of thumb is pretty simple: the more stuff between your roof and the transmitter, the more specialised (and expensive) the solution will be. A clear line of sight in a flat suburb like Blacktown usually means a simpler, cheaper job.
It’s the same story in other regions. On the Gold Coast, for example, installation costs can vary wildly depending on whether you need a massive mast or signal amplifiers to pull in a decent picture. These hurdles, combined with local labour rates, are why you see such a broad range in what people pay. You can find more details about these regional cost factors on Techniservices.com.au.
At the end of the day, it’s not just about getting a picture on your TV. It's about making sure all your connected tech plays nicely together. If you're building a smarter home, getting your signal environment right is step one. Check out our guide on home networking installation services to see how a strong foundation supports everything else.
Your TV Aerial Questions Answered
https://www.youtube.com/embed/Hry9uyd_108
Still have a few questions rattling around? You're not alone. The world of TV aerials can feel a bit confusing, but getting straight answers is the best way to make a confident decision.
Let's dive into some of the most common questions we hear from our customers across the Central Coast, Sydney, and Newcastle about the true cost of a new TV aerial and its installation.
Is It Cheaper to Repair or Replace My Old Aerial?
That’s the million-dollar question, isn't it? The answer really boils down to how old your aerial is and what’s actually wrong with it. A simple fix, like re-securing a loose cable or just realigning the antenna after a big storm, might only set you back a call-out fee of around $150 to $250.
But here's the thing: if your aerial has seen better days—it's visibly rusted or it’s an old analogue model not built for today's digital signals—a repair is often just a band-aid solution. You’re much better off putting that money towards a brand new installation. You'll get far better performance and, crucially, a warranty. A trustworthy technician will give you an honest opinion and won't push for a replacement unless it’s genuinely the smarter move in the long run.
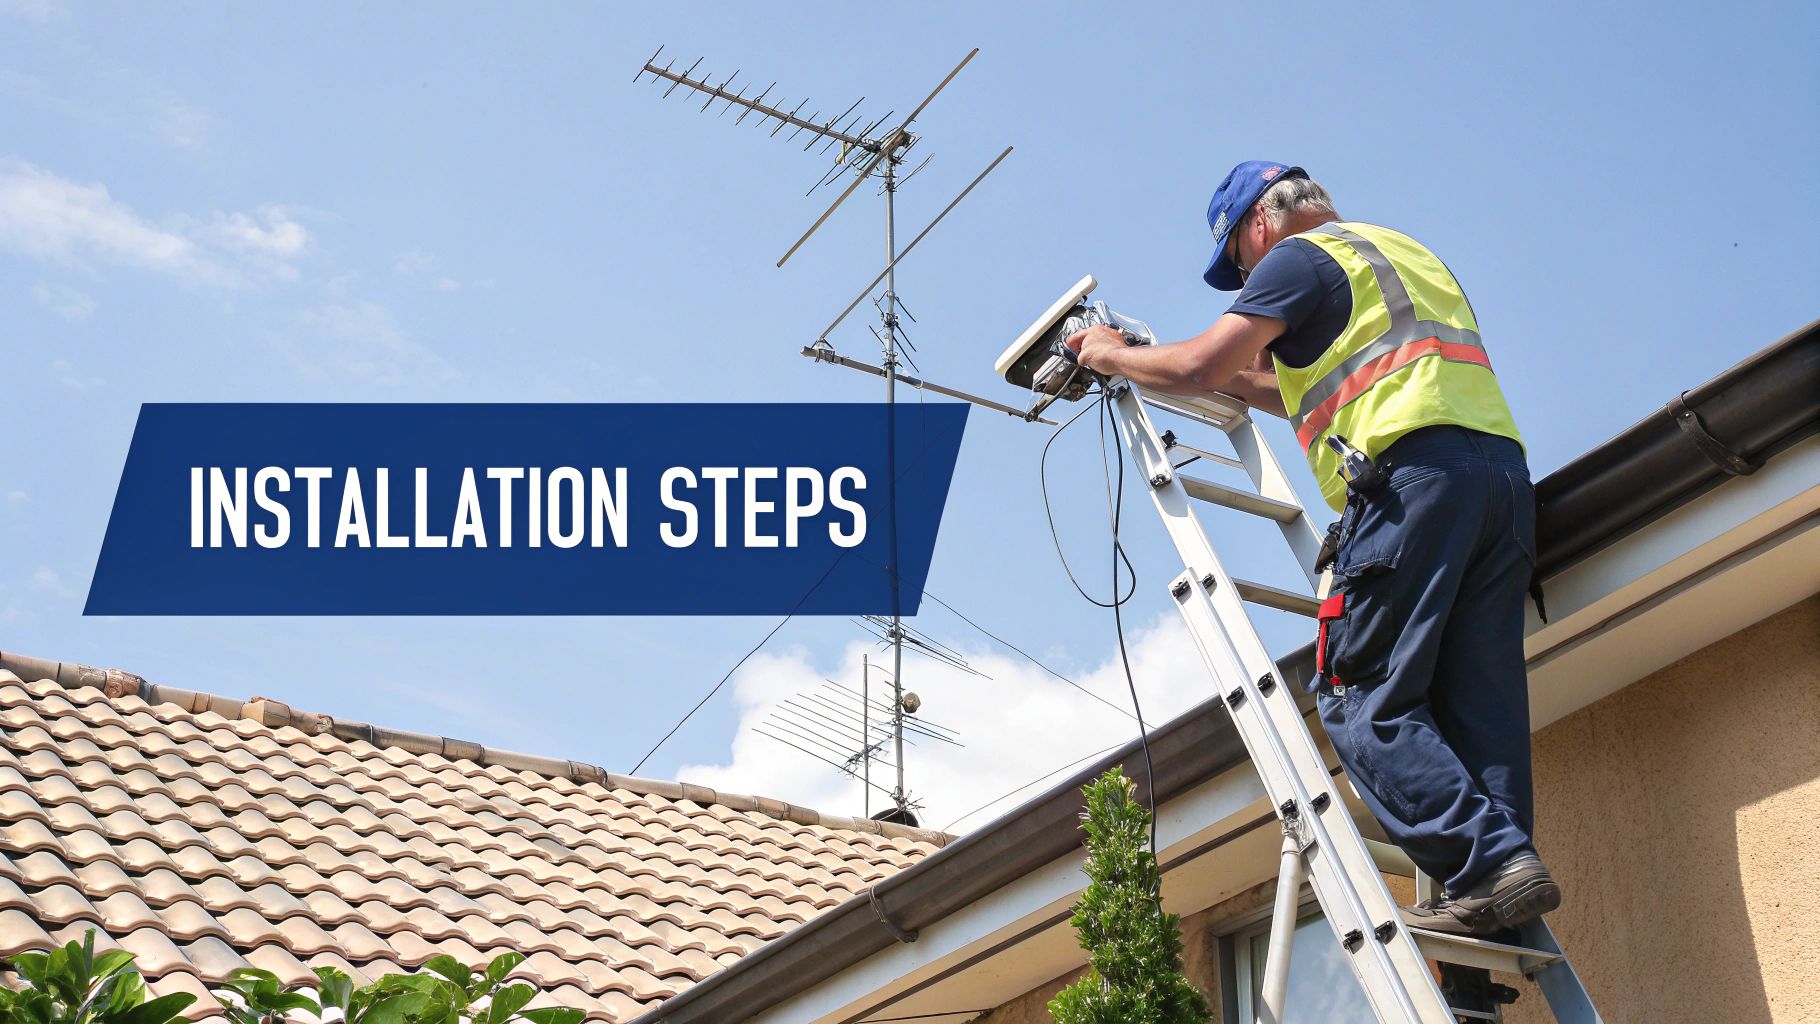
How Long Does a Standard Installation Take?
For a straightforward job, say on a single-storey house with easy roof access, a pro can usually have the whole thing done in about 1.5 to 2.5 hours. That time covers everything: mounting the aerial, running the new cable down to the wall point, connecting and tuning your TV, and, of course, cleaning up afterwards.
If the job's a bit more involved—maybe you're adding extra TV points for the kids' rooms or the roof is particularly steep and tricky—it could stretch out to 3 or even 4 hours. It's always a good idea to ask your installer for a rough timeframe when they give you a quote.
Do I Need a Special Aerial for a 4K TV?
In a word, no. The idea of a "4K aerial" is mostly just clever marketing. In Australia, our free-to-air channels broadcast in High Definition (HD), not 4K. What you really need is simply a high-quality digital aerial that can pull in a strong, stable signal. That’s what allows your 4K TV to show off what it can do.
The secret isn't a "4K" sticker on the box. It's a quality antenna, installed correctly, that receives a clean digital signal without interference. Don't let anyone upsell you on an expensive "4K aerial" you just don't need to watch the footy in crisp HD.
Why Did My Quote Include a Signal Amplifier?
If you spotted a signal amplifier (sometimes called a masthead amp or a booster) on your quote, it was put there for a very good reason. This little device gives the signal a boost right at the source—the aerial itself—before it starts its journey down the cable to your TV.
You might need one if you live in a weak signal area, perhaps far from the broadcast tower, tucked away in a valley, or if tall buildings or dense trees are blocking your line of sight. It's also a common solution if you're splitting the signal between multiple TVs, as every split weakens the signal. A proper installer will use a signal meter to get an exact reading of your reception strength and will only recommend an amplifier if the numbers show it’s necessary. It’s a targeted solution, not just a standard add-on. For more information on what a professional setup includes, you can explore our full guide on TV antenna installation.
Ready to get a crystal-clear picture without the guesswork? For an honest quote and a professional installation that’s done right the first time, get in touch with Advanced Comtech. Find out how we can help you today!