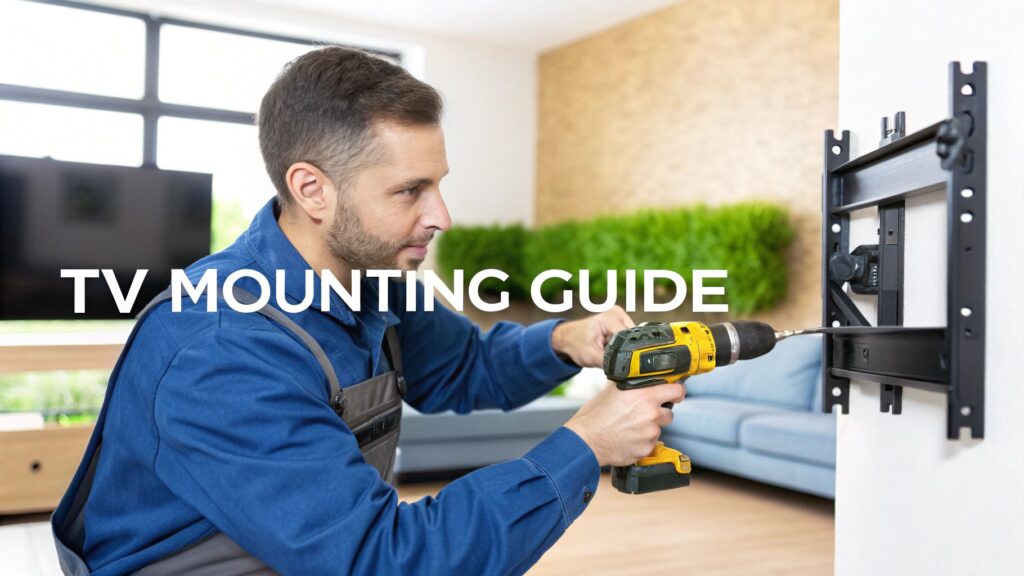
So, you've just wrestled a brand new, bigger-than-the-box telly out of your car. Nice one! Now you’re staring at that perfect, blank wall in your living room, picturing how schmick it’s going to look floating there. Professional tv installation mounting is more than just sinking a few screws and hoping for the best; it's a careful mix of art and science that turns a good setup into a great one.
Why Mount Your TV on the Wall
Before you get too excited and start swinging a hammer, let's have a proper chat. Everyone from the Central Coast to Newcastle seems to be ditching the old, bulky entertainment unit for a clean, wall-mounted look, and it's easy to see why. It’s not just about aesthetics; it’s about reclaiming your living space and creating a setup that feels intentional and modern.
But this is also where things can go pear-shaped, fast. We all know a 'Mick from Chatswood'—a classic DIY hero who thought he could eyeball the centre of his plasterboard wall for his new 75-incher. He skipped the stud finder, figured "she'll be right," and nearly sent his pride and joy on a one-way trip to the floor. The sickening crunch of drywall giving way is a sound you don't forget.
That's the real story behind TV mounting: the difference between a secure, stunning centrepiece and a very expensive accident often comes down to a few crucial details that are easy to overlook.
Key Questions Before You Start
Before you even think about buying a bracket, you need to play detective in your own home. Answering these questions honestly will save you a world of headaches later on.
- What kind of wall are you dealing with? Is it standard plasterboard on a timber frame, or are you looking at double brick like many older Sydney homes? The answer dramatically changes the tools and techniques required.
- Is your TV too big for a one-person job? Trying to lift a 65-inch screen while balancing on a ladder is a recipe for disaster. Modern TVs might be thin, but they're still awkward and heavy.
- Where are your power points and connections? Will you have a trail of ugly cables dangling down, ruining the clean look? Planning your cable management from the start is non-negotiable for a pro finish.
The Real Benefits of a Professional Look
Getting your TV mounting right does more than just free up floor space. It transforms your entire room's focal point. When done correctly, a mounted TV feels integrated into your home's design, not just plonked on a piece of furniture as an afterthought.
It also sets the stage for a better viewing experience. You can achieve the perfect height and angle, reducing neck strain and glare. This is especially important when you’re building out more complex setups.
For those in the Central Coast looking to create a seamless entertainment space, proper TV mounting is often the first step in a larger plan involving integrated sound systems and smart home features. If you're considering a full overhaul, exploring your options for a complete audio-visual smart home system can give you an idea of what’s possible beyond just the screen.
Ultimately, taking the time to plan your tv installation mounting properly—or deciding when it's time to call in the pros—is the smartest move you can make. It ensures your new investment is safe, secure, and looks absolutely brilliant for years to come.
Choosing the Right Bracket for the Job
Alright, let's get down to brass tacks. Wandering into JB Hi-Fi or Bunnings and grabbing the first TV bracket you see is a classic rookie error. Trust me, it can end in tears—or at the very least, a crooked telly that drives you mad.
Picking the right mount is less about what looks good on the box and more about how you actually live in your space. Think of it like this: you wouldn't buy a zippy little hatchback for hauling gear up to a job site on the Central Coast, would you? Your TV bracket needs to match your lifestyle and your living room's quirks, simple as that.
The good news is, you've really only got three main contenders to worry about. Let's break them down.
The Main Players: Fixed, Tilting, and Full-Motion
First up is the fixed mount. This is your 'set-and-forget' option. It's strong, simple, and holds your TV flat against the wall like a picture frame. It's perfect if you're after that clean, minimalist look.
Aussies are really embracing this sleek, uncluttered vibe. In fact, the demand for space-saving solutions like these is booming. The Asia Pacific fixed TV wall mount market, which includes Australia, is projected to hit $860 million AUD in 2025, a massive jump from $687 million AUD in 2021. It just goes to show how many of us are trying to get that clean home entertainment setup. You can even check out the full market analysis to see how the trend is growing.
Next, you've got the tilting mount. Think of it as the fixed mount's slightly more flexible cousin. It lets you angle the screen up or down, which is an absolute lifesaver for cutting out that afternoon sun glare or if you need to mount the TV a bit higher than eye level—say, over a fireplace.
Finally, we have the all-singing, all-dancing full-motion mount. This thing is the Swiss Army knife of TV brackets. It can tilt, swivel left and right, and even extend out from the wall. It’s the ultimate problem-solver for those awkward rooms where nothing seems to line up.

Before we dig deeper, let's have a quick look at the brackets side-by-side.
TV Wall Bracket Smackdown: Fixed vs Tilting vs Full-Motion
Choosing can be tough, so here’s a quick comparison to help you nail down the best TV wall bracket for your space and how you like to watch.
| Bracket Type | Best For | Movement | Price Guide (AUD) | Pro Tip |
|---|---|---|---|---|
| Fixed | Clean, minimalist setups where the viewing angle is direct and consistent. | None | $30 – $80 | Great for bedrooms or living rooms where your seating is directly in front of the TV. |
| Tilting | Rooms with glare issues or when mounting the TV above eye level (e.g., over a fireplace). | Vertical tilt (usually 5-15°) | $50 – $120 | The tilt feature is a must-have for reducing screen reflections from windows or lights. |
| Full-Motion | Awkward room layouts, open-plan living, or corner placements. | Tilt, swivel, and extension | $80 – $300+ | Offers the most flexibility—you can angle the TV towards the kitchen while you cook! |
Ultimately, the best bracket is the one that solves your room's specific challenges. Don't just buy the cheapest one; think about how you'll use it every day.
A Real-World Terrigal Tale
I remember a job we did for a family in Terrigal. They had a lovely apartment, but the living room layout was a proper nightmare. The only wall that made sense for the TV was way off to the side, completely out of line with their big, comfy L-shaped sofa.
They'd already gone out and bought a fixed mount, thinking it would be fine. The result? Everyone had to crane their necks to watch the footy. Family movie night was starting to feel more like a group trip to the chiropractor.
We swapped it out for a full-motion mount, and it was a complete game-changer. They could pull the TV out and angle it perfectly towards the couch, then tuck it back against the wall when they had guests over. It made the whole room usable again.
This is why your room's layout is the boss. Don't fight it—choose a bracket that works with it. A full-motion mount might cost a bit more, but it can make an awkward space genuinely functional.
Understanding VESA: The Golden Rule of Mounting
Now for a bit of crucial jargon you absolutely have to know: VESA standards.
If you flip your TV around, you'll see four screw holes on the back. VESA is simply the standardised measurement between these holes, both horizontally and vertically, given in millimetres (for example, 400×400).
Every TV and every mount has a VESA spec, and they must match. No exceptions, no workarounds. It's the universal language that ensures your shiny new bracket will physically connect to your TV. Checking this before you buy is non-negotiable and will save you from a very costly disaster.
How to Find Wall Studs Like a Pro
Right, listen up, because this is the single most important part of your TV installation mounting mission. We're talking about finding the wall studs. That beautiful, expensive TV needs to be anchored into something solid, and plasterboard alone just won’t cut it, mate. It has the structural integrity of a cream biscuit.
I’ll never forget a callout to a place in Umina. The bloke there, let’s call him Dave, decided to have a go himself. He used the old "tap and pray" method—tapping along the wall, listening for a change in sound. He found what he thought was a stud, drilled in, and hung his brand-new 65-incher. For about ten minutes, he was a DIY champion.
Then came the sickening CRUNCH. The weight of the TV ripped the bolts clean out of the gyprock, taking a huge chunk of the wall with it. The screen met the corner of his coffee table on the way down. It was a proper tragedy, and a very expensive lesson in wall anatomy. Don’t be like Dave. No stud, no mount. Full stop.
Waking Up Your Inner Detective with a Stud Finder
The easiest, most reliable way to avoid Dave’s fate is with an electronic stud finder. These little gadgets are your best mate for this job. But just owning one isn't enough; you've got to use it properly.
First things first, calibrate it. Place it flat against the wall, well away from where you think a stud might be. Press and hold the button until it beeps or flashes, letting you know it’s got a baseline reading of the empty wall cavity.
Now, slide it slowly and horizontally across the wall. As it detects the denser material of a stud, it’ll light up and beep. Don’t just mark the first edge you find!
The pro move is to mark both the left and right edges of the stud as the finder lights up. The exact centre of those two marks is your bullseye—that’s where you want your lag bolt to go.
Old-School Tricks When Gadgets Fail
What if you don't have a stud finder? Don't stress, you can still channel your inner old-school tradie. You just need to be a bit more observant.
- Look for the Dimples: Look closely at your skirting boards or cornices. Builders nail these directly into the studs. You can often spot the tiny dimples where the nails were puttied over. A stud will run vertically up from that point.
- Use Your Noggin (and a Magnet): Grab a strong magnet—one from a fridge might not cut it, but a rare-earth magnet will do the trick. Tie it to a bit of string and dangle it against the wall. It will stick when it finds a drywall screw or nail head, which are fastened directly into a stud.
- Check the Power Points: Electrical boxes for switches and power points are almost always attached to the side of a stud. You can usually count on a stud being on one side of the outlet.
These methods are also great for double-checking what your electronic finder is telling you. A bit of extra certainty never hurts, especially when you're also thinking about wiring for other home tech. We often find that planning for TV cables overlaps with jobs like installing home security systems, so it pays to know what's in your walls. You can learn more about how professionals approach wall installations by reading our guide on security camera installation on the Central Coast.
Dealing with Different Wall Types
Homes across Sydney, Newcastle, and the Central Coast are a mixed bag of construction styles, which directly impacts your mounting strategy.
Most modern homes have timber-framed plasterboard (drywall) walls. These are the easiest to work with once you've located the timber studs inside. This is the ideal scenario for a standard TV mount installation.
However, if you're in an older terrace in Newtown or a double-brick home in Hamilton, you’ve got a different beast on your hands. Mounting directly onto brick or concrete is absolutely possible, but it requires a hammer drill and masonry anchors (like Dynabolts) instead of the standard lag bolts. This is a much tougher job, and if you’re not confident, it's a clear sign to call in the professionals. Trying to drill into brick with a standard drill will just burn out the motor and your patience.
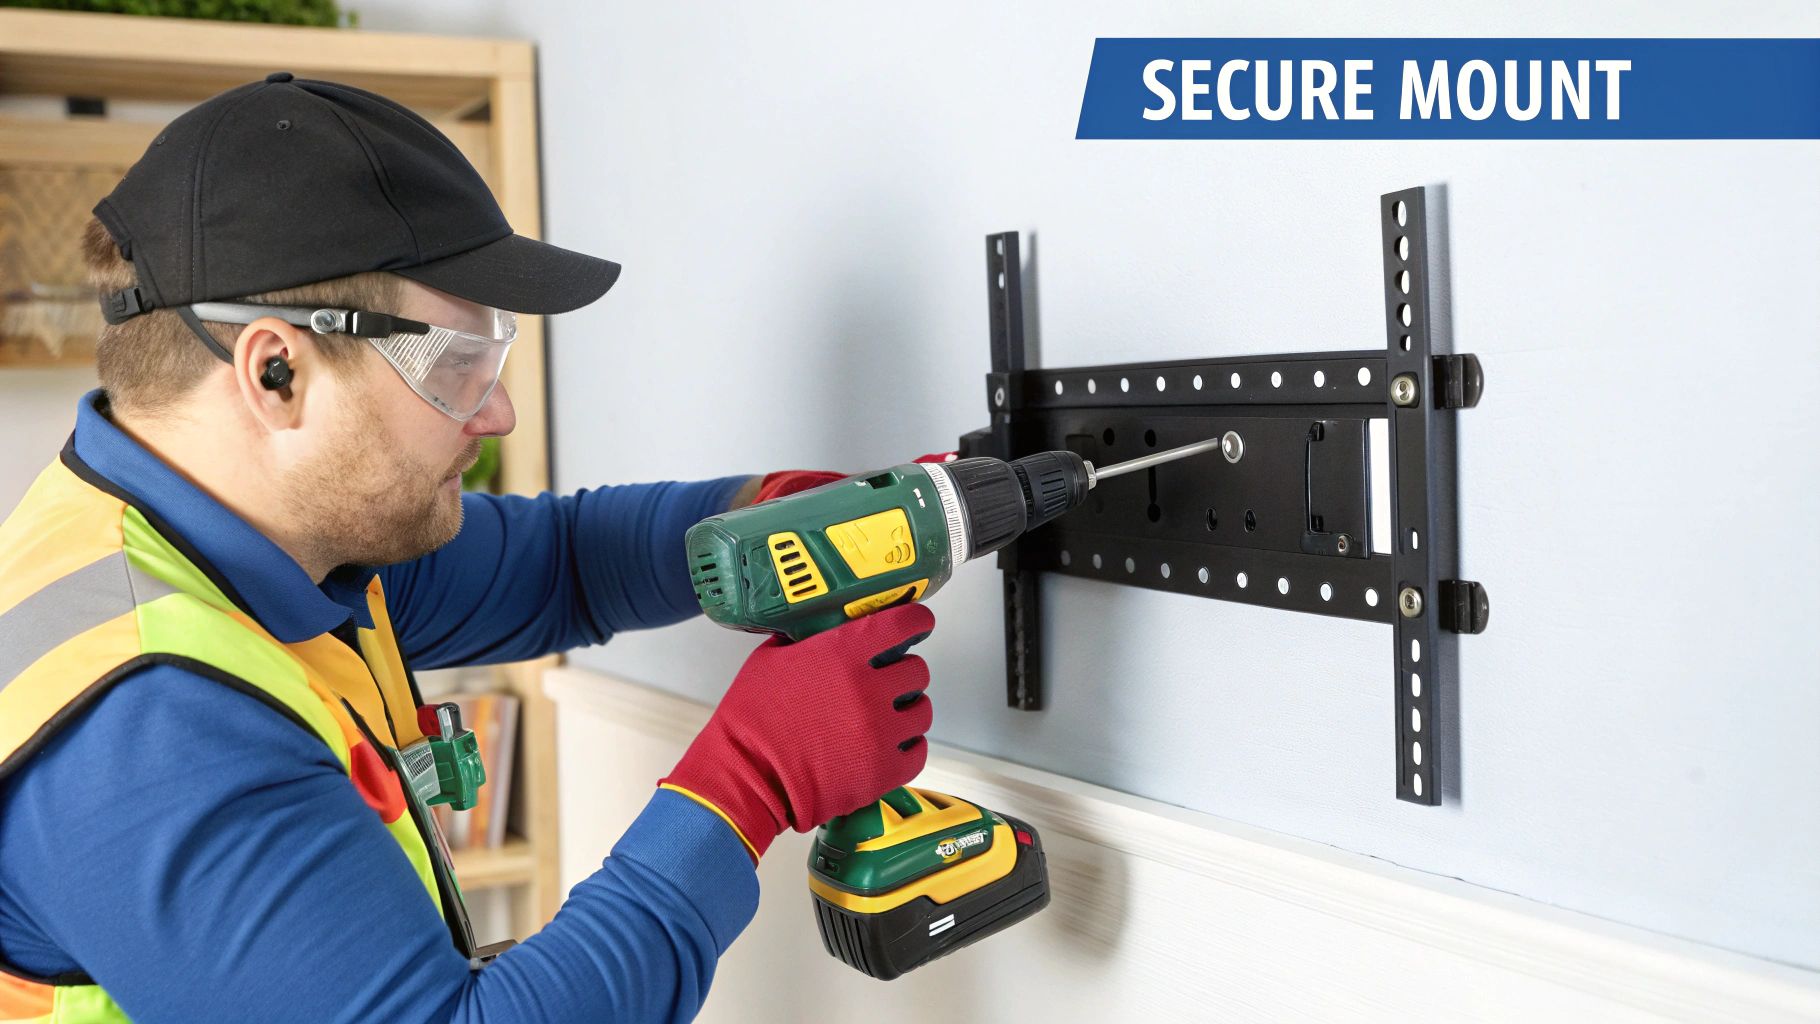
Securing the Bracket to Your Wall
Right, deep breaths. You’ve picked your bracket and located those trusty wall studs. Now for the moment of truth—getting that chunk of metal firmly attached to the wall. This is where a bit of patience and precision separates a clean, professional-looking job from a wonky one that’ll bug you every time you sit down to watch the footy.
Think of this as building the foundation. Get this part right, and everything else is a cakewalk. Rush it, and you'll be staring at a crooked TV for the next decade.
Nailing the Perfect Viewing Height
Before you even think about drilling, let's talk about height. This isn't something you want to eyeball. Mount it too high, and you'll feel like you’re in the front row of the cinema, craning your neck. Too low, and it'll just look odd.
Here’s the golden rule from the pros: when you’re sitting on your couch, your eye level should line up with the bottom third of the TV screen.
Grab a mate for this next bit. Hold the TV (or just the bracket) against the wall while you sit in your favourite spot. Get them to move it up and down until it feels just right. Once you’ve found that sweet spot, use a pencil to lightly mark the top of the bracket on the wall.
Marking and Levelling with Precision
Now, put the TV down and grab your spirit level. This little tool is your absolute best mate for this part of the job.
Place the bracket back on the wall, lining it up with your height mark. Rest your spirit level on top and adjust the bracket until that little bubble is sitting perfectly between the two lines. Once it's dead level, use your pencil to mark the drill holes through the slots in the bracket.
Pro Tip from the Trenches: Stick a small piece of painter’s tape over each mark before you drill. It stops the drill bit from wandering when you start, and it helps catch some of that annoying plaster dust. Your vacuum cleaner (and anyone else in the house) will thank you.
The Importance of Pilot Holes
You’ve got your marks, you're ready to go. But hold on! Don’t just send those big, beefy lag bolts straight into the timber stud. You need to pre-drill what are called pilot holes.
A pilot hole is a smaller hole that acts as a guide for the main bolt. It's a non-negotiable step for two very important reasons:
- It prevents the timber stud from splitting or cracking under the pressure of the large bolt.
- It makes driving the lag bolt in much, much easier and reduces the risk of stripping the bolt head.
Choose a drill bit that is slightly smaller than the diameter of your lag bolt. Drill into your marked spots, making sure to go deep enough for the entire length of the bolt.
Driving Home the Lag Bolts
Alright, you're on the home stretch. It’s time to secure the bracket. Place it over your freshly drilled pilot holes and get your socket wrench ready. A power drill with a socket adapter works too, but a wrench gives you more control and feel.
Start threading the first lag bolt by hand, then use your wrench to tighten it. Don't go all the way—get it about halfway in. Then, do the same for the other bolts.
Once all bolts are partially in, go back and tighten each one bit by bit, alternating between them. This ensures the pressure is distributed evenly. You want them snug and tight, but don’t overdo it. The moment you feel solid resistance, stop. Over-tightening can strip the thread in the wood or damage the bolt head.
This focus on getting the ergonomics right isn't just a fussy detail; it's part of a massive trend. As more Aussies work from home, we're all paying more attention to how our spaces function. This shift has driven a huge demand for better mounting solutions, making the TV mount market part of a global industry valued at around $9.5 billion AUD in 2023. You can discover more insights on this growing market and see why a well-placed TV is now considered essential for home comfort.
With the bracket securely mounted, give it a good solid tug. It shouldn't budge at all. Now it’s a rock-solid platform, ready and waiting for your new TV. And as you get ready for the next step, you might also be thinking about how to handle all the device wiring, which is a key part of our expertise. For more on that, you can check out our guide on professional data cabling.
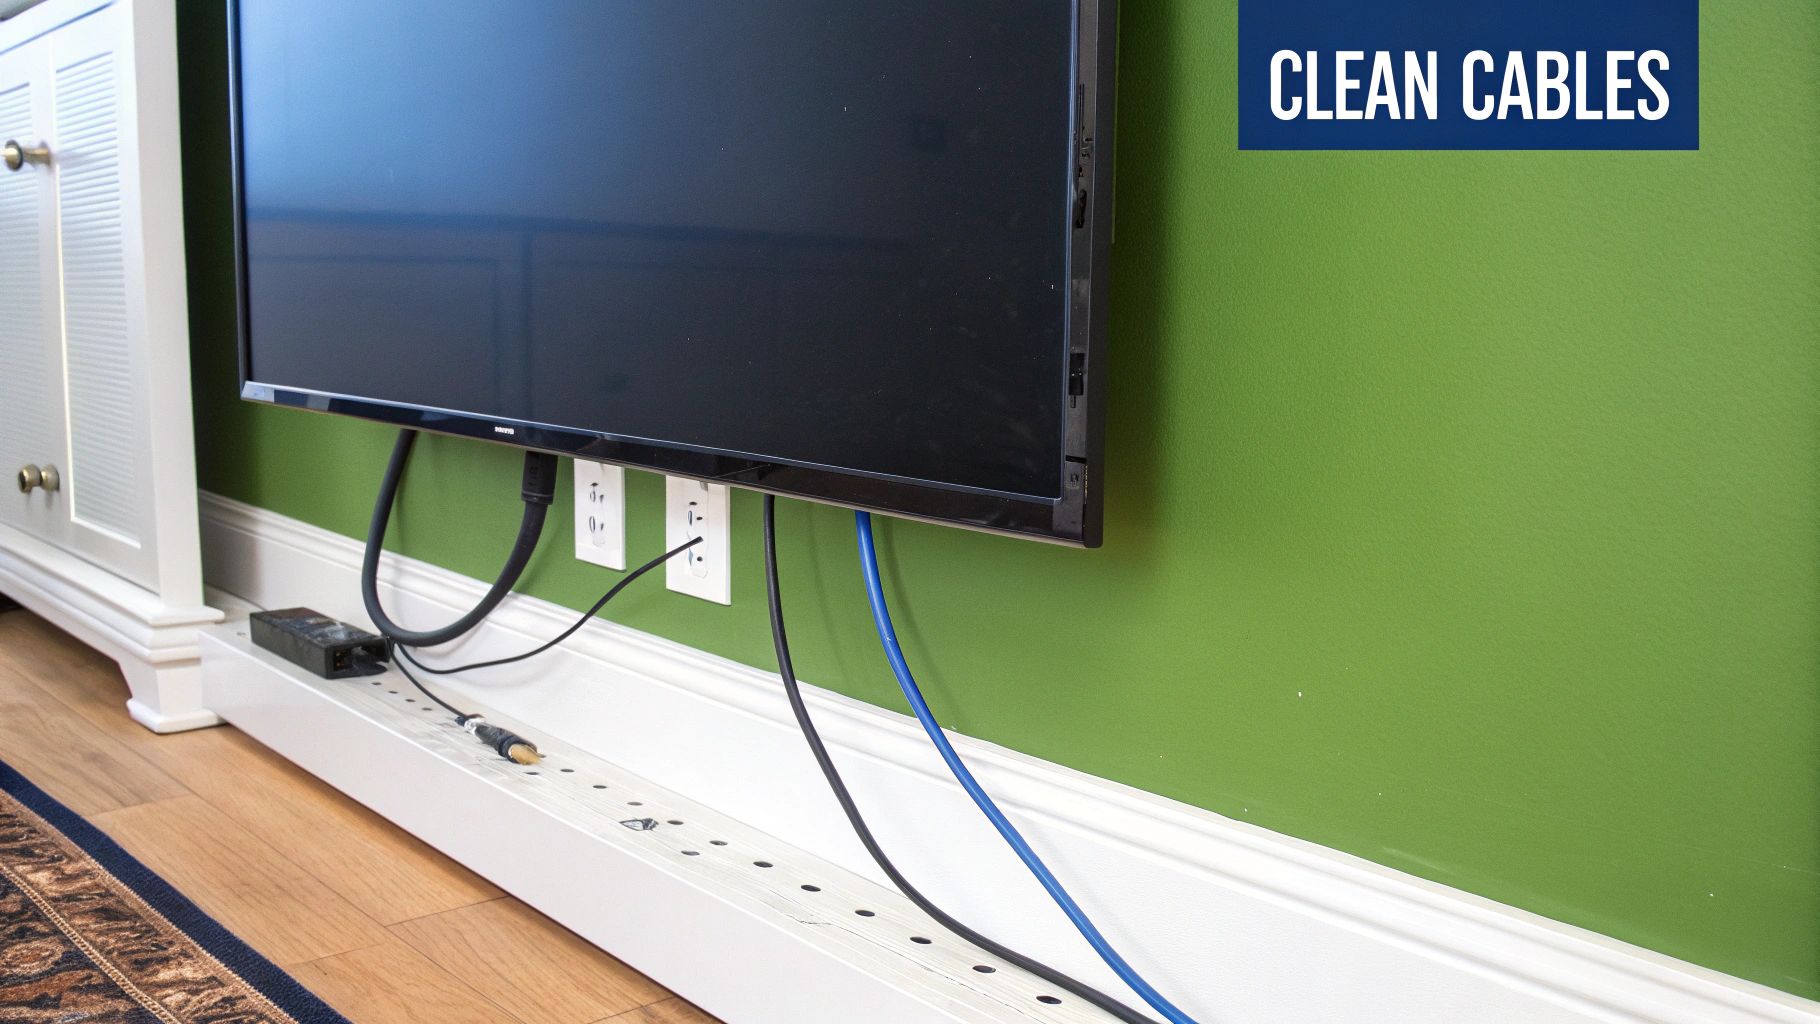
Managing Cables for a Clean Finish
You’ve done it. The bracket is rock-solid, the TV is hanging perfectly level, and you’re ready to crack a cold one. But wait… what’s that? A dangling, tangled mess of black cables running down your wall, looking like a spaghetti junction and completely ruining the sleek vibe you were going for.
Don't fall at the final hurdle, mate. A professional-looking tv installation mounting is as much about what you don't see as what you do. Clever cable management is the secret sauce that takes your setup from a messy DIY job to a clean, showroom-quality finish. It's the difference between "good enough" and "wow, that looks schmick."
Simple Fixes for a Tidy Look
Let's start with the easiest and most common solution you'll find at Bunnings or JB Hi-Fi: cable trunking. This is basically just a plastic channel that sticks to your wall, letting you tuck all your cables inside. It’s a fantastic, low-fuss option if you're not too keen on cutting into your walls.
You can grab it in different sizes, and most of it is paintable, so you can blend it right into your wall colour. It’s a ten-minute job that makes a massive difference, neatly bundling everything from the power cord to your HDMI cables.
Another quick trick is using adhesive cable clips or even some simple velcro ties to bunch the cables together behind the TV itself. This stops that rat's nest from forming and makes life much easier if you ever need to unplug something.
The Ultimate Solution: In-Wall Concealment
For those chasing that truly invisible, floating TV look, there's only one way to go: running the cables behind the plasterboard. This is the gold standard of TV installation and what separates the pros from the amateurs. It’s definitely a bit more involved, but the flawless result is well worth the effort.
This method means cutting two small holes in the wall—one behind where the TV sits and another down near your power point and other devices like a Foxtel box or gaming console. You then 'fish' the cables through the wall cavity, hiding them completely from sight.
This isn't just about looks; it's also a safety thing. Hiding cables means they can't be tripped over, pulled by kids or pets, or accidentally vacuumed up, making your entire setup much more secure.
A Mini-Guide to Hiding Cables in the Wall
Feeling brave and want to give it a crack? Here’s the basic rundown. You’ll need a few specific tools to do it right:
- A jab saw or drywall knife: For making clean, precise cuts in the plasterboard.
- A stud finder: You’ve got to make sure you're cutting into an empty wall cavity, not right on top of a timber stud.
- Fish tape or a cable pulling rod: This flexible rod is pretty much essential for guiding the cables through the wall.
- Brush wall plates: These pop over the holes you've cut and give a neat entry and exit point for your cables, making the whole thing look polished.
The process itself is straightforward but you need to be careful. Mark your holes, cut them out, feed the fish tape down from the top hole, attach your cables to the end, and then gently pull them through to the bottom opening.
Crucial Safety Warning: Before you even think about cutting or drilling into a wall, you must be 100% certain there's no electrical wiring or plumbing hiding in that cavity. Using a stud finder that can also detect live AC wiring is a great start. If you have any doubt at all, stop what you're doing and call a professional. Hitting a live wire or a water pipe is a risk that’s just not worth taking.
This level of planning is critical for any serious setup. A well-thought-out cable route is just as important for a TV as it is for a comprehensive home network installation, where a clean setup ensures better performance and reliability for your whole house.
The Last Lap: Final Checks and Finishing Touches
Alright, the heavy lifting is over. Your TV is officially on the wall and looking sharp. But hold off on cracking that cold one just yet. Before you kick back and soak it all in, there are a few final, but absolutely crucial, steps to tick off.
This is the part that separates a good job from a great one. It’s what we do on every professional install on the Central Coast to make sure the setup isn't just mounted, but perfectly and safely integrated into the room.
The Post-Installation Once-Over
First things first, grab your spirit level again. Pop it on top of the TV and make sure it’s still dead-on. It's surprisingly easy to nudge it slightly out of alignment when you're lifting it onto the bracket, so now's the time for any tiny adjustments.
Next, and this is a big one: check the safety locks.
Every decent TV bracket has some kind of locking system. It might be a couple of screws, a clip, or even pull-cords that secure the TV to the wall plate. You’re listening for a definite 'click' or feeling for that solid lock-in. Give the bottom of the TV a gentle but firm pull forward to be 100% certain it’s not going anywhere.
Once you're confident it's secure, go ahead and plug everything in – your Foxtel box, gaming console, soundbar, the lot. Fire it all up and do a quick run-through. Check every input to make sure all your devices are playing nicely with the TV. Trust me, you don't want to find out your main HDMI port isn't working after you’ve bundled all the cables away.
This attention to detail is more important than ever. Aussies are sinking serious cash into their home entertainment systems, part of a multimedia market in Australia expected to hit around $5.8 billion AUD by 2025. With that kind of investment, people rightly expect a rock-solid tv installation mounting that protects their gear. Discover more insights about Australia's consumer electronics market.
The Final Polish
Even if you've run the main cables through the wall, you'll still have a few shorter ones hooking up your devices behind the TV. The temptation is to just let them hang there, but don't.
Here’s a quick trick for a super clean finish:
- Get yourself some reusable velcro cable ties.
- Neatly bunch the loose cables together.
- Use a couple of ties to create one tidy 'loom' of cables.
It’s a tiny detail, but it makes a huge difference. It keeps things organised, stops a bird's nest of cables from forming, and makes your life a lot easier down the track if you need to unplug something. This is what completes the tv installation mounting process, leaving you with a setup that looks as good as it performs.
Okay, now you've earned that beer. Cheers to a job well done.
Your Top TV Mounting Questions Answered
Alright, you’ve absorbed a lot of info, but I bet there are still a few questions niggling at you. When it comes to TV installation and mounting, believe me, we’ve heard it all. Let's run through some of the most common queries we get from homeowners across the Central Coast.
Can I Mount a TV Above a Fireplace?
This is probably the number one question we get, especially from folks in older Sydney homes with those lovely classic fireplaces. The simple answer is yes, you can, but it's rarely the best spot for your TV.
Heat and electronics are not friends. The rising heat from a fireplace can dramatically shorten your TV's lifespan by slowly cooking its internal components.
Beyond the heat damage, it’s just not comfortable. Mounting a TV that high means you're craning your neck for every movie night. If you’re absolutely set on this spot, you'll need a specialised pull-down mount that lets you lower the screen to a proper viewing height.
Pro Tip: The sweet spot for viewing is when your eyes are level with the bottom third of the TV screen while you're sitting down. This prevents neck strain and gives you the best picture quality.
What About Mounting on Brick or Steel Frame Walls?
Living in a double-brick beauty in Newcastle or a modern steel-frame home? No dramas. Mounting on these surfaces is totally doable, it just requires a different approach and the right gear.
For brick walls, you’ll need a powerful hammer drill and some serious hardware like masonry anchors (think Dynabolts) to get a rock-solid fix. It’s not a job for your standard drill and plasterboard screws.
With steel frames, the game is to find the metal studs and use special fasteners like toggle bolts or self-tapping screws made specifically for metal. This is definitely one of those jobs where if you feel even slightly unsure, it's best to call in an expert. Getting it wrong can end in a very expensive, screen-shattering accident.
These days, our TVs are the hub of our home entertainment, connecting to all sorts of devices. A great installation often goes hand-in-hand with a secure home network. If you’re levelling up your setup, it’s a perfect time to learn more about securing your home WiFi network to keep everything safe.
Taking the time to get it right ensures a secure, beautiful setup that will last for years.